
Why You’ll Love This Nut Butter Oatmeal Bars
- They’re the ultimate grab-and-go hero. Seriously, these bars are a lifesaver on busy mornings or when that 3 p.m. slump hits. They’re portable, not messy, and satisfying enough to keep you going until your next proper meal.
- You have total control over the ingredients. This recipe is a fantastic canvas. You can use creamy or crunchy almond butter, peanut butter, or even sunflower seed butter to make it nut-free. The add-ins are completely up to you—chocolate chips, dried fruit, seeds… make it your own!
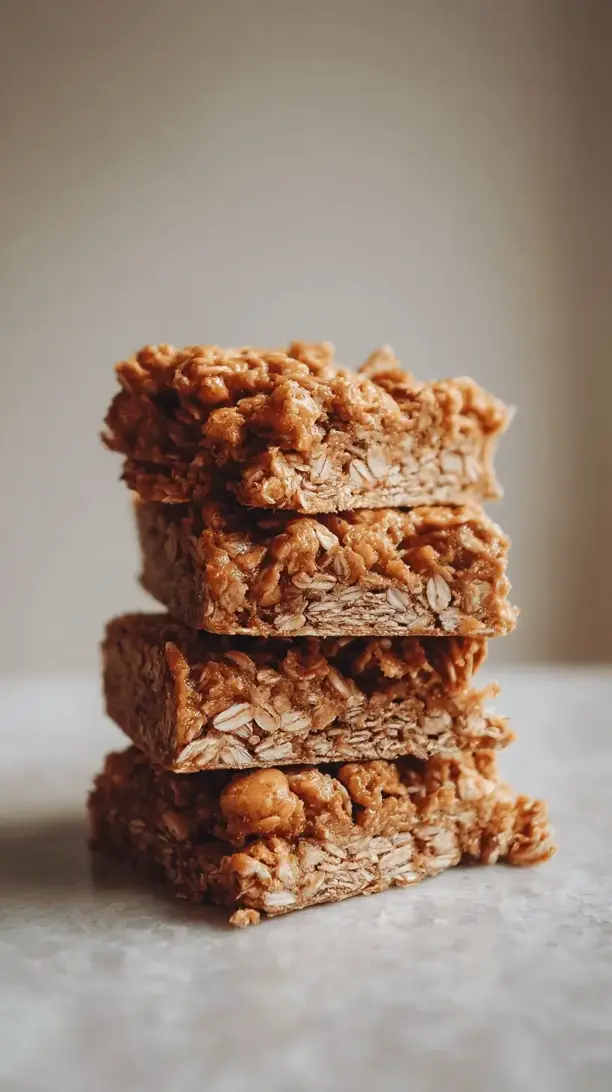
- The texture is absolutely dreamy. We’re aiming for a bar that’s soft-baked and chewy, not dry or crumbly. The combination of oats and nut butter creates this wonderfully substantial bite that’s far more interesting than your average cereal bar.
- They fill your kitchen with the best smell. The warm, toasty, slightly sweet aroma of oats and nut butter baking is honestly half the reward. It smells like a hug in food form.
Ingredients & Tools
- 240 g old-fashioned rolled oats
- 125 g creamy nut butter (like almond or peanut butter)
- 80 ml maple syrup or honey
- 1 large egg
- 2 tbsp coconut oil, melted
- 1 tsp vanilla extract
- ½ tsp baking soda
- ½ tsp ground cinnamon
- ¼ tsp fine sea salt
- 60 g mix-ins (e.g., dark chocolate chips, chopped nuts, dried cranberries)
Tools: 8×8 inch (20×20 cm) baking pan, parchment paper, medium mixing bowl, spatula
The beauty of this list is its simplicity. Using old-fashioned oats is key here—they give the bars their signature chewy texture. And when it comes to the nut butter, just make sure it’s the natural, stir-well kind. The oil separation is normal and we want that fat for moisture!
Serves: 9 bars | Prep Time: 10 minutes | Cook Time: 20-22 minutes | Total Time: 35 minutes (plus cooling)
Before You Start: Tips & Ingredient Notes
- What’s the deal with oat types? Old-fashioned rolled oats are non-negotiable for the right texture. Quick oats will make the bars too mushy, and steel-cut oats won’t soften enough. You’ll notice the difference immediately.
- Can I make these vegan? Absolutely! For a vegan version, a “flax egg” works wonderfully. Just mix 1 tablespoon of ground flaxseed with 3 tablespoons of water and let it sit for 5 minutes until it gels up.
- How runny should my nut butter be? If your nut butter is very thick and dry from being in the fridge, let it come to room temperature first. This makes it much easier to mix with the other wet ingredients into a smooth, cohesive batter.
- Don’t skip the parchment paper. Seriously, it’s your best friend for this recipe. It creates a sling that lets you lift the entire block of bars out of the pan effortlessly for clean, easy cutting.
How to Make Nut Butter Oatmeal Bars
Step 1: First, get your oven preheating to 175°C (350°F). This is a quick recipe, so you want the oven ready to go. Then, line your 8×8 inch baking pan with parchment paper, leaving some overhang on two opposite sides. This little sling is the secret to perfect, crumble-free bars later on.
Step 2: In your medium mixing bowl, combine all the wet ingredients: the nut butter, maple syrup, melted coconut oil, egg, and vanilla extract. Whisk them together until you have a smooth, homogenous mixture. You’ll notice it might look a little separated at first, but just keep whisking—it will come together into a glossy, thick liquid.
Step 3: Now, sprinkle the dry ingredients right on top of the wet mixture: the oats, baking soda, cinnamon, and salt. The trick is to just dump them all in—no need for a separate bowl here. Use a spatula to fold everything together until the oats are fully coated. The batter will be thick and a bit sticky, which is exactly what you want.
Step 4: This is the fun part—fold in your mix-ins! Whether you’re using chocolate chips, chopped dried fruit, or seeds, gently stir them in until they’re evenly distributed. Try not to overmix at this point; we just want to incorporate them without breaking them up too much.
Step 5: Transfer the batter to your prepared pan. It will be thick, so use your spatula to press it into an even layer, making sure to get into all the corners. A little tip: dampen your fingers or the back of a spoon to press it down smoothly without sticking.
Step 6: Pop the pan into the preheated oven and bake for 20-22 minutes. You’re looking for the edges to be a deep golden brown and the center to look set. It might still feel a tiny bit soft when you gently press it—that’s good! It will firm up as it cools, giving you that perfect chewy texture.
Step 7: This is the most important step: let the bars cool completely in the pan on a wire rack. I know it’s tempting to cut into them right away, but if you do, they’ll crumble. Letting them cool for at least an hour allows them to set up properly. For the cleanest cuts, you can even pop the whole pan in the fridge for 30 minutes after they’ve cooled to room temperature.
Step 8: Once completely cool, use the parchment paper sling to lift the entire block of bars out of the pan. Place it on a cutting board and use a sharp knife to slice it into 9 even squares. And there you have it—your very own batch of homemade Nut Butter Oatmeal Bars!
Serving Suggestions
Complementary Dishes
- A bowl of Greek yogurt and fresh berries — The creamy, tangy yogurt and bright, juicy berries cut through the richness of the bars beautifully, making for a perfectly balanced breakfast or snack.
- A side of apple slices with a sprinkle of cinnamon — The crisp, fresh apple provides a lovely textural contrast and a burst of freshness that complements the warm, oaty flavors of the bar.
Drinks
- A hot cup of black coffee — The bitterness of the coffee is a classic pairing that highlights the sweetness of the maple syrup and the nutty depth of the bar. It’s a match made in heaven.
- A cold glass of whole milk or almond milk — Sometimes, you just can’t beat the classic. A cold glass of milk is the ultimate comforting partner for any oat-based treat.
Something Sweet
- A small square of dark chocolate — If you’re enjoying a bar as an afternoon treat, a piece of high-quality dark chocolate alongside it elevates the whole experience into a moment of pure indulgence.
- A few fresh raspberries — Their slight tartness is a fantastic counterpoint to the sweet, dense bar, and they add a beautiful pop of color.
Top Mistakes to Avoid
- Mistake: Using quick oats instead of old-fashioned. This is the number one texture killer. Quick oats absorb liquid differently and will result in a mushy, less structured bar that falls apart.
- Mistake: Not letting the bars cool completely before cutting. I’ve messed this up before too, and it leads to a crumbly mess. The bars need time to set and firm up as they cool. Patience is key!
- Mistake: Overbaking the bars. You want the edges golden and the center just set. If you bake them until the center is firm, they’ll be dry and hard once cooled. A little softness in the center when they come out of the oven is what you’re aiming for.
- Mistake: Pressing the mixture too thinly into the pan. If the layer is too thin, the bars will bake up dry and crispy instead of soft and chewy. An 8×8 inch pan is the perfect size for the thickness we want.
Expert Tips
- Tip: Toast your oats for a deeper flavor. Spread the oats on a baking sheet and toast them at 175°C (350°F) for 5-7 minutes before adding them to the recipe. You’ll be amazed at the nutty, warm flavor this simple step adds.
- Tip: Use a combination of mix-ins. Instead of just one add-in, try a mix like dark chocolate chips and chopped toasted pecans, or dried cherries and pumpkin seeds. The variety in texture and flavor makes each bite more interesting.
- Tip: For super clean cuts, chill the bars. After the bars have cooled to room temperature, pop the whole pan in the refrigerator for about 30 minutes. The chilled bar will cut cleanly with a sharp knife, giving you picture-perfect edges.
- Tip: Customize the spice profile. Love ginger? Add a quarter teaspoon of ground ginger along with the cinnamon. A pinch of nutmeg would also be lovely. Don’t be afraid to play with the spices to suit your taste.
FAQs
How should I store these oatmeal bars?
Store them in an airtight container at room temperature for up to 4 days. If you’d like to keep them longer, they freeze beautifully! Just wrap each bar individually in plastic wrap or parchment paper, place them in a freezer bag, and freeze for up to 3 months. Thaw at room temperature or pop one in the microwave for 15-20 seconds for a warm treat.
Can I use a different sweetener?
Yes, you can. Honey works just as well as maple syrup. If you want to use a granulated sweetener like coconut sugar, I’d recommend blending it with the wet ingredients first to help it dissolve a bit, or you might get a slightly grainier texture. Liquid sweeteners generally yield a chewier, more cohesive bar.
My bars turned out a bit dry. What happened?
This usually points to two things: either the bars were overbaked, or your nut butter was particularly thick/dry. To fix it next time, check your bars a minute or two earlier, and if your nut butter isn’t very oily, you could add an extra tablespoon of maple syrup or melted coconut oil to the batter for more moisture.
Are these bars gluten-free?
They can be, but you have to be careful. Oats are naturally gluten-free, but they are often processed in facilities that also handle wheat, leading to cross-contamination. To ensure your bars are gluten-free, simply make sure you purchase certified gluten-free rolled oats.
Can I double this recipe?
Absolutely! This recipe doubles perfectly for a crowd or for bigger batch cooking. Just use a 9×13 inch baking pan instead of the 8×8 inch, and you may need to add 2-4 minutes to the baking time. Keep an eye on the edges for that golden-brown color to know when they’re done.
Nut Butter Oatmeal Bars
Whip up chewy, homemade Nut Butter Oatmeal Bars in 35 minutes! Perfect for grab-and-go breakfasts & healthy snacks. Easy, forgiving recipe with simple pantry ingredients.
Ingredients
Ingredients
-
240 g old-fashioned rolled oats
-
125 g creamy nut butter (like almond or peanut butter)
-
80 ml maple syrup or honey
-
1 large egg
-
2 tbsp coconut oil (melted)
-
1 tsp vanilla extract
-
0.5 tsp baking soda
-
0.5 tsp ground cinnamon
-
0.25 tsp fine sea salt
-
60 g mix-ins (e.g., dark chocolate chips, chopped nuts, dried cranberries)
Instructions
-
First, get your oven preheating to 175°C (350°F). This is a quick recipe, so you want the oven ready to go. Then, line your 8x8 inch baking pan with parchment paper, leaving some overhang on two opposite sides. This little sling is the secret to perfect, crumble-free bars later on.01
-
In your medium mixing bowl, combine all the wet ingredients: the nut butter, maple syrup, melted coconut oil, egg, and vanilla extract. Whisk them together until you have a smooth, homogenous mixture. You'll notice it might look a little separated at first, but just keep whisking—it will come together into a glossy, thick liquid.02
-
Now, sprinkle the dry ingredients right on top of the wet mixture: the oats, baking soda, cinnamon, and salt. The trick is to just dump them all in—no need for a separate bowl here. Use a spatula to fold everything together until the oats are fully coated. The batter will be thick and a bit sticky, which is exactly what you want.03
-
This is the fun part—fold in your mix-ins! Whether you're using chocolate chips, chopped dried fruit, or seeds, gently stir them in until they're evenly distributed. Try not to overmix at this point; we just want to incorporate them without breaking them up too much.04
-
Transfer the batter to your prepared pan. It will be thick, so use your spatula to press it into an even layer, making sure to get into all the corners. A little tip: dampen your fingers or the back of a spoon to press it down smoothly without sticking.05
-
Pop the pan into the preheated oven and bake for 20-22 minutes. You're looking for the edges to be a deep golden brown and the center to look set. It might still feel a tiny bit soft when you gently press it—that's good! It will firm up as it cools, giving you that perfect chewy texture.06
-
This is the most important step: let the bars cool completely in the pan on a wire rack. I know it's tempting to cut into them right away, but if you do, they'll crumble. Letting them cool for at least an hour allows them to set up properly. For the cleanest cuts, you can even pop the whole pan in the fridge for 30 minutes after they've cooled to room temperature.07
-
Once completely cool, use the parchment paper sling to lift the entire block of bars out of the pan. Place it on a cutting board and use a sharp knife to slice it into 9 even squares. And there you have it—your very own batch of homemade Nut Butter Oatmeal Bars!08


