
Why You’ll Love This Coconut Flour Pancakes
- They’re naturally gluten-free and grain-free. Coconut flour is a fantastic alternative for those avoiding traditional grains, and it gives these pancakes a unique, delightful flavor that wheat flour simply can’t match.
- The texture is uniquely tender and satisfying. Unlike some gluten-free pancakes that can be dry or crumbly, these have a soft, almost melt-in-your-mouth quality that is just so comforting.
- They come together in one bowl. Seriously, minimal cleanup is a huge win for a relaxing morning. Just whisk everything together, and you’re minutes away from pancake paradise.
- They’re packed with protein. Thanks to the eggs, these pancakes are surprisingly filling and will keep you energized long after breakfast is over, preventing that mid-morning slump.
Ingredients & Tools
- 4 large eggs, at room temperature
- 1/2 cup (120 ml) milk of choice (whole milk, almond, or coconut milk all work beautifully)
- 2 tablespoons maple syrup or honey
- 1 teaspoon vanilla extract
- 1/4 cup (28 g) coconut flour
- 1/4 teaspoon baking soda
- 1/4 teaspoon salt
- Coconut oil or butter, for greasing the pan
Tools: A good non-stick skillet or griddle, a mixing bowl, a whisk, and a spatula.
You’ll notice the ingredient list is short and sweet. The star here is really the coconut flour—it’s highly absorbent, so a little goes a long way. Using room temperature eggs helps them incorporate more smoothly into the batter, creating a better texture. And don’t skip the vanilla; it adds a warm, aromatic depth that complements the coconut flavor perfectly.
Serves: 2 (makes about 6-8 small pancakes) | Prep Time: 5 minutes | Cook Time: 10 minutes | Total Time: 15 minutes
Before You Start: Tips & Ingredient Notes
- Why is my batter so thick? Coconut flour is incredibly thirsty! It absorbs liquid much more than regular flour, so the batter will be quite thick and scoopable, not pourable. This is completely normal and actually what gives the pancakes their structure.
- Can I make this batter ahead? You can, but it will thicken up even more as it sits. If you do prepare it the night before, you’ll likely need to add a splash more milk in the morning to bring it back to the right consistency.
- The importance of resting the batter. After you mix everything together, let the batter sit for about 5 minutes. This allows the coconut flour to fully hydrate, which results in a smoother, less gritty final product.
- Don’t skip the salt. It might seem like a small amount, but salt is crucial for balancing the sweetness and enhancing all the other flavors in the pancake. It makes everything pop.
How to Make Coconut Flour Pancakes
Step 1: Combine the wet ingredients. In your mixing bowl, crack the eggs and whisk them until they’re smooth and a little frothy. This initial whisking adds air, which helps with the fluffiness. Then, pour in the milk, maple syrup, and vanilla extract. Whisk everything together until it’s well combined and uniform in color. You’ll notice the mixture is quite liquid at this stage—that’s exactly what you want.
Step 2: Add the dry ingredients. Here’s where you need to be a bit careful. Sprinkle the coconut flour, baking soda, and salt over the wet ingredients. The trick is to whisk immediately and vigorously. If you don’t, the coconut flour will clump up the second it hits the liquid. Whisk until you have a smooth, thick batter with no dry spots of flour visible. It will look very different from a traditional pancake batter—thick, almost like a muffin batter.
Step 3: Let the batter rest. This is a non-negotiable step for the best texture. Set the bowl aside for 5 full minutes. You’ll see the batter thicken even more as the coconut flour particles swell and absorb the liquid. This resting period ensures your pancakes won’t have a gritty texture.
Step 4: Heat your pan. While the batter rests, place your skillet or griddle over medium-low heat. Coconut flour pancakes brown more quickly than regular ones, so a slightly lower heat is key. Add a small amount of coconut oil or butter and let it melt, swirling the pan to coat the surface.
Step 5: Cook the pancakes. Because the batter is thick, you’ll need to scoop it onto the pan. Use about 2 tablespoons of batter per pancake, and use the back of your spoon to gently spread it into a circle about 3-4 inches wide. Cook for 3-4 minutes. You’ll know it’s time to flip when the edges look set and dry, and bubbles have formed on the surface and started to pop.
Step 6: Flip and finish cooking. Slide your spatula underneath and flip each pancake confidently. They should be a lovely golden brown. Cook for another 2-3 minutes on the second side until cooked through. The second side always cooks faster. You can check for doneness by pressing gently in the center—it should spring back.
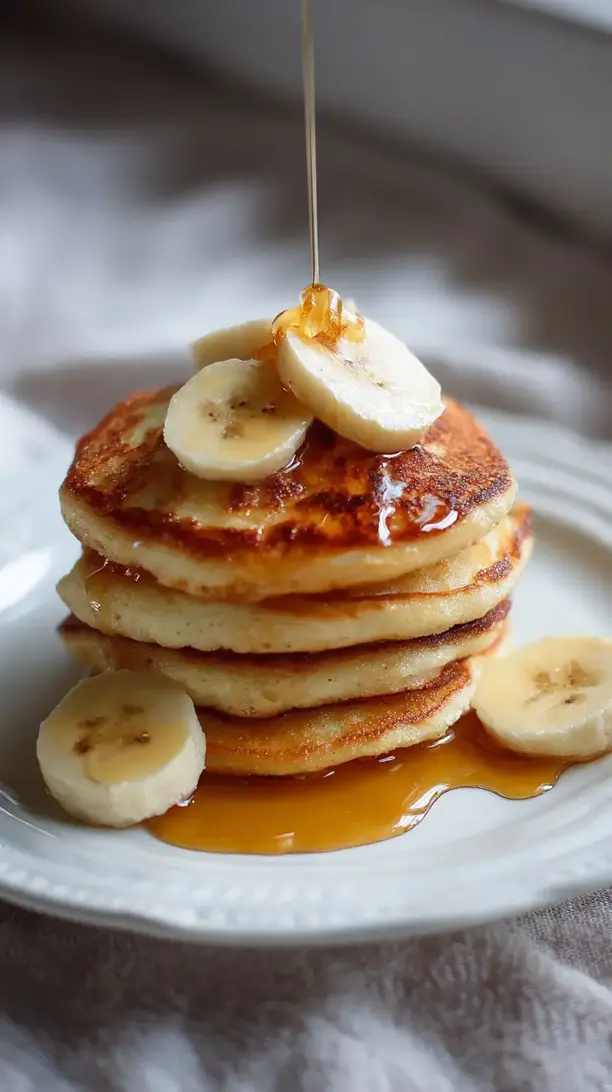
Step 7: Serve immediately. Pancakes are always best right off the griddle! Stack them high on a warm plate and add your favorite toppings. They are deliciously tender and have a wonderful, subtle coconut aroma.
Serving Suggestions
Complementary Dishes
- Crispy bacon or sausage links — The salty, savory crunch is the perfect counterpoint to the sweet, soft pancakes.
- Fresh berry compote — Simply simmer a mix of berries with a little maple syrup for a vibrant, tart sauce that cuts through the richness.
- Scrambled eggs with herbs — A classic pairing that turns your pancake breakfast into a full, protein-packed feast.
Drinks
- A strong cup of coffee — The bitterness of the coffee beautifully balances the sweetness of the maple syrup and the nutty pancakes.
- Cold glass of whole milk — A nostalgic, comforting choice that just feels right with a stack of warm pancakes.
- Freshly squeezed orange juice — The bright, citrusy acidity wakes up your palate and complements the meal perfectly.
Something Sweet
- Warm maple syrup — It’s a classic for a reason. The deep, caramel-like flavor seeps into every nook and cranny.
- A dollop of whipped coconut cream — For an extra indulgent, dairy-free option that enhances the coconut theme.
- A sprinkle of toasted coconut flakes — This adds a wonderful crunch and intensifies the coconut flavor in every bite.
Top Mistakes to Avoid
- Mistake: Cooking on too high heat. Coconut flour contains natural sugars that caramelize and burn easily. If your pan is too hot, the outside will be dark before the inside is cooked. Medium-low heat is your friend here.
- Mistake: Not whisking the dry ingredients in fast enough. I’ve messed this up before too… if you hesitate, the coconut flour will form stubborn little lumps that are almost impossible to whisk out later. Be decisive!
- Mistake: Skipping the batter rest. It might be tempting to rush, but those 5 minutes make a world of difference in the final texture, transforming it from potentially gritty to perfectly smooth.
- Mistake: Making the pancakes too big. Because they are more delicate, smaller pancakes are much easier to flip successfully without breaking. Aim for a manageable 3-4 inch diameter.
Expert Tips
- Tip: Use a cookie scoop for perfectly shaped pancakes. A spring-loaded ice cream or cookie scoop makes portioning the thick batter incredibly easy and ensures all your pancakes are the same size, so they cook evenly.
- Tip: Keep finished pancakes warm in a low oven. If you’re making a big batch, heat your oven to 200°F (95°C) and place the cooked pancakes on a baking sheet inside. This keeps them warm and delightful for everyone to eat at once.
- Tip: Add mix-ins for fun variations. After the batter has rested, gently fold in a handful of blueberries, dark chocolate chips, or even some lemon zest for a bright twist. The possibilities are endless!
- Tip: Don’t press down on the pancakes with your spatula. This is a common habit, but it squeezes out the air bubbles that create a light, fluffy texture. Just let them be and they’ll cook up perfectly.
FAQs
Can I make these pancakes dairy-free?
Absolutely! This recipe is very easy to adapt. Simply use your favorite unsweetened non-dairy milk, such as almond milk, oat milk, or canned coconut milk. Canned coconut milk will make them even richer and more coconut-forward. The rest of the recipe remains exactly the same, and you’ll still get fantastic results.
Why did my pancakes fall apart when I flipped them?
This usually happens for one of two reasons. First, you might have flipped them too early. Wait until the edges look set and the bubbles on the surface have popped and don’t fill back in. Second, your pan might not have been properly greased. Coconut flour batter can be a bit sticky, so make sure you’re using enough fat (butter or coconut oil) to create a non-stick surface for each batch.
Can I freeze these coconut flour pancakes?
You sure can! They freeze beautifully. Let the cooked pancakes cool completely on a wire rack. Then, place them in a single layer on a parchment-lined baking sheet and freeze until solid. Once frozen, transfer them to a freezer-safe bag. They’ll keep for up to 2 months. To reheat, just pop them in the toaster or a warm oven until heated through.
Can I substitute another flour for the coconut flour?
I wouldn’t recommend a direct 1:1 substitution. Coconut flour is unique in its high absorbency. If you try to use almond flour or oat flour in the same quantity, the batter will be far too wet and the pancakes won’t hold their shape. Each gluten-free flour behaves very differently, so it’s best to use a recipe specifically designed for that flour.
My batter seems too thick, should I add more liquid?
Before you add more liquid, make sure you’ve let the batter rest for the full 5 minutes. It will thicken significantly. After resting, if it seems impossibly thick—like cookie dough—and difficult to scoop, then yes, add another tablespoon of milk at a time until it reaches a scoopable but still very thick consistency. Remember, it’s not supposed to be a thin, pourable batter.
Coconut Flour Pancakes
Discover the secret to fluffy gluten-free coconut flour pancakes! This easy one-bowl recipe creates tender, protein-packed pancakes perfect for a satisfying weekend breakfast.
Ingredients
Ingredients
-
4 large eggs (at room temperature)
-
1/2 cup milk of choice (whole milk, almond, or coconut milk all work beautifully)
-
2 tablespoons maple syrup or honey
-
1 teaspoon vanilla extract
-
1/4 cup coconut flour
-
1/4 teaspoon baking soda
-
1/4 teaspoon salt
-
Coconut oil or butter (for greasing the pan)
Instructions
-
Combine the wet ingredients. In your mixing bowl, crack the eggs and whisk them until they're smooth and a little frothy. This initial whisking adds air, which helps with the fluffiness. Then, pour in the milk, maple syrup, and vanilla extract. Whisk everything together until it's well combined and uniform in color. You'll notice the mixture is quite liquid at this stage—that's exactly what you want.01
-
Add the dry ingredients. Here's where you need to be a bit careful. Sprinkle the coconut flour, baking soda, and salt over the wet ingredients. The trick is to whisk immediately and vigorously. If you don't, the coconut flour will clump up the second it hits the liquid. Whisk until you have a smooth, thick batter with no dry spots of flour visible. It will look very different from a traditional pancake batter—thick, almost like a muffin batter.02
-
Let the batter rest. This is a non-negotiable step for the best texture. Set the bowl aside for 5 full minutes. You'll see the batter thicken even more as the coconut flour particles swell and absorb the liquid. This resting period ensures your pancakes won't have a gritty texture.03
-
Heat your pan. While the batter rests, place your skillet or griddle over medium-low heat. Coconut flour pancakes brown more quickly than regular ones, so a slightly lower heat is key. Add a small amount of coconut oil or butter and let it melt, swirling the pan to coat the surface.04
-
Cook the pancakes. Because the batter is thick, you'll need to scoop it onto the pan. Use about 2 tablespoons of batter per pancake, and use the back of your spoon to gently spread it into a circle about 3-4 inches wide. Cook for 3-4 minutes. You'll know it's time to flip when the edges look set and dry, and bubbles have formed on the surface and started to pop.05
-
Flip and finish cooking. Slide your spatula underneath and flip each pancake confidently. They should be a lovely golden brown. Cook for another 2-3 minutes on the second side until cooked through. The second side always cooks faster. You can check for doneness by pressing gently in the center—it should spring back.06
-
Serve immediately. Pancakes are always best right off the griddle! Stack them high on a warm plate and add your favorite toppings. They are deliciously tender and have a wonderful, subtle coconut aroma.07