Why You’ll Love This Spicy Roasted Pumpkin Seeds
- Zero-waste deliciousness. You’re taking something that usually gets composted and turning it into a crave-worthy treat. It feels good to be resourceful, and it tastes even better.
- The perfect texture. We’re aiming for a deep, golden-brown roast that gives you an incredible crunch with every single bite. They’re light, they’re crispy, and they’re seriously moreish.
- Endlessly customizable heat. The spice blend here is a fantastic starting point, but you are the boss of the heat level. You can dial it up for a serious kick or keep it mellow and smoky.
- They make your house smell amazing. The scent of toasting seeds and warming spices is honestly one of the best parts of the whole process. It’s the aroma of autumn itself.
Ingredients & Tools
- 2 cups fresh pumpkin seeds, cleaned and dried
- 1 ½ tablespoons olive oil or melted coconut oil
- 1 teaspoon smoked paprika
- ½ teaspoon garlic powder
- ½ teaspoon onion powder
- ¼ to ½ teaspoon cayenne pepper (adjust to your heat preference!)
- ¾ teaspoon fine sea salt
- ¼ teaspoon freshly cracked black pepper
- A tiny pinch of sugar (optional, but it balances the heat beautifully)
Tools: A large bowl, a baking sheet, parchment paper, and a spatula.
The quality of your spices really makes a difference here—fresh smoked paprika has a deep, smoky sweetness that is just irreplaceable. And don’t skip the drying step for the seeds; it’s the secret to that ultimate crunch.
Nutrition (per serving)
- Calories: 180 kcal
- Protein: 8 g
- Fat: 14 g
- Carbohydrates: 5 g
- Fiber: 2 g
Serves: 4 | Prep Time: 10 minutes (plus drying time) | Cook Time: 20-25 minutes | Total Time: 30-35 minutes
Before You Start: Tips & Ingredient Notes
- Don’t rush the drying. After you’ve cleaned the seeds of all that stringy pumpkin pulp, pat them as dry as you can with a kitchen towel. Then, let them air-dry on the counter for a few hours or even overnight. A truly dry seed is a crispy seed.
- Embrace the cayenne control. That ¼ to ½ teaspoon range is there for a reason. If you’re sensitive to spice, start with ¼. You can always add more next time. If you love heat, go for the full half—or even a smidge more.
- The oil is your flavor vehicle. Using a good, neutral oil like olive or coconut is key. It helps the spices stick and promotes even browning. You don’t need a lot—just enough to give the seeds a light, glossy coat.
- Why the optional sugar? It might seem odd, but a tiny pinch of sugar (I’m talking less than ⅛ of a teaspoon) doesn’t make them sweet. It just helps caramelize the outside and rounds out the spicy, salty flavors perfectly.
How to Make Spicy Roasted Pumpkin Seeds
Step 1: First, you need to prep your seeds. If you’re starting with a fresh pumpkin, scoop them out and place them in a colander. Rinse them thoroughly under cool water, using your fingers to separate the seeds from the stringy orange pulp. This can be a bit messy, but it’s weirdly therapeutic. Once they’re clean, spread them out on a clean kitchen towel and pat them dry. For the crispiest results, let them air-dry for a few hours or even overnight. You’ll notice they go from wet and slimy to dry and matte.
Step 2: Now, preheat your oven to 325°F (165°C). This lower temperature is the trick—it allows the seeds to dry out and crisp up all the way through without burning the spices on the outside. Line your baking sheet with parchment paper; this prevents any sticking and makes cleanup an absolute breeze.
Step 3: Time to make the spicy coating. In a medium-sized bowl, combine the olive oil, smoked paprika, garlic powder, onion powder, cayenne, salt, black pepper, and that tiny optional pinch of sugar. Whisk it all together until it forms a beautiful, ruddy-colored paste. You’ll get this incredible aroma—smoky, garlicky, and spicy—all at once.
Step 4: Add your thoroughly dried pumpkin seeds to the bowl with the spice paste. Using a spatula or your hands (I recommend hands for the best coverage!), toss and massage the seeds until every single one is evenly coated in that glorious red-hued mixture. They should all look uniformly dressed and ready for their oven transformation.
Step 5: Spread the coated seeds out in a single, even layer on your prepared baking sheet. This is crucial for even cooking. If they’re piled on top of each other, they’ll steam instead of roast, and you’ll lose that crunch. Give them a little space to breathe.
Step 6: Place the baking sheet in the preheated oven and roast for 20 to 25 minutes. You’re looking for a deep golden brown color and a super-dry, crispy texture. About halfway through, take the tray out and give the seeds a good shake or stir with your spatula. This ensures all sides get evenly toasted and none of the edges burn.
Step 7: The most important step: let them cool completely! I know it’s tempting to eat them straight from the oven, but patience is key here. As they cool on the baking sheet, they continue to crisp up. After about 10-15 minutes, you’ll have the perfect, snappy, addictive snack you were waiting for.
Serving Suggestions
Complementary Dishes
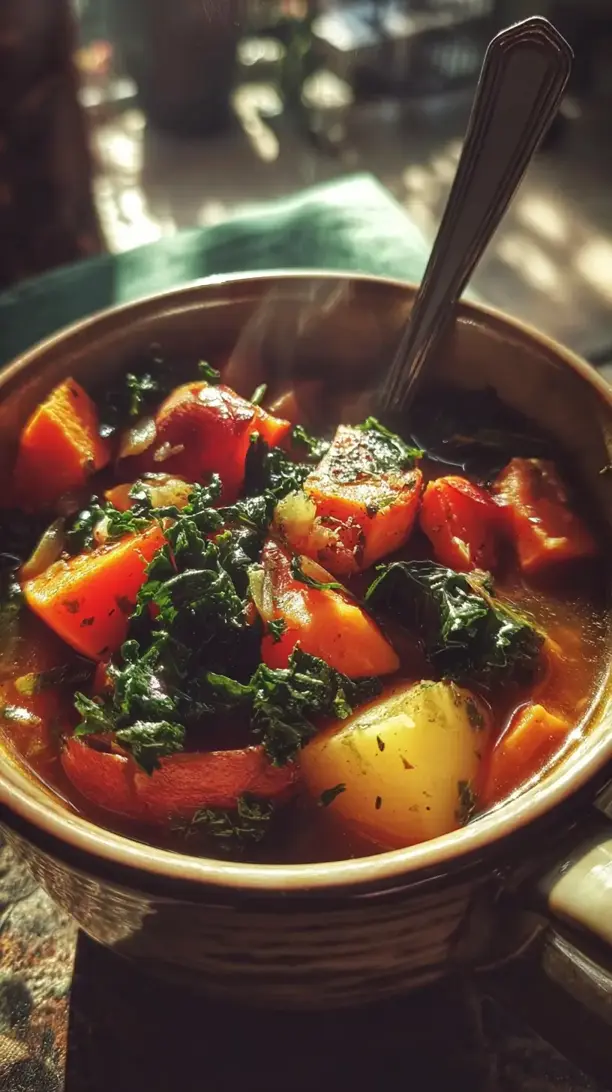
- A warm bowl of butternut squash soup — The creamy, sweet soup is a fantastic counterpoint to the spicy, crunchy seeds, and they make a wonderful garnish on top.
- A hearty autumn salad with kale and apples — Tossing a handful of these seeds into a salad adds a punch of protein, texture, and flavor that elevates the whole dish.
- On top of a bowl of creamy risotto — Use them as a finishing touch for a risotto; the crunch provides a lovely contrast to the soft, rich rice.
Drinks
- A crisp, cold lager or pale ale — The carbonation and slight bitterness of the beer cut through the spice and oiliness of the seeds beautifully.
- Sparkling apple cider — The sweet, effervescent bubbles are a delightful and non-alcoholic pairing that complements the smoky heat.
- A bold Zinfandel or Syrah — The jammy, peppery notes in these red wines can stand up to and even enhance the spice blend on the seeds.
Something Sweet
- A simple slice of spiced apple cake — After the savory, spicy kick, a moist, warmly spiced cake feels like the perfect, comforting follow-up.
- Dark chocolate with sea salt — A few squares of high-quality dark chocolate provide a bittersweet finish that contrasts wonderfully with the salty, spicy seeds.
- Vanilla bean ice cream — The cool, creamy sweetness is the ultimate palate cleanser and a classic way to end a snacking session.
Top Mistakes to Avoid
- Mistake: Not cleaning or drying the seeds properly. Any leftover pulp can burn in the oven, and wet seeds will steam, resulting in a chewy, not crunchy, texture. Take your time with this initial prep.
- Mistake: Using too high of an oven temperature. It’s tempting to crank the heat to speed things up, but this will burn the delicate spices long before the inside of the seed is crisp. Low and slow is the way to go.
- Mistake: Crowding the baking sheet. If the seeds are piled on top of each other, they’ll steam and cook unevenly. A single layer is non-negotiable for that perfect, even roast.
- Mistake: Skipping the cool-down. I’ve messed this up before too—eating them hot! They will seem a bit soft straight out of the oven. The magic of the final crunch happens as they cool completely on the pan.
Expert Tips
- Tip: Taste your spice mix. Before you toss it with the seeds, dip a clean finger in and taste it. This is your chance to adjust the salt or heat level to your exact preference. You’re the chef!
- Tip: Experiment with other spices. This blend is a classic, but feel free to play. A little chili powder, a dash of cumin, or even some curry powder can take these in a whole new direction.
- Tip: Use them as a “crunchy condiment.” Don’t just eat them by the handful. Crush them up and use them as a breading for chicken or fish, or as a topping for mac and cheese for an incredible texture boost.
- Tip: Store them right. Once completely cool, store your seeds in an airtight container or jar at room temperature. They’ll stay crisp for up to two weeks… if they last that long!
FAQs
Can I use seeds from other squash, like butternut or acorn?
Absolutely! The method is exactly the same. Seeds from any winter squash will work wonderfully. Butternut squash seeds tend to be a bit flatter and wider, while acorn squash seeds are often smaller. Just adjust the roasting time slightly if they are much smaller—they might be done a few minutes sooner. The flavor profile will be just as delicious.
My seeds are still a bit chewy after cooling. What happened?
This almost always means they needed more time in the oven or they weren’t dry enough to start with. You can pop them back into the oven for another 5-10 minutes, but keep a very close eye on them to prevent the spices from burning. For next time, remember that a few hours of air-drying makes all the difference.
Can I make these oil-free?
You can try, but the oil is what helps the spices adhere and also promotes browning and crispiness. Without it, the spices might not stick well and the seeds could end up tasting a bit dry and dusty. If you must avoid oil, a light spritz of cooking spray can work in a pinch, but the texture won’t be quite the same.
How can I tell when they are perfectly done?
You’re looking for a few signs. Visually, they should be a deep, golden brown—not pale, but not dark brown or black. They should also feel very light and dry to the touch. The best test is to take one out, let it cool for a minute, and then taste it. It should be crunchy all the way through, not soft in the middle.
Are these gluten-free and vegan?
Yes, they are naturally both! As long as you double-check that your specific spice blends don’t contain any hidden gluten or dairy-based anti-caking agents (which is rare), this recipe is completely gluten-free and vegan. It’s a fantastic snack for almost any dietary preference.

Spicy Roasted Pumpkin Seeds
Make the best Spicy Roasted Pumpkin Seeds with this easy recipe! Crunchy, savory, and perfectly spiced. Turn pumpkin scraps into a delicious snack today!
Ingredients
For the Spice Coating
-
1 ½ tablespoons olive oil or melted coconut oil
-
1 teaspoon smoked paprika
-
½ teaspoon garlic powder
-
½ teaspoon onion powder
-
¼ to ½ teaspoon cayenne pepper
-
¾ teaspoon fine sea salt
-
¼ teaspoon freshly cracked black pepper
-
A tiny pinch sugar
For the Seeds
-
2 cups fresh pumpkin seeds (cleaned and dried)
Instructions
-
First, you need to prep your seeds. If you’re starting with a fresh pumpkin, scoop them out and place them in a colander. Rinse them thoroughly under cool water, using your fingers to separate the seeds from the stringy orange pulp. This can be a bit messy, but it’s weirdly therapeutic. Once they’re clean, spread them out on a clean kitchen towel and pat them dry. For the crispiest results, let them air-dry for a few hours or even overnight. You’ll notice they go from wet and slimy to dry and matte.01
-
Now, preheat your oven to 325°F (165°C). This lower temperature is the trick—it allows the seeds to dry out and crisp up all the way through without burning the spices on the outside. Line your baking sheet with parchment paper; this prevents any sticking and makes cleanup an absolute breeze.02
-
Time to make the spicy coating. In a medium-sized bowl, combine the olive oil, smoked paprika, garlic powder, onion powder, cayenne, salt, black pepper, and that tiny optional pinch of sugar. Whisk it all together until it forms a beautiful, ruddy-colored paste. You’ll get this incredible aroma—smoky, garlicky, and spicy—all at once.03
-
Add your thoroughly dried pumpkin seeds to the bowl with the spice paste. Using a spatula or your hands (I recommend hands for the best coverage!), toss and massage the seeds until every single one is evenly coated in that glorious red-hued mixture. They should all look uniformly dressed and ready for their oven transformation.04
-
Spread the coated seeds out in a single, even layer on your prepared baking sheet. This is crucial for even cooking. If they’re piled on top of each other, they’ll steam instead of roast, and you’ll lose that crunch. Give them a little space to breathe.05
-
Place the baking sheet in the preheated oven and roast for 20 to 25 minutes. You’re looking for a deep golden brown color and a super-dry, crispy texture. About halfway through, take the tray out and give the seeds a good shake or stir with your spatula. This ensures all sides get evenly toasted and none of the edges burn.06
-
The most important step: let them cool completely! I know it’s tempting to eat them straight from the oven, but patience is key here. As they cool on the baking sheet, they continue to crisp up. After about 10-15 minutes, you’ll have the perfect, snappy, addictive snack you were waiting for.07