
Why You’ll Love This Raspberry Whole Wheat Pancakes
- They’re the perfect texture. The combination of whole wheat and all-purpose flour gives you a pancake that’s substantial and nutty, yet still incredibly light and fluffy. You won’t end up with a dense, hockey-puck situation, I promise.
- The raspberries are a game-changer. As they cook, they soften and release their sweet-tart juices right into the batter, creating little pockets of jammy goodness. It’s a flavor explosion that’s so much better than just serving fruit on top.
- They’ll keep you full and happy. Thanks to the whole grains, these pancakes have more staying power than the classic white-flour version. You’ll feel satisfied for hours, not just ready for a nap.
- They’re incredibly versatile. Don’t have raspberries? No problem. This recipe is a fantastic base for blueberries, chopped strawberries, or even dark chocolate chips. It’s your pancake canvas.
Ingredients & Tools
- 1 cup whole wheat flour
- ½ cup all-purpose flour
- 2 tbsp sugar
- 2 tsp baking powder
- ½ tsp baking soda
- ½ tsp fine sea salt
- 1 ¼ cups buttermilk (see tips below!)
- 1 large egg
- 2 tbsp unsalted butter, melted and slightly cooled, plus more for cooking
- 1 tsp pure vanilla extract
- 1 heaping cup fresh or frozen raspberries (do not thaw if frozen)
Tools: A large mixing bowl, a medium mixing bowl, a whisk, a spatula, a griddle or large non-stick skillet, and a ¼-cup measuring cup for pouring.
You’ll notice I use a mix of flours—it’s the secret to the perfect texture. The buttermilk is also non-negotiable for its tang and its reaction with the baking soda, which gives us that beautiful lift. And honestly, using frozen raspberries is a brilliant trick; they hold their shape better and prevent the batter from turning pink too quickly.
Serves: 3-4 (makes about 10-12 pancakes) | Prep Time: 10 minutes | Cook Time: 15 minutes | Total Time: 25 minutes
Before You Start: Tips & Ingredient Notes
- Don’t overmix the batter. This is the golden rule of pancake-making. A few lumps are absolutely fine—in fact, they’re desirable. Overmixing develops the gluten in the flour and leads to tough, chewy pancakes. We want tender and fluffy.
- What if I don’t have buttermilk? No worries, it happens to the best of us. You can make a great substitute by placing 1 tablespoon of white vinegar or lemon juice in a measuring cup and adding enough regular milk to reach the 1 ¼ cup line. Stir and let it sit for 5 minutes until it curdles slightly.
- Fresh vs. frozen raspberries. Both work wonderfully! Frozen berries are fantastic because they’re available year-round and are often more affordable. Just toss them in frozen—do not thaw them, or they’ll bleed too much color into the batter.
- Get your pan properly preheated. This is crucial for that perfect golden-brown exterior. A drop of water should skitter and evaporate almost instantly on the surface before you add your batter. Patience here pays off.
How to Make Raspberry Whole Wheat Pancakes
Step 1: Combine the Dry Ingredients. In your large mixing bowl, whisk together the whole wheat flour, all-purpose flour, sugar, baking powder, baking soda, and salt. Whisking well here ensures the leavening agents are evenly distributed, which means every pancake will rise beautifully. You’ll get a lovely, uniform mixture that smells faintly nutty from the whole wheat.
Step 2: Combine the Wet Ingredients. In the medium bowl, whisk the buttermilk, egg, melted butter, and vanilla extract until smooth. The butter might look a little speckled as it hits the cold buttermilk, but that’s perfectly fine. The goal is just to have everything emulsified.
Step 3: Bring It All Together. Pour the wet ingredients into the dry ingredients. Now, with your spatula, gently fold everything together. Use a broad, sweeping motion and stop as soon as you no longer see large streaks of dry flour. I’ll say it again—lumps are your friend! A slightly shaggy batter is what we’re after.
Step 4: Gently Fold in the Raspberries. Scatter the raspberries over the top of the batter and give it just two or three more folds to incorporate them. Be gentle to avoid crushing them too much. You want them distributed, but not smeared throughout the batter.
Step 5: Let the Batter Rest. This is a sneaky-important step. Let the batter sit for about 5 minutes on the counter. This allows the whole wheat flour to hydrate fully and gives the baking powder a chance to start working its magic. You’ll see the batter puff up slightly.
Step 6: Cook to Golden Perfection. Heat your griddle or skillet over medium heat. Add a small pat of butter and swirl to coat. Using your ¼-cup measure, pour batter onto the hot surface. Cook until the edges look set and bubbles form on the surface and begin to pop, about 2-3 minutes. This is your sign to flip! Carefully slide your spatula underneath and flip each pancake. Cook for another 1-2 minutes on the second side, until golden brown and cooked through.
Step 7: Serve Immediately. The best way to enjoy pancakes is straight from the pan. Keep finished pancakes warm on a baking sheet in a low oven (about 200°F/95°C) if you’re making a big batch, but they are truly sublime served right away with a drizzle of maple syrup.
Serving Suggestions
Complementary Dishes
- Crispy Turkey Bacon or Sausage — The savory, salty crunch is the perfect counterpoint to the sweet, fluffy pancakes. It creates a classic breakfast plate that feels complete and utterly satisfying.
- Scrambled Eggs with Chives — For a protein-packed brunch, light and fluffy scrambled eggs add a creamy element that balances the heartiness of the whole wheat. The fresh chives add a lovely pop of color and mild onion flavor.
Drinks
- A Strong Cup of Coffee — The bitterness of a good dark roast coffee cuts through the sweetness of the maple syrup beautifully. It’s a non-negotiable pairing for a lazy morning.
- Freshly Squeezed Orange Juice — The bright, citrusy acidity is like a burst of sunshine that cleanses the palate between bites. It feels refreshing and classic.
Something Sweet
- Warm Maple Syrup and a Dusting of Powdered Sugar — This is the classic for a reason. The warm syrup seeps into the pancakes, and the powdered sugar adds a pretty, snowy finish and a touch of extra sweetness.
- Whipped Coconut Cream and Extra Raspberries — For a slightly more decadent, dairy-free option, a dollop of lightly sweetened coconut cream and a handful of fresh berries on top feels incredibly special.
Top Mistakes to Avoid
- Mistake: Overmixing the batter. I know I’ve mentioned it, but it’s the number one pancake faux pas. It’s so tempting to stir until it’s perfectly smooth, but resist! Overmixed batter = tough, flat pancakes. A few lumps are a sign of a light touch.
- Mistake: Cooking at the wrong temperature. If your heat is too high, the outside will burn before the inside is cooked. Too low, and you’ll get pale, greasy pancakes. Medium heat is your sweet spot—it allows for a golden-brown crust and a fully cooked, fluffy interior.
- Mistake: Pressing down on the pancakes with the spatula. You’re not making paninis! Pressing down on the pancakes as they cook squeezes out all the precious air bubbles that we worked so hard to create. Just let them be and they’ll stay fluffy.
- Mistake: Flipping too early. Wait for those bubbles to form on the surface and pop. If you try to flip too soon, the pancake might not have set enough and you’ll end up with a messy, uneven flip. Patience is a virtue here.
Expert Tips
- Tip: For super-uniform pancakes, use a squeeze bottle. Instead of a measuring cup, pour your batter into a clean, plastic squeeze bottle (like a ketchup or mustard bottle). You’ll get perfectly round pancakes every single time, and it’s fun for kids to help with too.
- Tip: Keep them warm without getting soggy. If you’re cooking for a crowd, place a wire rack on a baking sheet and keep the finished pancakes in a single layer in a 200°F/95°C oven. The rack allows air to circulate, preventing the bottoms from getting steamy and soft.
- Tip: Make a “test” pancake first. Always cook one small pancake first to test your heat level and taste for seasoning. This gives you a chance to adjust the batter (a pinch more salt? a tad more sugar?) before committing to the whole batch.
- Tip: Freeze leftovers for a quick breakfast. These pancakes freeze beautifully! Let them cool completely, then layer them between sheets of parchment paper in a freezer bag. To reheat, just pop them in the toaster straight from the freezer—they’ll be ready in minutes.
FAQs
Can I make the batter the night before?
Honestly, I wouldn’t recommend it for this particular recipe. The baking powder will lose its oomph if left to sit in the liquid for too long, resulting in flat pancakes. The best make-ahead strategy is to mix the dry ingredients in one bowl and the wet in another the night before. In the morning, just combine them and cook. It takes only a minute longer and guarantees fluffy results.
Can I use only whole wheat flour?
You can, but the pancakes will be much denser and have a more pronounced, hearty wheat flavor. The combination with all-purpose flour creates a lighter texture that most people prefer. If you do use 100% whole wheat, you might need to add a tablespoon or two more buttermilk, as whole wheat flour absorbs more liquid. The batter should be thick but pourable.
My pancakes are turning out gummy in the middle. What did I do wrong?
This usually points to two things: either the heat was too high, causing the outside to cook too fast before the inside had a chance, or the pancake needed a little more time on the second side. Try reducing the heat slightly and letting the pancake cook for another 30-60 seconds after flipping. The second side usually cooks faster than the first, but it still needs a moment to work its magic.
Can I use a different type of milk instead of buttermilk?
While you can use the vinegar-milk substitute mentioned earlier, using plain milk will result in less tang and a less tender crumb. The acidity in buttermilk is crucial for activating the baking soda, which is a key leavener. For the best texture and flavor, buttermilk or a good substitute is really the way to go.
How can I tell when the pan is hot enough?
The water test is my favorite foolproof method. Flick a few drops of water onto the surface of your preheated pan or griddle. If the water droplets sizzle and dance around before evaporating, you’re good to go. If they just sit there and slowly steam, it’s not hot enough. If they instantly vanish in a violent sizzle, it might be a touch too hot—reduce the heat slightly.
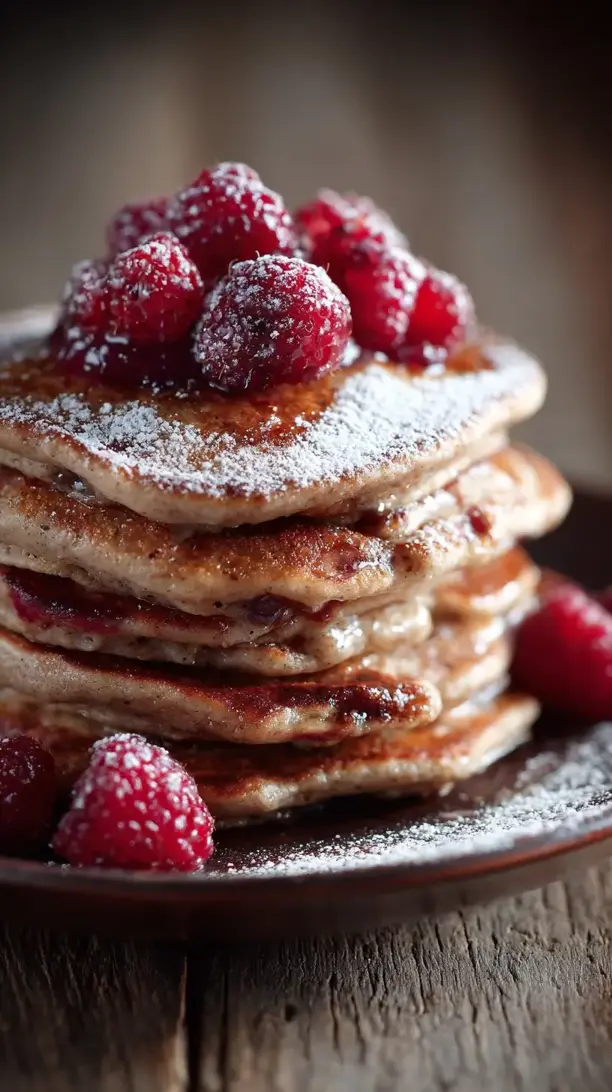
Raspberry Whole Wheat Pancakes
Wake up to fluffy raspberry whole wheat pancakes! This easy recipe from a Chicago home cook delivers the perfect balance of hearty & indulgent. Perfect for a special weekend breakfast.
Ingredients
Ingredients
-
1 cup whole wheat flour
-
½ cup all-purpose flour
-
2 tbsp sugar
-
2 tsp baking powder
-
½ tsp baking soda
-
½ tsp fine sea salt
-
1 ¼ cups buttermilk (see tips below!)
-
1 large egg
-
2 tbsp unsalted butter (melted and slightly cooled, plus more for cooking)
-
1 tsp pure vanilla extract
-
1 heaping cup fresh or frozen raspberries (do not thaw if frozen)
Instructions
-
Combine the Dry Ingredients. In your large mixing bowl, whisk together the whole wheat flour, all-purpose flour, sugar, baking powder, baking soda, and salt. Whisking well here ensures the leavening agents are evenly distributed, which means every pancake will rise beautifully. You'll get a lovely, uniform mixture that smells faintly nutty from the whole wheat.01
-
Combine the Wet Ingredients. In the medium bowl, whisk the buttermilk, egg, melted butter, and vanilla extract until smooth. The butter might look a little speckled as it hits the cold buttermilk, but that's perfectly fine. The goal is just to have everything emulsified.02
-
Bring It All Together. Pour the wet ingredients into the dry ingredients. Now, with your spatula, gently fold everything together. Use a broad, sweeping motion and stop as soon as you no longer see large streaks of dry flour. I'll say it again—lumps are your friend! A slightly shaggy batter is what we're after.03
-
Gently Fold in the Raspberries. Scatter the raspberries over the top of the batter and give it just two or three more folds to incorporate them. Be gentle to avoid crushing them too much. You want them distributed, but not smeared throughout the batter.04
-
Let the Batter Rest. This is a sneaky-important step. Let the batter sit for about 5 minutes on the counter. This allows the whole wheat flour to hydrate fully and gives the baking powder a chance to start working its magic. You'll see the batter puff up slightly.05
-
Cook to Golden Perfection. Heat your griddle or skillet over medium heat. Add a small pat of butter and swirl to coat. Using your ¼-cup measure, pour batter onto the hot surface. Cook until the edges look set and bubbles form on the surface and begin to pop, about 2-3 minutes. This is your sign to flip! Carefully slide your spatula underneath and flip each pancake. Cook for another 1-2 minutes on the second side, until golden brown and cooked through.06
-
Serve Immediately. The best way to enjoy pancakes is straight from the pan. Keep finished pancakes warm on a baking sheet in a low oven (about 200°F/95°C) if you're making a big batch, but they are truly sublime served right away with a drizzle of maple syrup.07