
Why You’ll Love This Lemon Poppy Seed Pancakes
- A Serious Flavor Upgrade. Let’s be real, plain pancakes are great, but these are a whole new level. The lemon isn’t just a hint—it’s the star, making every bite feel fresh and vibrant, while the poppy seeds add a lovely little texture that keeps things interesting.
- They’re Surprisingly Light. Sometimes pancake recipes can leave you feeling a bit heavy, but the acidity from the lemon juice and buttermilk in this batter works to create an incredibly tender and airy crumb. You’ll be surprised at how fluffy they turn out.
- They Make Any Morning Special. Whether it’s a slow Sunday, a birthday breakfast, or you just want to treat yourself on a random Tuesday, these pancakes turn an ordinary meal into a small celebration. The bright yellow color and specks of poppy seeds just look so happy.
- Incredibly Simple to Whip Up. You don’t need any special equipment or advanced baking skills. It’s a straightforward, one-bowl batter that comes together in about 10 minutes. The hardest part is waiting for that first batch to cook on the griddle.
Ingredients & Tools
- 240 g all-purpose flour
- 2 tbsp granulated sugar
- 2 tsp baking powder
- 1/2 tsp baking soda
- 1/2 tsp fine sea salt
- 480 ml buttermilk, well-shaken
- 1 large egg
- 2 tbsp unsalted butter, melted and slightly cooled, plus more for cooking
- Zest of 2 medium lemons
- 3 tbsp fresh lemon juice (from about 1-1.5 lemons)
- 1 tbsp poppy seeds
- 1 tsp vanilla extract (optional, but lovely)
Tools: A large mixing bowl, whisk, measuring spoons and cups, a microplane or fine grater for zesting, a juicer, a large non-stick skillet or griddle, and a spatula.
A quick note on a couple of these: using fresh lemon zest and juice is non-negotiable for the best flavor—bottled juice just won’t give you that same bright, aromatic punch. And the buttermilk is key for that signature tang and tenderness, so I really don’t recommend substituting it if you can help it.
Serves: 3-4 (makes about 10-12 pancakes) | Prep Time: 10 minutes | Cook Time: 15 minutes | Total Time: 25 minutes
Before You Start: Tips & Ingredient Notes
- Zest First, Juice Second. This is the golden rule for any lemon recipe. Always zest your lemons before you cut and juice them. It’s infinitely easier and you won’t be wrestling with a slippery, half-squeezed lemon.
- Don’t Over-mix the Batter. I know it’s tempting to whisk until it’s perfectly smooth, but a few lumps are your friend. Over-mixing develops the gluten in the flour, which can lead to tough, chewy pancakes instead of light, fluffy ones. A gentle hand is the secret.
- Why Buttermilk? Buttermilk’s acidity reacts with the baking soda, creating tons of little air bubbles that give the pancakes their lift. It also adds a wonderful tang that balances the sweetness and lemon flavor perfectly. If you’re in a real pinch, you can make a substitute by adding 1 tablespoon of lemon juice or vinegar to regular milk and letting it sit for 5 minutes, but real buttermilk is best.
- Test Your Pan’s Temperature. Getting the heat right is crucial. Too hot, and the outside burns before the inside cooks; too low, and you’ll get pale, greasy pancakes. A drop of water should sizzle and dance across the surface before you add the batter.
How to Make Lemon Poppy Seed Pancakes
Step 1: Combine Your Dry Ingredients. In your large mixing bowl, whisk together the flour, sugar, baking powder, baking soda, and salt. You want to make sure the leavening agents are evenly distributed throughout the flour—this ensures every pancake gets an equal lift. Give it a good 20-second whisk until it looks uniform.
Step 2: Whisk the Wet Ingredients Together. In a separate medium bowl or a large measuring jug, whisk the buttermilk, egg, melted (and slightly cooled) butter, lemon zest, lemon juice, and poppy seeds together. The mixture might look a little curdled because of the lemon juice hitting the buttermilk—that’s totally normal and absolutely fine. Don’t worry about it!
Step 3: Bring the Batter Together. Pour the wet ingredients into the dry ingredients. Now, use your whisk and gently stir. I mean it—be gentle! Stir just until the flour is moistened. The batter will be thick and lumpy, and you’ll see little pockets of flour. Stop right there! A lumpy batter makes for fluffy pancakes, I promise you.
Step 4: Let the Batter Rest. This is a small but mighty step. Let the batter sit untouched for about 5 minutes while you heat your skillet. This allows the flour to fully hydrate and the baking powder to start activating, which gives you a more consistent texture and better rise.
Step 5: Heat and Grease Your Skillet. Place your non-stick skillet or griddle over medium heat. Add a small pat of butter or a drizzle of neutral oil. You want it to melt and coat the surface, but not smoke. If it smokes immediately, your pan is too hot. Wipe out any excess with a paper towel for even browning.
Step 6: Cook to Golden-Brown Perfection. For each pancake, pour about 1/4 cup of batter onto the hot skillet. You’ll notice little bubbles start to form on the surface and the edges will look set after about 2-3 minutes. This is your sign. Slide your spatula underneath and flip! Cook for another 1-2 minutes on the second side until it’s golden brown and cooked through.
Step 7: Keep Them Warm. As you cook subsequent batches, transfer the finished pancakes to a wire rack placed on a baking sheet in a 95°C (200°F) oven. This keeps them warm and crispy-edged without getting soggy, which is what happens if you stack them on a plate.
Serving Suggestions
Complementary Dishes
- Crispy Turkey Bacon or Sausage — The salty, savory crunch is a fantastic contrast to the bright, sweet-tangy pancakes. It creates a really balanced breakfast plate.
- Fresh Mixed Berries — A handful of raspberries, blueberries, or sliced strawberries adds a juicy, fresh element and a pop of color that looks beautiful against the yellow pancakes.
- Lightly Buttered Asparagus Spears — This might sound unusual, but for a brunch, it’s wonderful. The earthy, green flavor of asparagus complements the lemon beautifully.
Drinks
- A Hot Cup of Earl Grey Tea — The bergamot in the tea echoes the citrus notes in the pancakes, creating a really harmonious flavor experience.
- Freshly Squeezed Orange Juice — It’s a classic for a reason. The sweet-tart juice enhances the citrus theme and feels incredibly refreshing.
- Iced Coffee with a Lemon Twist — Trust me on this. The bitterness of the coffee alongside the zestiness of the pancakes is a surprisingly sophisticated and delicious combination.
Something Sweet
- Lemon Curd or Blueberry Compote — Instead of syrup, try warming up some lemon curd or a quick blueberry compote. It doubles down on the fruity flavors in the most delightful way.
- Whipped Coconut Cream — For a dairy-free option, a dollop of lightly sweetened coconut cream adds a lovely tropical note and a cloud-like texture.
- A Dusting of Powdered Sugar — Sometimes simple is best. A light snowfall of powdered sugar looks elegant and adds just the right amount of sweetness without overpowering the lemon.
Top Mistakes to Avoid
- Mistake: Measuring Flour Incorrectly. Scooping the measuring cup directly into the flour bag packs it down, leading to over-measuring and dense pancakes. Instead, spoon the flour into the measuring cup and level it off with a knife for accuracy.
- Mistake: Flipping the Pancakes Too Often. I’ve messed this up before too—the urge to peek is strong! But flipping them more than once interrupts the cooking process. Let them do their thing until the bubbles form and the edges are set, then flip just once.
- Mistake: Using a Blazing Hot Pan. If your pan is too hot, the outside will burn before the middle has a chance to cook through. You’ll end up with a blackened exterior and a raw, gummy center. Medium heat is your sweet spot.
- Mistake: Pressing Down on the Pancakes with the Spatula. This isn’t a burger patty! Pressing down squeezes out all the precious air bubbles you worked so hard to create, resulting in flat, dense pancakes. Just let them be.
Expert Tips
- Tip: Make a “Test Pancake.” Always cook one small, single pancake first to test your batter consistency and pan temperature. It’s your chance to adjust—add a splash more buttermilk if it’s too thick, or turn the heat down if it’s browning too fast—before committing to a whole batch.
- Tip: Use an Ice Cream Scoop for Portioning. For perfectly uniform pancakes that all cook at the same rate, use a trigger-release ice cream scoop. It’s so much cleaner and easier than pouring from a measuring cup or a ladle.
- Tip: Infuse Your Syrup. Take your maple syrup to the next level by warming it gently in a saucepan with a few strips of lemon zest. Let it steep for 5-10 minutes off the heat before serving. It’s a simple trick with a huge payoff.
- Tip: Freeze for a Quick Future Breakfast. These pancakes freeze beautifully. Let them cool completely, then layer them between sheets of parchment paper in a freezer bag. To reheat, just pop them straight into the toaster—they’ll be just as good as the day you made them.
FAQs
Can I make the batter the night before?
Honestly, I don’t recommend it for the fluffiest results. The baking powder will lose its potency overnight, and the batter can become a bit grey and gummy. For the best texture, mix the batter fresh in the morning. However, you can get a head start by measuring out your dry ingredients and wet ingredients into separate containers the night before. In the morning, just combine them—it takes less than 5 minutes!
My pancakes are coming out flat. What did I do wrong?
Flat pancakes are usually a sign of old or expired leavening agents (baking powder/soda). They lose their power over time. If your containers have been open for more than 6 months, it’s time to replace them. Another culprit could be over-mixing the batter, which deflates all the air bubbles. Remember, lumpy batter is a good thing!
Can I make these gluten-free or dairy-free?
Absolutely! For gluten-free, use a 1:1 gluten-free flour blend (I like ones with xanthan gum already included). For dairy-free, replace the buttermilk with an equal amount of plain, unsweetened almond milk or soy milk mixed with 1 tablespoon of lemon juice. Use a neutral oil or vegan butter instead of the melted butter. The results are still fantastic.
Why did my pancake batter turn a weird blue/grey color?
Don’t panic! This is a harmless chemical reaction that can happen when the acid from the lemon juice interacts with the baking soda and the pigments in the poppy seeds. It’s completely normal and won’t affect the taste at all. Your pancakes will still cook up to a lovely golden brown.
What’s the best way to reheat leftover pancakes?
The absolute best method is to reheat them in a toaster or a toaster oven. This brings back their crispy edges and warm, fluffy interior. Microwaving will make them soft and steamy, which isn’t ideal. If you’re reheating a larger batch, spread them on a baking sheet and warm them in a 175°C (350°F) oven for about 5-8 minutes.
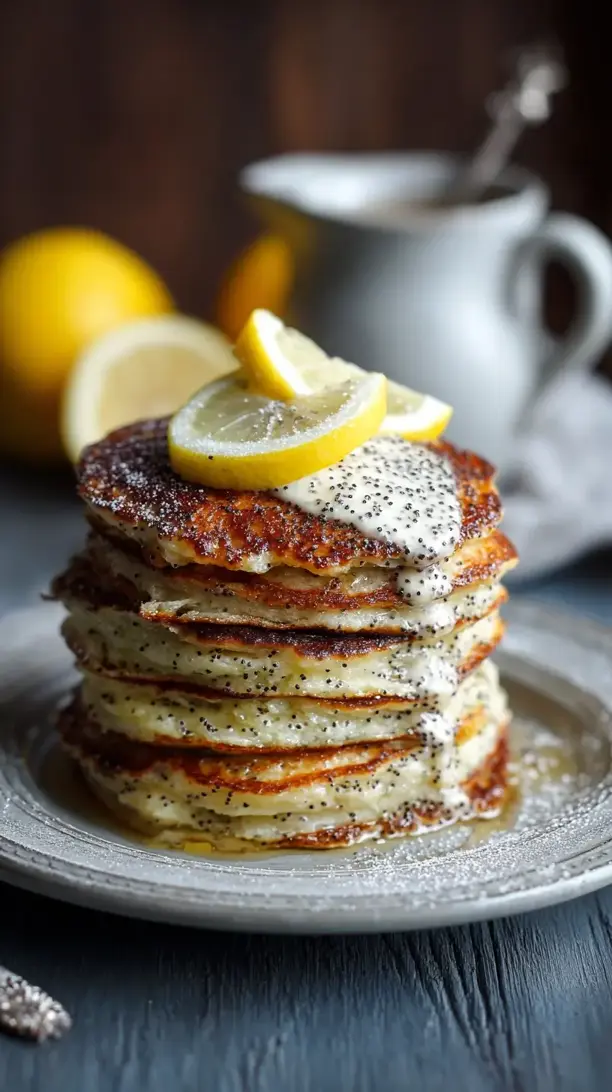
Lemon Poppy Seed Pancakes
Whip up the fluffiest Lemon Poppy Seed Pancakes! This easy, one-bowl recipe from a Chicago home cook delivers a burst of sunny flavor. Perfect for a special weekend breakfast.
Ingredients
Ingredients
-
240 g all-purpose flour
-
2 tbsp granulated sugar
-
2 tsp baking powder
-
1/2 tsp baking soda
-
1/2 tsp fine sea salt
-
480 ml buttermilk (well-shaken)
-
1 large egg
-
2 tbsp unsalted butter (melted and slightly cooled, plus more for cooking)
-
2 medium lemons (zest only)
-
3 tbsp fresh lemon juice (from about 1-1.5 lemons)
-
1 tbsp poppy seeds
-
1 tsp vanilla extract (optional, but lovely)
Instructions
-
Combine Your Dry Ingredients. In your large mixing bowl, whisk together the flour, sugar, baking powder, baking soda, and salt. You want to make sure the leavening agents are evenly distributed throughout the flour—this ensures every pancake gets an equal lift. Give it a good 20-second whisk until it looks uniform.01
-
Whisk the Wet Ingredients Together. In a separate medium bowl or a large measuring jug, whisk the buttermilk, egg, melted (and slightly cooled) butter, lemon zest, lemon juice, and poppy seeds together. The mixture might look a little curdled because of the lemon juice hitting the buttermilk—that's totally normal and absolutely fine. Don't worry about it!02
-
Bring the Batter Together. Pour the wet ingredients into the dry ingredients. Now, use your whisk and gently stir. I mean it—be gentle! Stir just until the flour is moistened. The batter will be thick and lumpy, and you'll see little pockets of flour. Stop right there! A lumpy batter makes for fluffy pancakes, I promise you.03
-
Let the Batter Rest. This is a small but mighty step. Let the batter sit untouched for about 5 minutes while you heat your skillet. This allows the flour to fully hydrate and the baking powder to start activating, which gives you a more consistent texture and better rise.04
-
Heat and Grease Your Skillet. Place your non-stick skillet or griddle over medium heat. Add a small pat of butter or a drizzle of neutral oil. You want it to melt and coat the surface, but not smoke. If it smokes immediately, your pan is too hot. Wipe out any excess with a paper towel for even browning.05
-
Cook to Golden-Brown Perfection. For each pancake, pour about 1/4 cup of batter onto the hot skillet. You'll notice little bubbles start to form on the surface and the edges will look set after about 2-3 minutes. This is your sign. Slide your spatula underneath and flip! Cook for another 1-2 minutes on the second side until it's golden brown and cooked through.06
-
Keep Them Warm. As you cook subsequent batches, transfer the finished pancakes to a wire rack placed on a baking sheet in a 95°C (200°F) oven. This keeps them warm and crispy-edged without getting soggy, which is what happens if you stack them on a plate.07