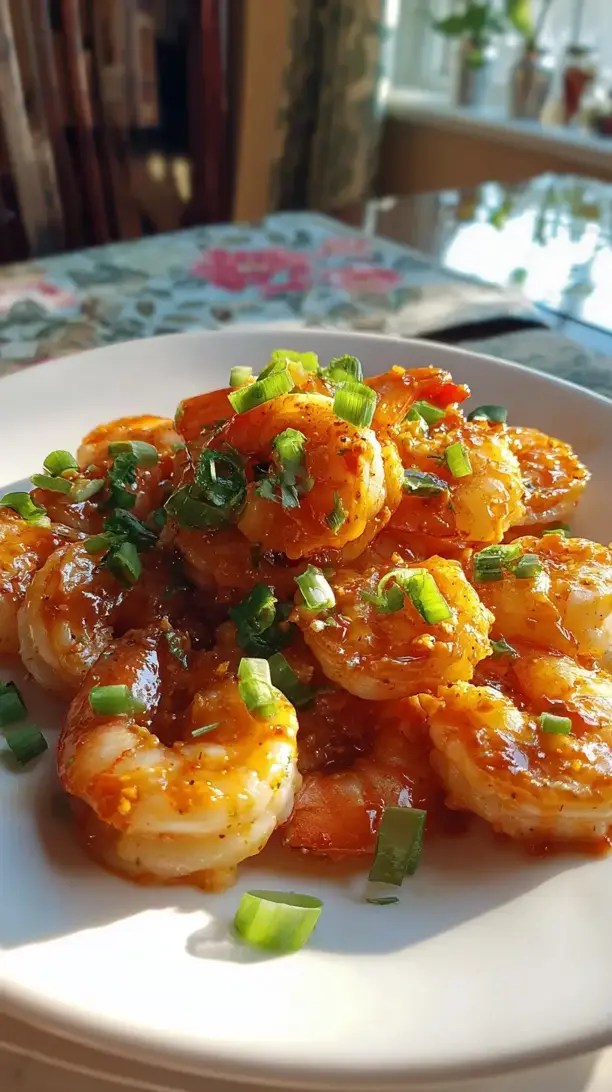
Sweet honey meets fiery sriracha in this magical Honey Sriracha Shrimp. It’s a quick, crowd-pleasing dish ready in under 20 minutes. The sticky, glossy sauce clings to plump shrimp for a perfectly balanced sweet-heat kick.
Why You’ll Love This Honey Sriracha Shrimp
- Incredibly fast: From fridge to plate in under 20 minutes.
- Perfect sweet-heat balance: Honey tempers the sriracha for exciting but not overwhelming flavor.
- Surprisingly versatile: Serve over rice, with noodles, in tacos, or on a salad.
- Minimal cleanup: Mix the sauce and cook the shrimp all in one pan.
Ingredients & Tools
- 450 g large raw shrimp, peeled and deveined
- 3 tbsp honey
- 2 tbsp sriracha sauce
- 2 tbsp soy sauce
- 1 tbsp rice vinegar
- 2 cloves garlic, minced
- 1 tsp fresh ginger, grated
- 1 tbsp vegetable oil
- 1 tbsp sesame oil
- 2 spring onions, sliced
- 1 tbsp sesame seeds, for garnish
Tools: A large skillet or wok, a small bowl for mixing the sauce, and a microplane or fine grater for the ginger.
Notes: The quality of your honey and sriracha really matters here—they form the foundation of the sauce. Using fresh ginger and garlic, rather than powdered, makes a noticeable difference in the aroma and depth of flavor.
Nutrition (per serving)
| Calories: | 285 kcal |
| Protein: | 24 g |
| Fat: | 10 g |
| Carbs: | 24 g |
| Fiber: | 1 g |
Serves: 3 | Prep Time: 10 minutes | Cook Time: 8 minutes | Total Time: 18 minutes
Before You Start: Tips & Ingredient Notes
- Pat your shrimp dry. This is a small but crucial step. Moisture on the shrimp will steam them instead of giving them a nice sear, so take a moment to dry them thoroughly with a paper towel.
- Taste your sriracha first. Sriracha can vary in heat level between brands. Give it a quick taste so you can adjust the amount in the sauce to your personal preference—you can always add more later.
- Have everything prepped and ready. Because the cooking process is so fast, you won’t have time to mince garlic or grate ginger once the shrimp are in the pan. Get all your ingredients measured and within arm’s reach.
- Don’t skip the sesame oil. It’s added at the end for a reason! Toasted sesame oil has a low smoke point and a delicate, nutty flavor that can become bitter if cooked for too long.
How to Make Honey Sriracha Shrimp
Step 1: Start by preparing your shrimp. If they’re frozen, make sure they are fully thawed and patted completely dry with paper towels. This is the secret to getting a good sear rather than a steam. Season the shrimp lightly with a pinch of salt and pepper. In a small bowl, whisk together the honey, sriracha, soy sauce, and rice vinegar until well combined. You’ll notice the sauce is quite liquid at this stage—that’s perfect, as it will reduce and thicken beautifully later.
Step 2: Heat the vegetable oil in a large skillet or wok over medium-high heat. You want the pan to be properly hot before adding the shrimp. A good test is when a drop of water sizzles and evaporates instantly. Carefully add the shrimp to the hot pan in a single layer, making sure they aren’t crowded. Crowding will cause them to steam. Let them cook undisturbed for about 1-2 minutes until the bottoms turn pink and develop a slight sear.
Step 3: Flip the shrimp and cook for another minute on the other side. They should be mostly pink but not fully cooked through. Using tongs, remove the shrimp from the skillet and set them aside on a plate. Don’t worry, they’ll finish cooking in the sauce. You’ll notice they’ve started to curl into a loose “C” shape—this is a good sign they’re on their way to being perfectly done.
Step 4: Reduce the heat to medium and add the minced garlic and grated ginger to the same skillet. Sauté for just 30-60 seconds until they become incredibly fragrant. Be careful not to burn the garlic, as it will turn bitter. The aroma at this stage is just heavenly—savory and sharp.
Step 5: Pour the prepared honey-sriracha sauce into the skillet. It will bubble and sizzle immediately. Let it simmer for 2-3 minutes, stirring occasionally, until it reduces and thickens slightly. You’ll know it’s ready when the sauce coats the back of a spoon and has a glossy, syrupy appearance. This reduction is what creates that signature sticky glaze.
Step 6: Return the shrimp to the skillet, along with any juices that have collected on the plate. Toss everything together to coat the shrimp evenly in the glossy sauce. Let them cook for another minute or two, just until the shrimp are opaque and fully cooked through. The sauce should cling to each shrimp beautifully.
Step 7: Turn off the heat. Drizzle the tablespoon of sesame oil over the top and give it one final toss. The residual heat will warm the sesame oil, releasing its nutty aroma without burning it. Stir in most of the sliced spring onions, saving some for garnish. Transfer to a serving plate and sprinkle with sesame seeds and the remaining spring onions. Serve immediately while hot and sticky!
Storage & Freshness Guide
- Fridge: Store in an airtight container for up to 2 days.
- Freezer: Freezing is not recommended as shrimp can become rubbery upon thawing.
- Reviving: Gently reheat in a skillet over low heat with a splash of water to loosen the sauce.
Serving Suggestions
Complementary Dishes
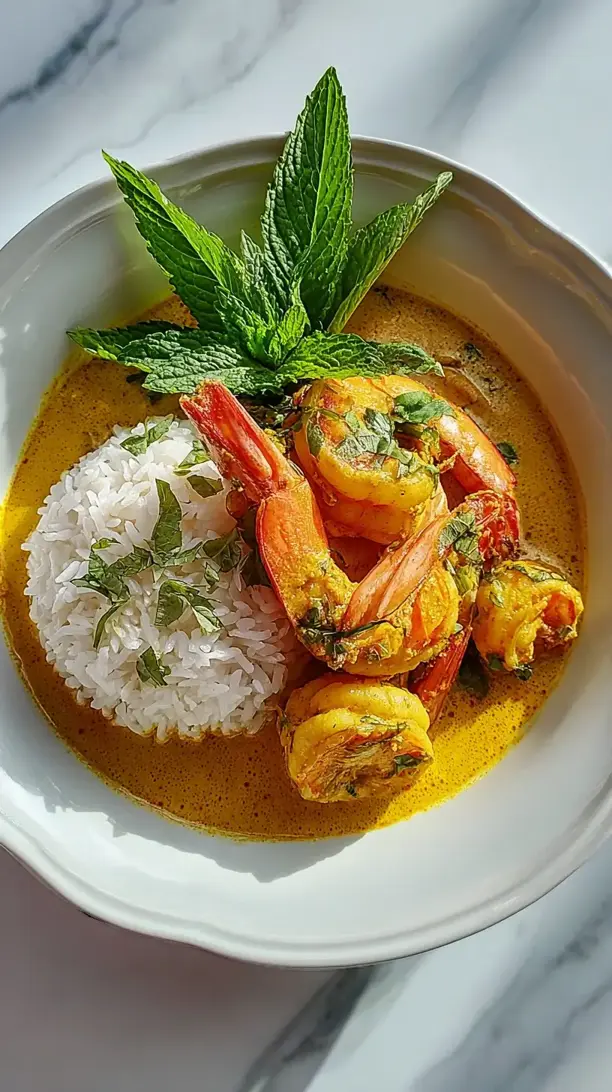
- Jasmine or Basmati Rice — The fluffy, neutral grains are the perfect canvas to soak up every last drop of the delicious sauce.
- Simple Cucumber Salad — A cool, crisp salad with a light rice vinegar dressing provides a refreshing contrast to the spicy, sticky shrimp.
- Steamed Broccoli or Bok Choy — The green vegetables add a lovely textural contrast and help balance the meal.
Drinks
- A Crisp Lager or Pale Ale — The cold, effervescent beer helps cut through the richness and spice of the dish perfectly.
- Iced Green Tea with Mint — The slight bitterness and herbal notes are a wonderfully refreshing and non-alcoholic pairing.
Something Sweet
- Mango Sticky Rice — The sweet, creamy coconut and fresh mango continue the tropical theme and provide a delightful, cooling finish.
- Lychee Sorbet — This light, floral sorbet is a palate-cleansing dream after a spicy meal.
Top Mistakes to Avoid
- Overcooking the shrimp. Shrimp cook in a flash and become rubbery and tough if left on the heat for too long. They continue to cook slightly even after being removed from the pan, so it’s better to err on the side of underdone.
- Adding the sesame oil too early. Toasted sesame oil is a finishing oil, not a cooking oil. Its delicate, nutty flavor is destroyed by high heat, leaving behind a bitter taste. Always stir it in at the very end, off the heat.
- Crowding the pan. If you dump all the shrimp in at once, they’ll release moisture and steam instead of sear. Cook in batches if your pan isn’t large enough to hold them in a single layer.
- Not reducing the sauce enough. If your sauce is too thin, it will just pool at the bottom of the plate instead of clinging to the shrimp. Let it bubble until it thickens to a syrupy consistency that coats the back of a spoon.
Expert Tips
- Tip: For an extra layer of flavor, marinate the shrimp. You can toss the raw, dried shrimp in half of the sauce mixture and let it sit in the fridge for 15-30 minutes before cooking. This gives the shrimp a deeper flavor penetration.
- Tip: If your sauce is too spicy, don’t panic! A squeeze of fresh lime juice or a tiny pinch of sugar can help balance the heat without making the dish overly sweet.
- Tip: To make the dish a complete, one-pan meal, sauté some quick-cooking vegetables like bell peppers or snap peas in the skillet after you remove the shrimp, before you make the sauce. Then proceed with the recipe as written.
- Tip: For a beautiful glossy finish and a flavor boost, add a small knob of cold butter to the sauce at the very end, after you’ve turned off the heat. Swirl it in until it melts and emulsifies into the sauce.
FAQs
Can I make this recipe with chicken instead of shrimp?
Absolutely! The sauce works wonderfully with chicken. Use boneless, skinless chicken thighs or breasts, cut into bite-sized pieces. Just be aware that chicken will take longer to cook through—about 6-8 minutes—before you remove it from the pan to make the sauce. Ensure the internal temperature reaches 74°C before serving.
How can I adjust the spice level?
The beauty of this recipe is its customizability. For milder shrimp, start with just one tablespoon of sriracha. For more heat, you can ramp it up to three tablespoons or even add a pinch of red pepper flakes to the sauce. Remember, you can always add more spice, but you can’t take it away, so start conservative.
Is there a substitute for honey?
Yes, maple syrup or agave nectar will work in a pinch and provide a similar sweetness and sticky quality. The flavor profile will shift slightly—maple syrup will give it a more robust, earthy sweetness—but it will still be delicious.
How should I store and reheat leftovers?
Store any leftovers in an airtight container in the refrigerator for up to 2 days. To reheat, gently warm them in a skillet over low heat with a tiny splash of water to loosen the sauce. Avoid the microwave if you can, as it can easily overcook the shrimp and make them rubbery.
Can I use pre-cooked shrimp?
You can, but the result won’t be quite as good. Pre-cooked shrimp are already fully cooked and can become tough when reheated in the sauce. If you must use them, add them at the very last second just to warm through, and skip the initial searing steps.
Honey Sriracha Shrimp
Make this easy Honey Sriracha Shrimp in under 20 minutes! A perfectly balanced sweet and spicy dish that's perfect over rice. Get the recipe now!
Ingredients
For the Ingredients
-
450 g large raw shrimp (peeled and deveined)
-
3 tbsp honey
-
2 tbsp sriracha sauce
-
2 tbsp soy sauce
-
1 tbsp rice vinegar
-
2 cloves garlic (minced)
-
1 tsp fresh ginger (grated)
-
1 tbsp vegetable oil
-
1 tbsp sesame oil
-
2 spring onions (sliced)
-
1 tbsp sesame seeds (for garnish)