This Hoisin Glazed Salmon recipe delivers a sweet, salty glaze that caramelizes beautifully on tender fillets. It’s a quick, impressive weeknight hero ready in under 20 minutes. The sticky hoisin glaze makes this salmon dish a guaranteed favorite.
Why You’ll Love This Hoisin Glazed Salmon
- Fast & foolproof: Ready in 15 minutes active time with minimal effort.
- Complex flavor, simple ingredients: Hoisin sauce brings sweet, salty, umami depth.
- Visually impressive: Glossy, caramelized glaze looks restaurant-worthy.
- Wonderfully versatile: Equally great over rice, salad, or in lettuce wraps.
Ingredients & Tools
- 4 (150 g each) salmon fillets, skin-on or skinless
- 60 ml hoisin sauce
- 2 tbsp soy sauce (or tamari)
- 1 tbsp rice vinegar
- 2 tsp freshly grated ginger
- 2 garlic cloves, minced
- 1 tbsp sesame oil
- 1 tbsp honey or maple syrup
- 1 tsp sriracha or chili garlic sauce (optional, for heat)
- 2 spring onions, thinly sliced
- 1 tbsp toasted sesame seeds
Tools: A small bowl for mixing, a baking sheet, parchment paper or foil, a pastry brush (helpful but not essential), and a microplane or fine grater for the ginger and garlic.
Notes: The quality of your hoisin sauce really makes a difference here—it’s the backbone of the flavor. And using fresh ginger and garlic, rather than powdered, gives the glaze a bright, aromatic kick that you’ll absolutely notice.
Nutrition (per serving)
| Calories: | 315 kcal |
| Protein: | 29 g |
| Fat: | 16 g |
| Carbs: | 12 g |
| Fiber: | 1 g |
Serves: 4 | Prep Time: 8 minutes | Cook Time: 12 minutes | Total Time: 20 minutes
Before You Start: Tips & Ingredient Notes
- What kind of salmon should I use? I prefer skin-on, center-cut fillets that are about 1-inch thick. They hold their shape beautifully and the skin gets wonderfully crispy if you sear it first. But skinless works perfectly fine, too—just reduce the cooking time by a minute or so.
- Is there a substitute for hoisin sauce? Hoisin is pretty unique, but in a pinch, you could mix oyster sauce with a bit of sugar and five-spice powder. That said, I really recommend seeking out a good-quality hoisin—it’s worth it.
- Can I make the glaze ahead of time? Absolutely! You can whisk the glaze ingredients together and store them in a jar in the fridge for up to 3 days. This makes throwing dinner together on a busy night even faster.
- Don’t skip the rice vinegar. It might seem like a small ingredient, but that little bit of acidity is crucial. It balances the sweetness of the hoisin and honey, preventing the glaze from being one-dimensional.
How to Make Hoisin Glazed Salmon
Step 1: Preheat your oven to 200°C (400°F) and line a baking sheet with parchment paper. Pat the salmon fillets completely dry with paper towels—this is a non-negotiable step for getting a nice sear and helping the glaze stick. If your fillets have skin, you can score it lightly with a sharp knife to prevent curling.
Step 2: In a small bowl, whisk together the hoisin sauce, soy sauce, rice vinegar, grated ginger, minced garlic, sesame oil, honey, and sriracha (if using) until it’s smooth and well-combined. You’ll notice the aroma is already incredible—savory, sweet, and a little spicy. Taste it and adjust if you like; a little more honey for sweetness or sriracha for heat.
Step 3: Place the salmon fillets on the prepared baking sheet. Using a pastry brush or the back of a spoon, generously coat the top and sides of each fillet with the hoisin glaze. You want a good, even layer—don’t be shy! Reserve about a quarter of the glaze for brushing on later.
Step 4: Bake the salmon for 10–12 minutes. The exact time will depend on the thickness of your fillets. You’re looking for the salmon to be opaque and flake easily with a fork, and the glaze should be bubbling and caramelized around the edges. For a more restaurant-style finish, you can pop it under the broiler for the last 1–2 minutes to really get those edges crispy.
Step 5: Carefully remove the baking sheet from the oven. Brush the salmon with the remaining reserved glaze—this second layer adds an extra punch of flavor and makes it extra glossy. Let the salmon rest for a couple of minutes on the pan; it will continue to cook a little from the residual heat.
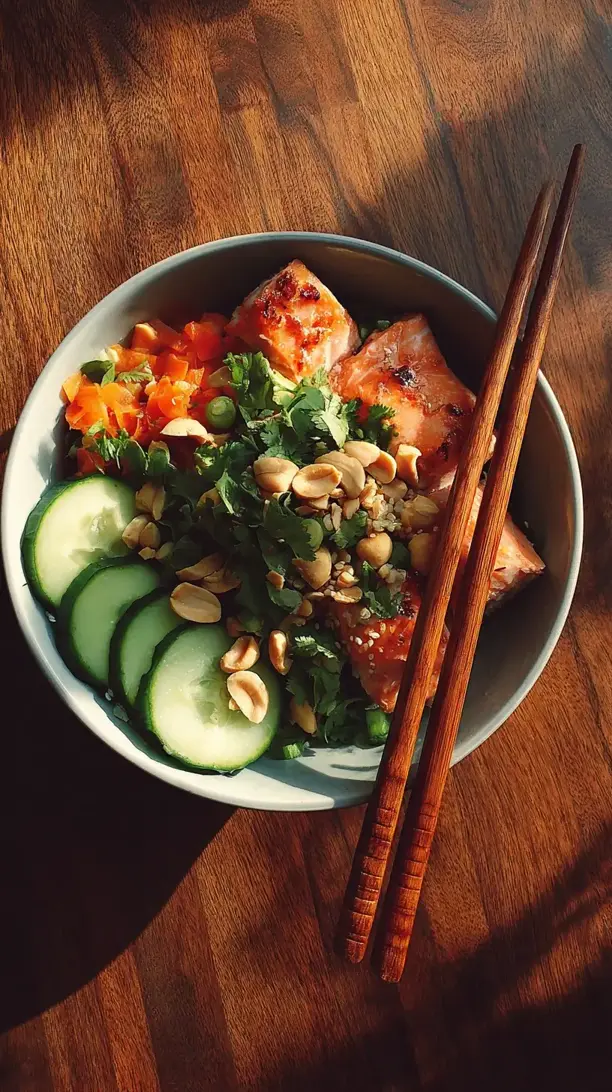
Step 6: To serve, transfer the glazed salmon to plates and immediately garnish with the sliced spring onions and a generous sprinkle of toasted sesame seeds. The heat from the salmon will wilt the spring onions slightly, which is exactly what you want. Serve it right away while it’s hot and the glaze is perfectly sticky.
Storage & Freshness Guide
- Fridge: Store leftovers in an airtight container for up to 2 days.
- Freezer: Not recommended; glaze may separate and texture can suffer.
- Reviving: Reheat gently in a toaster oven or conventional oven at 150°C (300°F) until warm.
Serving Suggestions
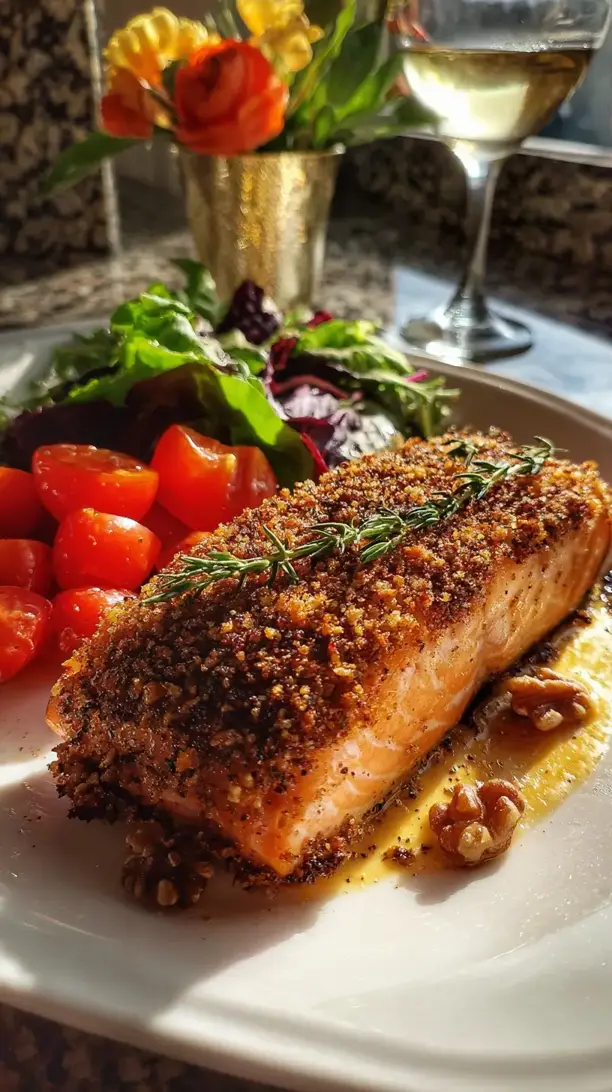
Complementary Dishes
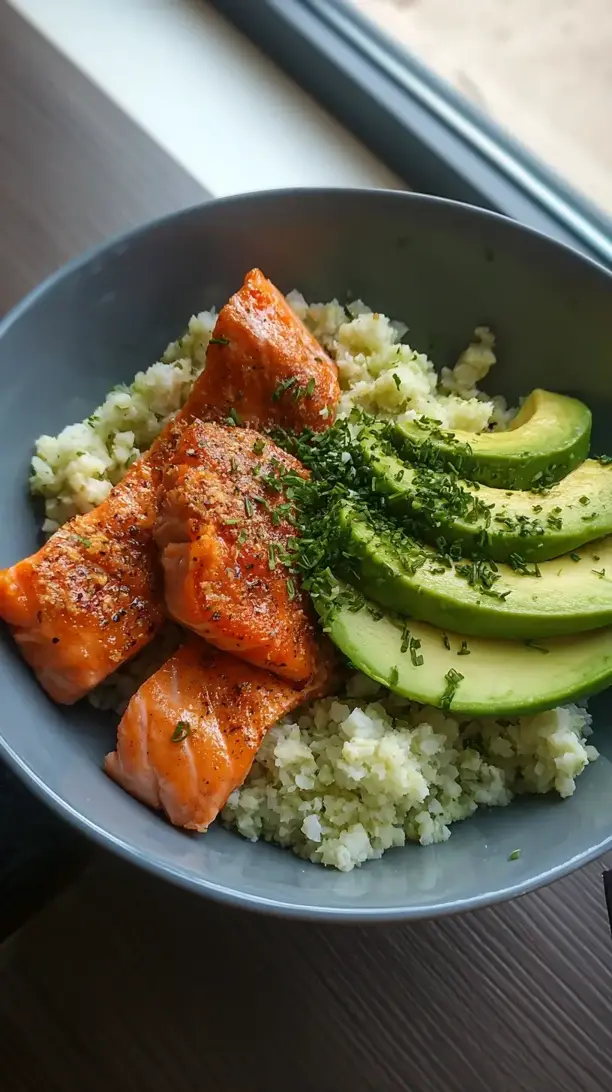
- Jasmine or brown rice — The fluffy grains are perfect for soaking up every last drop of that delicious glaze.
- Quick-pickled cucumber salad — The sharp, acidic crunch provides a fantastic contrast to the rich, sweet salmon.
- Stir-fried greens like bok choy or broccoli — Tossed with a little garlic and soy, they complete the Asian-inspired flavor profile.
Drinks
- A crisp, dry Riesling — Its slight sweetness and high acidity cut through the richness of the glaze beautifully.
- Jasmine iced tea — The floral notes are a surprisingly lovely pairing with the savory-sweet elements of the dish.
- A light lager or pilsner — The carbonation and crisp finish cleanse the palate between each flavorful bite.
Something Sweet
- Lychee sorbet — It’s light, floral, and refreshing, providing a clean finish after the bold flavors of the main course.
- Mango sticky rice — A classic Thai dessert that continues the theme of sweet and savory in the most delightful way.
- Fortune cookies and green tea — A simple, thematic end to the meal that feels just right.
Top Mistakes to Avoid
- Using a dark-colored baking sheet without parchment. Dark pans can cause the sugar in the glaze to burn on the bottom before the salmon is cooked through. Lining the pan is an easy fix.
- Not patting the salmon dry. If the surface is wet, the glaze will slide right off and you won’t get that beautiful, sticky coating. A dry surface is key for adhesion.
- Overcooking the salmon. Salmon continues to cook after it comes out of the oven. Take it out when it’s still slightly translucent in the very center—it will be perfectly done after resting. Overcooked salmon is dry and disappointing.
- Brushing with all the glaze at the beginning. Saving some glaze for after baking gives you a fresher, more potent flavor and that gorgeous glossy sheen you see in photos.
Expert Tips
- Tip: For an extra flavor boost, marinate the salmon in half of the glaze for 15–30 minutes in the fridge before baking. This allows the flavors to penetrate the fish more deeply.
- Tip: If you have time, sear the salmon skin-side down in a hot, oven-safe skillet for 2–3 minutes until the skin is crispy before transferring the whole skillet to the oven to finish. This adds incredible textural contrast.
- Tip: Add a teaspoon of cornstarch to your glaze mixture if you want it to be extra thick and lacquered. Whisk it in thoroughly to avoid lumps.
- Tip: If you love a bit of char, finish the salmon under the broiler for the last minute of cooking. Watch it closely—it can go from perfectly caramelized to burnt in seconds!
FAQs
Can I use a different type of fish?
You sure can! This glaze is fantastic on firmer white fish like cod or halibut. Just keep a close eye on the cooking time, as these types of fish can cook faster than salmon. The general rule is to cook until the fish is opaque and flakes easily. Swordfish or tuna steaks would also be wonderful here—you could even grill them for a smoky flavor.
How should I store and reheat leftovers?
Store any leftover salmon in an airtight container in the fridge for up to 2 days. To reheat, I strongly recommend using a toaster oven or a conventional oven at a low temperature (around 150°C / 300°F) until just warmed through. The microwave will make the fish rubbery and can cause the glaze to separate. No one wants that!
Is this recipe gluten-free?
It can be, easily! Just make sure to use tamari instead of regular soy sauce, and double-check the label on your hoisin sauce, as some brands contain wheat. There are several certified gluten-free hoisin options available in most well-stocked supermarkets these days.
My glaze is burning in the oven. What did I do wrong?
This usually happens if your oven is too hot or your rack is too close to the top heating element. Try lowering the temperature to 190°C (375°F) and placing the baking sheet in the center of the oven. If it’s still happening, you can tent the salmon loosely with foil for the first half of the cooking time, then remove it for the last few minutes.
Can I make this on the grill?
Absolutely, and it’s delicious! Make sure your grill grates are very clean and well-oiled to prevent sticking. Place the glazed salmon fillets on a piece of foil or in a grill basket. Grill over medium-high heat with the lid closed for about the same amount of time, or until the fish is cooked through and has nice grill marks.

Hoisin Glazed Salmon
Make easy Hoisin Glazed Salmon with a sticky, caramelized glaze in under 20 minutes. A perfect weeknight dinner that's full of flavor. Get the recipe now!
Ingredients
For the salmon and glaze:
-
4 salmon fillets (150 g each, skin-on or skinless)
-
60 ml hoisin sauce
-
2 tbsp soy sauce (or tamari)
-
1 tbsp rice vinegar
-
2 tsp freshly grated ginger
-
2 garlic cloves (minced)
-
1 tbsp sesame oil
-
1 tbsp honey or maple syrup
-
1 tsp sriracha or chili garlic sauce (optional, for heat)
For garnish:
-
2 spring onions (thinly sliced)
-
1 tbsp toasted sesame seeds
Instructions
-
Preheat your oven to 200°C (400°F) and line a baking sheet with parchment paper. Pat the salmon fillets completely dry with paper towels—this is a non-negotiable step for getting a nice sear and helping the glaze stick. If your fillets have skin, you can score it lightly with a sharp knife to prevent curling.01
-
In a small bowl, whisk together the hoisin sauce, soy sauce, rice vinegar, grated ginger, minced garlic, sesame oil, honey, and sriracha (if using) until it’s smooth and well-combined. You’ll notice the aroma is already incredible—savory, sweet, and a little spicy. Taste it and adjust if you like; a little more honey for sweetness or sriracha for heat.02
-
Place the salmon fillets on the prepared baking sheet. Using a pastry brush or the back of a spoon, generously coat the top and sides of each fillet with the hoisin glaze. You want a good, even layer—don’t be shy! Reserve about a quarter of the glaze for brushing on later.03
-
Bake the salmon for 10–12 minutes. The exact time will depend on the thickness of your fillets. You’re looking for the salmon to be opaque and flake easily with a fork, and the glaze should be bubbling and caramelized around the edges. For a more restaurant-style finish, you can pop it under the broiler for the last 1–2 minutes to really get those edges crispy.04
-
Carefully remove the baking sheet from the oven. Brush the salmon with the remaining reserved glaze—this second layer adds an extra punch of flavor and makes it extra glossy. Let the salmon rest for a couple of minutes on the pan; it will continue to cook a little from the residual heat.05
-
To serve, transfer the glazed salmon to plates and immediately garnish with the sliced spring onions and a generous sprinkle of toasted sesame seeds. The heat from the salmon will wilt the spring onions slightly, which is exactly what you want. Serve it right away while it’s hot and the glaze is perfectly sticky.06