
Why You’ll Love This Frozen Raspberry Yogurt Pops
- Incredibly Simple. Honestly, if you can press a button on a blender, you can make these. There’s no cooking, no complicated techniques—just blend, pour, and freeze.
- You Control the Ingredients. This is the biggest win. You know exactly what’s going into your pops: real fruit, real yogurt, and your choice of sweetener. No hidden nasties or unpronounceable additives.
- The Perfect Texture. The combination of the creamy yogurt and the slightly icy fruit puree creates this fantastic contrast—it’s smooth but still has a lovely, fruity bite. It’s not rock-hard like an ice cube!
- A Treat for All Ages. Kids will adore the vibrant pink color and sweet-tangy flavor, while adults will appreciate the sophisticated, not-too-sweet profile. They’re a crowd-pleaser in the best way.
Ingredients & Tools
- 340 g (about 2 cups) fresh or frozen raspberries
- 480 g (2 cups) plain, full-fat Greek yogurt
- 60-80 ml (1/4 to 1/3 cup) maple syrup or honey
- 1 teaspoon pure vanilla extract
- A pinch of fine sea salt
- 1 tablespoon fresh lemon juice (optional, but great for brightness)
Tools: A high-speed blender or food processor, popsicle molds (this recipe makes about 6-8 standard pops), popsicle sticks.
Using full-fat Greek yogurt is key here—it gives the pops a luxuriously creamy texture and helps prevent large ice crystals from forming. And that pinch of salt? It’s not for taste, really, but to make the sweet and tart flavors pop even more. A little goes a long way.
Serves: 6-8 | Prep Time: 15 minutes | Freeze Time: 4-6 hours (or overnight) | Total Time: 4+ hours
Before You Start: Tips & Ingredient Notes
- Fresh or Frozen Berries? You can use either! Frozen raspberries are often more affordable and work beautifully. If using frozen, there’s no need to thaw them completely; just let them sit out for 5-10 minutes to take the deep freeze off, which will help your blender.
- The Sweetener Swap. I love maple syrup for its neutral flavor, but honey works wonderfully too. Start with the smaller amount, blend, then taste. You can always add more, but you can’t take it out! Remember, the sweetness will taste a little muted once frozen.
- Why Full-Fat Yogurt? Low-fat or non-fat yogurts have more water content. More water means icier, harder pops. The fat in full-fat yogurt creates a smoother, creamier final product that’s easier to bite into.
- Don’t Skip the Vanilla. It might seem like a small thing, but vanilla adds a layer of warm, round flavor that complements the raspberries perfectly. It keeps the tartness from being one-dimensional.
How to Make Frozen Raspberry Yogurt Pops
Step 1: Prepare Your Raspberries. If you’re using fresh raspberries, give them a good rinse and pat them dry. If any are particularly mushy or bruised, it’s best to discard them. For frozen berries, just measure them out. You’ll notice frozen berries will give you a thicker, almost sorbet-like puree, which is fantastic.
Step 2: Create the Raspberry Puree. Place the raspberries into your blender. If you’re using the optional lemon juice, add it now. Blend on high until you have a completely smooth, vibrant puree. It will be thick and seedy—that’s exactly what we want. The seeds add a lovely texture and authentic fruitiness.
Step 3: Combine with Yogurt. Now, add the Greek yogurt, your chosen sweetener (start with the smaller amount!), vanilla extract, and that all-important pinch of salt to the blender with the raspberry puree. Blend again on medium speed until everything is fully incorporated and the mixture is a beautiful, uniform shade of pink. Stop and scrape down the sides if needed.
Step 4: The All-Important Taste Test. This is the most crucial step. Dip a spoon in and taste the mixture. Does it need more sweetness? More tartness from a bit more lemon juice? Remember, the flavors will be less intense once frozen, so it should taste a touch sweeter than you’d ideally want the final pop to be. Adjust now, then blend for a final few seconds.
Step 5: Fill the Molds. Place your popsicle molds on a stable, level surface. Carefully pour or spoon the mixture into each mold, leaving about a 1 cm gap at the top to allow for expansion as it freezes. Tap the molds gently on the counter to release any air bubbles.
Step 6: Insert the Sticks. If your molds have lids, place them on top and insert the sticks through the designated holes. If you don’t have lids, you can cover the molds with a piece of aluminum foil. Carefully poke a small hole in the foil over each mold and insert the stick. This helps keep the sticks upright.
Step 7: The Patient Wait. Transfer the molds to the freezer. They need a solid 4-6 hours to freeze completely, but overnight is even better for a perfect texture. Try not to peek too often!
Step 8: The Grand Unmolding. When you’re ready to serve, don’t just yank the sticks out! Run the outside of the mold under warm water for just 10-15 seconds. This will slightly melt the outer layer and allow the pops to slide out effortlessly. And there you have it—perfect homemade pops.
Serving Suggestions
Complementary Dishes
- A Simple Green Salad with Lemon Vinaigrette — The crisp, clean flavors of the salad provide a refreshing counterpoint to the creamy, sweet pops, making for a wonderfully light summer meal.
- Grilled Chicken or Fish Skewers — The smoky, savory notes from the grill are a fantastic prelude to the bright, cold dessert that follows. It just feels like a complete backyard feast.
- A Charcuterie or Cheese Board — For a more sophisticated gathering, serve these pops after a spread of salty cheeses and cured meats. The contrast is unexpectedly delightful.
Drinks
- Sparkling Water with a Twist of Lime — The bubbles and citrus cleanse the palate and enhance the fruity flavors of the pop without adding more sweetness.
- A Crisp Rosé or a Dry Cider — For the adults, the berry notes in a good rosé or the appley tang of a dry cider echo the fruitiness of the pops beautifully.
- Iced Herbal Tea (like Peppermint or Hibiscus) — A caffeine-free option that’s both refreshing and complementary. Hibiscus tea, in particular, shares the raspberry’s tart profile.
Something Sweet
- Dark Chocolate-Dipped Strawberries — If you’re feeling extra indulgent, the rich, bitter dark chocolate and sweet strawberries create a decadent duo with the yogurt pops.
- Simple Shortbread Cookies — Their buttery, crumbly texture is a lovely, simple accompaniment that doesn’t compete for attention but adds a nice textural element.
- A Small Bowl of Fresh Mixed Berries — Double down on the berry goodness! It’s a simple, healthy way to extend the fruity theme of the dessert.
Top Mistakes to Avoid
- Mistake: Using watery yogurt. As mentioned, low-fat yogurts have a higher water content, which will result in pops that are icy and difficult to bite into. The fat is your friend here for creaminess.
- Mistake: Not tasting the mixture before freezing. I’ve messed this up before too… you blend, pour, and freeze only to find they’re not sweet enough. Your unfrozen base should taste a little *too* sweet for your liking, as freezing dulls sweetness.
- Mistake: Overfilling the molds. Liquid expands as it freezes. If you fill the molds to the very top, you’ll end up with a messy overflow in your freezer. Leave that small gap at the top.
- Mistake: Trying to unmold without warming. Yanking on the stick will likely result in a broken pop or a stick coming out alone. The quick warm water bath is non-negotiable for a clean release.
Expert Tips
- Tip: Swirl in some texture. For a marbled effect and a bit of crunch, try this: don’t blend all the yogurt. Reserve about a third, and simply layer the raspberry puree and plain yogurt into the molds, then use a chopstick to gently swirl them together.
- Tip: Make them extra creamy. For an even richer, smoother texture akin to premium ice cream, add one tablespoon of coconut oil or a splash of heavy cream to the blender. This adds fat which inhibits ice crystal formation.
- Tip: Create a “magic shell” topping. Melt dark chocolate with a teaspoon of coconut oil. Once the pops are frozen, dip the tops in the chocolate—it will harden almost instantly into a delicious crackly shell.
- Tip: No popsicle molds? No problem. Use small paper cups instead! Pour the mixture in, cover with foil, and insert the sticks through the foil. Once frozen, you can just tear the cup away.
FAQs
Can I use a different type of berry?
Absolutely! This recipe is a fantastic blueprint for any berry. Blueberries, blackberries, and strawberries all work wonderfully. Just keep in mind that strawberries might need to be hulled and chopped, and blackberries have more seeds, which some people love for texture. The method remains exactly the same. You could even do a mixed berry version for a complex, deep flavor.
Can I make these pops dairy-free or vegan?
Yes, you can! Simply swap the Greek yogurt for a thick, creamy plant-based alternative. Coconut yogurt is my top choice because its high fat content mimics the creaminess of full-fat dairy yogurt beautifully. Just make sure it’s an unsweetened, plain variety so you can control the sugar. Use maple syrup instead of honey to keep it vegan.
How long will these keep in the freezer?
They will keep for up to 2 months if stored properly in an airtight container or if the molds are well-wrapped in plastic wrap. However, for the best texture and flavor, I recommend enjoying them within the first 2-3 weeks. After that, they can start to develop freezer burn or become excessively icy.
My pops are too hard to eat! What can I do?
This usually happens if the yogurt was low-fat or if they’ve been frozen for a very long time. Let the pop sit at room temperature for 5-7 minutes before eating. This softens it up perfectly. You can also try adding a tablespoon of alcohol like vodka (the alcohol doesn’t freeze) to the mix next time—just a tiny bit significantly softens the texture.
Can I make this without a blender?
It’s tricky, but possible if you’re determined! You’d need to mash the raspberries very thoroughly with a fork until they become a pulpy sauce, and then whisk them vigorously into the yogurt and other ingredients. The texture won’t be as smooth—it’ll be more rustic with berry chunks—but it will still taste delicious. A blender really is the best tool for the job here.
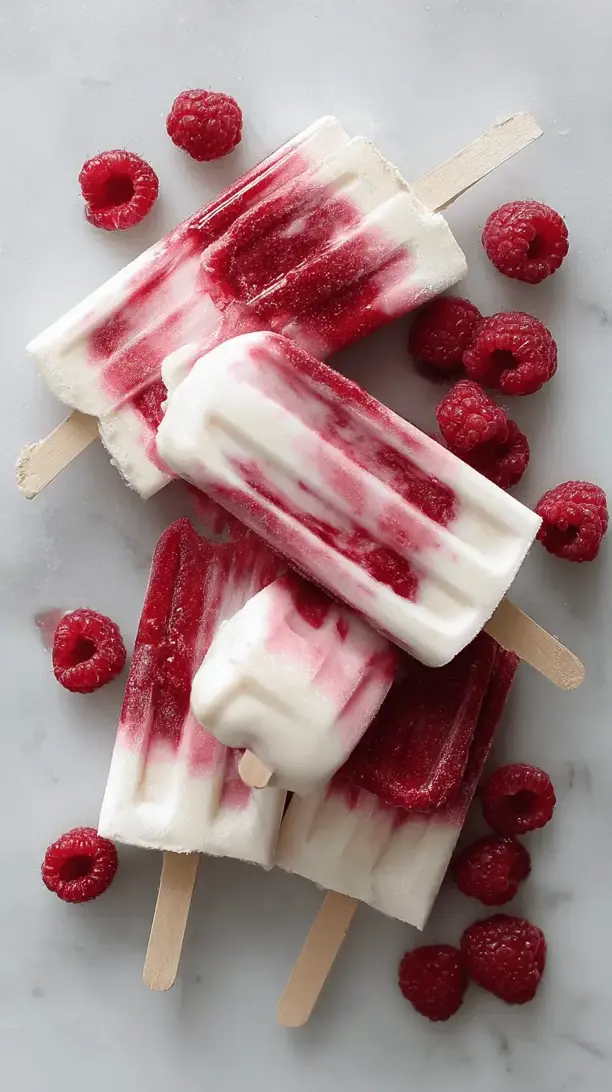
Frozen Raspberry Yogurt Pops
Whip up creamy, tangy Frozen Raspberry Yogurt Pops with just 5 ingredients! A healthy, no-bake summer treat the whole family will love. Easy recipe with Greek yogurt.
Ingredients
Ingredients
-
340 g fresh or frozen raspberries (about 2 cups)
-
480 g plain, full-fat Greek yogurt (2 cups)
-
60-80 ml maple syrup or honey (1/4 to 1/3 cup)
-
1 teaspoon pure vanilla extract
-
1 pinch fine sea salt
-
1 tablespoon fresh lemon juice (optional, but great for brightness)
Instructions
-
Prepare Your Raspberries. If you're using fresh raspberries, give them a good rinse and pat them dry. If any are particularly mushy or bruised, it's best to discard them. For frozen berries, just measure them out. You'll notice frozen berries will give you a thicker, almost sorbet-like puree, which is fantastic.01
-
Create the Raspberry Puree. Place the raspberries into your blender. If you're using the optional lemon juice, add it now. Blend on high until you have a completely smooth, vibrant puree. It will be thick and seedy—that's exactly what we want. The seeds add a lovely texture and authentic fruitiness.02
-
Combine with Yogurt. Now, add the Greek yogurt, your chosen sweetener (start with the smaller amount!), vanilla extract, and that all-important pinch of salt to the blender with the raspberry puree. Blend again on medium speed until everything is fully incorporated and the mixture is a beautiful, uniform shade of pink. Stop and scrape down the sides if needed.03
-
The All-Important Taste Test. This is the most crucial step. Dip a spoon in and taste the mixture. Does it need more sweetness? More tartness from a bit more lemon juice? Remember, the flavors will be less intense once frozen, so it should taste a touch sweeter than you'd ideally want the final pop to be. Adjust now, then blend for a final few seconds.04
-
Fill the Molds. Place your popsicle molds on a stable, level surface. Carefully pour or spoon the mixture into each mold, leaving about a 1 cm gap at the top to allow for expansion as it freezes. Tap the molds gently on the counter to release any air bubbles.05
-
Insert the Sticks. If your molds have lids, place them on top and insert the sticks through the designated holes. If you don't have lids, you can cover the molds with a piece of aluminum foil. Carefully poke a small hole in the foil over each mold and insert the stick. This helps keep the sticks upright.06
-
The Patient Wait. Transfer the molds to the freezer. They need a solid 4-6 hours to freeze completely, but overnight is even better for a perfect texture. Try not to peek too often!07
-
The Grand Unmolding. When you're ready to serve, don't just yank the sticks out! Run the outside of the mold under warm water for just 10-15 seconds. This will slightly melt the outer layer and allow the pops to slide out effortlessly. And there you have it—perfect homemade pops.08


