
Why You’ll Love This Date Sweetened Peanut Butter Cookies
- Naturally sweetened goodness. By using dates, we’re skipping refined sugars entirely. The dates bring a beautiful, deep caramel-like sweetness that pairs perfectly with the peanut butter, creating a flavor that’s far more interesting than plain sugar.
- Incredibly soft and chewy texture. The natural moisture from the date paste gives these cookies a wonderfully soft, almost brownie-like center with a slightly crisp edge. They stay moist for days, which is a rare and beautiful thing in the cookie world.
- One-bowl wonder. Seriously, the cleanup is minimal. You’ll blend the main ingredients right in the food processor, then just stir in the rest. It’s a straightforward process that feels almost magical when you pull a tray of perfect cookies out of the oven.
- Wholesome enough for anytime. With a base of whole food ingredients, these cookies are a treat you can enjoy without guilt. They’re packed with fiber and healthy fats, making them a more sustaining snack than your average cookie.
Ingredients & Tools
- 200 g (about 1 ½ cups packed) soft, pitted Medjool dates
- 250 g (1 cup) smooth, natural peanut butter
- 1 large egg, at room temperature
- 1 tsp vanilla extract
- ½ tsp baking soda
- ¼ tsp fine sea salt
- 50-80 ml (3-5 tbsp) unsweetened plant-based milk (like almond or oat)
- A pinch of flaky sea salt for sprinkling (optional, but highly recommended)
Tools: A food processor or high-speed blender, a baking sheet, parchment paper, a medium bowl, and a cookie scoop or tablespoon.
The quality of your dates and peanut butter really matters here. For the best flavor and texture, use the softest, stickiest Medjool dates you can find—they blend into a smoother paste. And for the peanut butter, choose a natural variety where the only ingredients are peanuts and maybe salt. Avoid the kinds with added oils or sugars, as they can make the cookies too oily.
Serves: 12 cookies | Prep Time: 15 minutes | Cook Time: 10-12 minutes | Total Time: 27 minutes
Before You Start: Tips & Ingredient Notes
- Are your dates dry? If your dates feel a little firm or dry, simply place them in a bowl and cover with hot water for 10 minutes. Drain them very well before using—this will rehydrate them and make them easier to blend into a smooth paste.
- The peanut butter situation. Give your natural peanut butter a really good stir before measuring. The oil separation is natural, but we need that incorporated for the right consistency. If it’s too stiff, you can gently warm the jar in a bowl of warm water to make it easier to stir.
- Why room temperature egg? Using an egg that’s not cold from the fridge helps it incorporate more smoothly into the thick date and peanut butter mixture, creating a more uniform dough. If you forget, just place the egg in a bowl of warm water for 5 minutes.
- Milk is your texture adjuster. The amount of milk you’ll need can vary depending on how moist your dates are and the thickness of your peanut butter. Start with the smaller amount and add more only if the dough seems too stiff to come together.
How to Make Date Sweetened Peanut Butter Cookies
Step 1: Create the Date Paste. First, if your dates have pits, make sure to remove them. Place the pitted dates into your food processor. Pulse a few times to chop them up, then blend on high until they form a thick, smooth paste. You might need to stop and scrape down the sides a couple of times. This is the foundation of our sweetness, so we want it as smooth as possible.
Step 2: Combine the Wet Ingredients. To the date paste in the food processor, add the peanut butter, room temperature egg, and vanilla extract. Blend again until the mixture is completely smooth and well-combined. It will be quite thick and sticky at this point—that’s exactly what we want. You’ll notice the aroma is already incredible.
Step 3: Bring the Dough Together. Now, transfer the mixture to a medium bowl. Sprinkle the baking soda and salt over the top. Using a spatula or wooden spoon, stir these dry ingredients in until they’re fully incorporated. The dough will be very thick. Now, start adding the milk, one tablespoon at a time, stirring well after each addition. Stop adding milk when the dough is soft, slightly sticky, and holds together easily when pressed.
Step 4: Chill the Dough (A Crucial Step!). Cover the bowl with plastic wrap or a lid and pop it into the refrigerator for at least 30 minutes. I know, it’s hard to wait, but this step is non-negotiable. Chilling firms up the dough, making it much easier to scoop and roll, and it prevents the cookies from spreading too much in the oven.
Step 5: Preheat and Portion. While the dough chills, preheat your oven to 175°C (350°F) and line a baking sheet with parchment paper. Once the dough is firm, use a cookie scoop or a tablespoon to portion out balls of dough, about 1.5 tablespoons each. Roll them gently between your palms to smooth them out.
Step 6: The Classic Criss-Cross. Place the dough balls on the prepared baking sheet, leaving about 5 cm (2 inches) between them as they will spread a little. Using a fork, gently press down on each ball to flatten it slightly, then press again in the opposite direction to create that classic peanut butter cookie cross-hatch pattern. If the fork sticks, dip it in a little water between presses. Sprinkle a tiny pinch of flaky sea salt on top of each cookie—it really makes the flavors pop.
Step 7: Bake to Perfection. Bake for 10-12 minutes. The trick is to pull them out when the edges are just set and starting to turn golden, but the centers still look a little soft. They will continue to firm up as they cool on the baking sheet. Don’t overbake them if you want that soft, chewy texture!
Step 8: Cool and Devour. Let the cookies cool on the hot baking sheet for at least 10 minutes before transferring them to a wire rack to cool completely. This resting time on the pan is key for them to set up properly. Then, well, you know what to do… enjoy that first warm, delicious bite.
Serving Suggestions
Complementary Dishes
- A bowl of banana “nice” cream — The creamy, cold vanilla flavor of blended frozen bananas is a dream paired with the warm, nutty cookie. It’s like a deconstructed banana-peanut butter sandwich.
- A simple fruit platter with apple slices and berries — The fresh, bright acidity of the fruit cuts through the richness of the cookies beautifully, making for a balanced and refreshing snack or dessert spread.
Drinks
- A tall glass of cold oat milk — The creamy, slightly sweet flavor of oat milk is a classic and comforting partner to peanut butter. It’s the ultimate dunking beverage.
- A strong cup of black coffee — The bitterness of the coffee contrasts wonderfully with the sweet, caramel notes of the dates, creating a sophisticated flavor combination that’s perfect for a morning treat.
Something Sweet
- Dark chocolate chunks melted on top — Once the cookies are slightly cooled, place a few pieces of high-quality dark chocolate on each one. The residual heat will melt them into a decadent, glossy topping.
- A dollop of coconut whipped cream — For a truly indulgent feel, serve the cookies with a light, fluffy spoonful of whipped coconut cream. It adds a lovely tropical note.
Top Mistakes to Avoid
- Mistake: Using hard, dry dates. If your dates aren’t soft and sticky, they won’t blend into a smooth paste. You’ll end up with chunky bits in your dough and the cookies won’t be as sweet or hold together as well. Always soak dry dates first!
- Mistake: Skipping the chill time. I’ve messed this up before too, thinking I could save time. The result? Flat, greasy cookies that spread all over the pan. The chilled dough is essential for the perfect thick, soft texture.
- Mistake: Overbaking. It’s so easy to do because they might not look “done” in the center. But trust me, pull them out when the edges are golden. They set up as they cool, and overbaking leads to a dry, crumbly cookie instead of a soft, chewy one.
- Mistake: Using the wrong peanut butter. Conventional peanut butter with added hydrogenated oils and sugar will throw off the entire recipe, making the dough too soft and the flavor overly sweet. Stick to natural, stirred-well peanut butter.
Expert Tips
- Tip: Weigh your dates. For absolute consistency, use a kitchen scale. Cup measurements for sticky ingredients like dates can vary wildly depending on how tightly you pack them. Weight is always more accurate.
- Tip: Make a double batch and freeze. The dough balls freeze beautifully. Just portion them out, place them on a parchment-lined tray to freeze solid, then transfer to a freezer bag. You can bake them straight from frozen, adding a minute or two to the baking time for fresh cookies anytime.
- Tip: Get creative with add-ins. Once the dough is mixed, you can fold in ¼ cup of dark chocolate chips, chopped salted peanuts, or even a teaspoon of cinnamon for a fun variation. The base recipe is wonderfully adaptable.
- Tip: For extra-gooey cookies, slightly underbake. If you’re a fan of a super soft, almost doughy center, lean towards the 10-minute bake time. The cookies will be very delicate when warm but will have an incredible fudgy texture.
FAQs
Can I make these cookies vegan?
Absolutely! The one egg in this recipe can be easily replaced with a “flax egg.” Simply mix 1 tablespoon of ground flaxseed with 3 tablespoons of water and let it sit for 5-10 minutes until it becomes gelatinous. Use this in place of the egg. The texture might be a tad more delicate, but they’ll still be delicious.
My dough is too crumbly and won’t hold together. What happened?
This usually means your dates were on the drier side or you didn’t add enough liquid. The fix is simple: add more milk, one teaspoon at a time, and mix until the dough comes together smoothly. It should feel like a soft, slightly sticky playdough. Remember, different peanut butter brands have different moisture levels, so adjustments are normal.
How should I store these cookies, and how long do they last?
Store them in an airtight container at room temperature. They’ll stay soft and delicious for about 4-5 days. Because of the natural moisture from the dates, they keep really well. You can also freeze the baked cookies for up to 3 months—just thaw at room temperature when you’re ready for one.
Can I use a different nut or seed butter?
You can! Almond butter works wonderfully and gives a slightly more delicate flavor. Sunflower seed butter is a great nut-free option—just be aware that it can sometimes cause baked goods to turn a little green (a harmless chemical reaction), but the taste will still be great. The key is to use a natural, drippy butter with a similar consistency to natural peanut butter.
Why didn’t my cookies spread much? They’re quite puffy.
If your cookies stayed very round and puffy, it’s likely due to one of two things: either your baking soda was old and lost its leavening power, or the dough was too cold when it went into the oven. Make sure your baking soda is fresh by testing it with a drop of vinegar (it should fizz vigorously). Also, if the dough was chilled for a very long time, let it sit at room temperature for 5-10 minutes before baking to encourage a little spread.
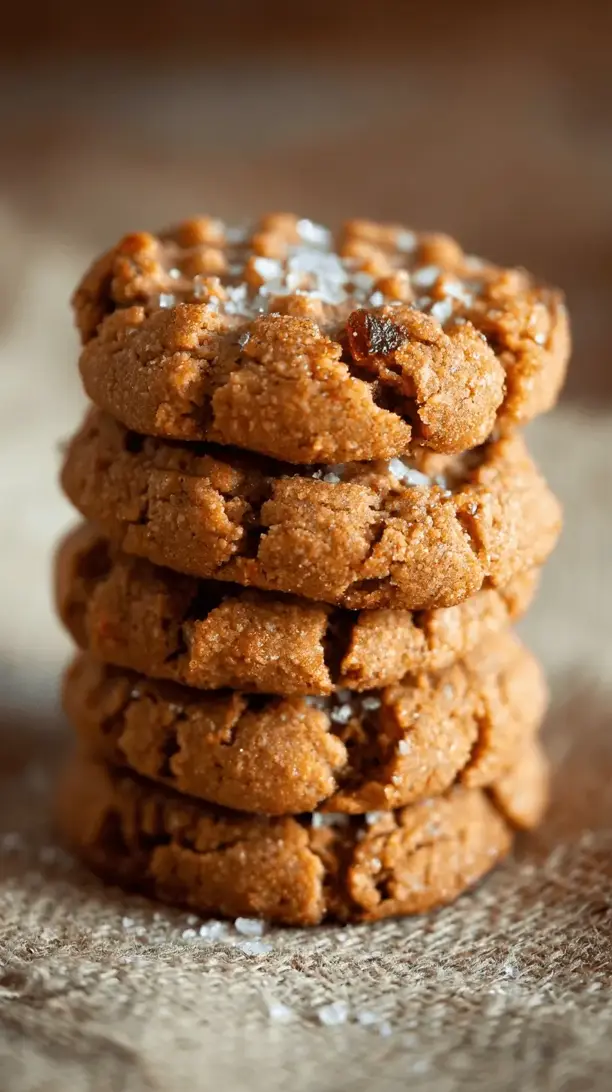
Date Sweetened Peanut Butter Cookies
Whip up naturally sweetened peanut butter cookies using dates! This easy, one-bowl recipe delivers soft, chewy cookies with no refined sugar. Perfect for a healthy treat.
Ingredients
Ingredients
-
200 g soft, pitted Medjool dates (about 1 ½ cups packed)
-
250 g smooth, natural peanut butter (1 cup)
-
1 large egg (at room temperature)
-
1 tsp vanilla extract
-
0.5 tsp baking soda
-
0.25 tsp fine sea salt
-
50-80 ml unsweetened plant-based milk (3-5 tbsp, like almond or oat)
-
A pinch flaky sea salt (for sprinkling (optional, but highly recommended))
Instructions
-
Create the Date Paste. First, if your dates have pits, make sure to remove them. Place the pitted dates into your food processor. Pulse a few times to chop them up, then blend on high until they form a thick, smooth paste. You might need to stop and scrape down the sides a couple of times. This is the foundation of our sweetness, so we want it as smooth as possible.01
-
Combine the Wet Ingredients. To the date paste in the food processor, add the peanut butter, room temperature egg, and vanilla extract. Blend again until the mixture is completely smooth and well-combined. It will be quite thick and sticky at this point—that's exactly what we want. You'll notice the aroma is already incredible.02
-
Bring the Dough Together. Now, transfer the mixture to a medium bowl. Sprinkle the baking soda and salt over the top. Using a spatula or wooden spoon, stir these dry ingredients in until they're fully incorporated. The dough will be very thick. Now, start adding the milk, one tablespoon at a time, stirring well after each addition. Stop adding milk when the dough is soft, slightly sticky, and holds together easily when pressed.03
-
Chill the Dough (A Crucial Step!). Cover the bowl with plastic wrap or a lid and pop it into the refrigerator for at least 30 minutes. I know, it's hard to wait, but this step is non-negotiable. Chilling firms up the dough, making it much easier to scoop and roll, and it prevents the cookies from spreading too much in the oven.04
-
Preheat and Portion. While the dough chills, preheat your oven to 175°C (350°F) and line a baking sheet with parchment paper. Once the dough is firm, use a cookie scoop or a tablespoon to portion out balls of dough, about 1.5 tablespoons each. Roll them gently between your palms to smooth them out.05
-
The Classic Criss-Cross. Place the dough balls on the prepared baking sheet, leaving about 5 cm (2 inches) between them as they will spread a little. Using a fork, gently press down on each ball to flatten it slightly, then press again in the opposite direction to create that classic peanut butter cookie cross-hatch pattern. If the fork sticks, dip it in a little water between presses. Sprinkle a tiny pinch of flaky sea salt on top of each cookie—it really makes the flavors pop.06
-
Bake to Perfection. Bake for 10-12 minutes. The trick is to pull them out when the edges are just set and starting to turn golden, but the centers still look a little soft. They will continue to firm up as they cool on the baking sheet. Don't overbake them if you want that soft, chewy texture!07
-
Cool and Devour. Let the cookies cool on the hot baking sheet for at least 10 minutes before transferring them to a wire rack to cool completely. This resting time on the pan is key for them to set up properly. Then, well, you know what to do… enjoy that first warm, delicious bite.08


