Why You’ll Love This Coconut Sugar Snickerdoodle Cookies
- That warm, caramel-like flavor. Coconut sugar has a deeper, more complex sweetness than regular white sugar, which gives these cookies a lovely, almost butterscotchy note that is just divine with the cinnamon.
- The perfect soft and chewy texture. We’re using a combination of techniques to ensure these stay wonderfully soft in the center for days, with just the right amount of bend when you break one in half.
- They’re surprisingly simple to make. Honestly, there’s no fancy equipment or complicated steps here. It’s a straightforward dough that comes together in one bowl, and the rolling-in-cinnamon-sugar part is just… fun.
- Your kitchen will smell incredible. The aroma of toasty coconut sugar and warm cinnamon baking is honestly half the reward. It’s the scent of pure comfort.
Ingredients & Tools
- 225 g (1 cup) unsalted butter, softened at room temperature
- 200 g (1 cup) coconut sugar
- 1 large egg, at room temperature
- 2 tsp pure vanilla extract
- 280 g (2 ⅓ cups) all-purpose flour
- 1 tsp cream of tartar
- ½ tsp baking soda
- ¼ tsp fine sea salt
- For the coating: 2 tbsp coconut sugar mixed with 1 tbsp ground cinnamon
Tools: A stand mixer or electric hand mixer, two baking sheets, parchment paper, a medium bowl, and a small bowl for the cinnamon-sugar mix.
Don’t skip the cream of tartar — it’s what gives snickerdoodles their signature tang and helps with that perfect rise and crackly top. And using room temperature ingredients is non-negotiable for a smooth, well-creamed dough that bakes up evenly.
Nutrition (per serving)
- Calories: 145 kcal
- Protein: 1.5 g
- Fat: 7 g
- Carbohydrates: 20 g
- Fiber: 0.5 g
Serves: 24 cookies | Prep Time: 15 minutes | Cook Time: 10 minutes | Total Time: 25 minutes
Before You Start: Tips & Ingredient Notes
- What does “softened” butter really mean? It should be cool to the touch but yield easily when you press it. If it’s greasy or shiny, it’s too warm. This is key for creaming properly and creating air pockets for lift.
- Why room temperature eggs matter. A cold egg can cause the beautifully creamed butter and sugar to seize up, resulting in a denser cookie. Just let your egg sit out for 30 minutes before you start.
- Don’t pack your coconut sugar. Unlike brown sugar, you should spoon the coconut sugar into your measuring cup and level it off. Packing it can throw off the moisture balance and make the cookies too sweet.
- The magic of cream of tartar. This is the secret ingredient! It reacts with the baking soda to create lift and gives the cookies their classic slight tang. There’s no real substitute if you want an authentic snickerdoodle.
How to Make Coconut Sugar Snickerdoodle Cookies
Step 1: First, preheat your oven to 350°F (175°C) and line your baking sheets with parchment paper. In that small bowl, whisk together the 2 tablespoons of coconut sugar and 1 tablespoon of cinnamon for the coating. Set this aside — you’ll be glad it’s ready to go later.
Step 2: In the bowl of your stand mixer fitted with the paddle attachment (or using a hand mixer), cream together the softened butter and 200g of coconut sugar. You’ll want to beat it on medium-high speed for a good 2-3 minutes, until it becomes noticeably lighter in color and fluffy. This step is crucial for incorporating air, so don’t rush it!
Step 3: Scrape down the sides of the bowl with a spatula. Add the room-temperature egg and vanilla extract. Mix on medium speed just until everything is fully combined and the mixture looks smooth. It might look a little curdled at first, but it will come together — just keep mixing for another 30 seconds or so.
Step 4: In a separate medium bowl, whisk together the flour, cream of tartar, baking soda, and salt. With your mixer on low speed, gradually add the dry ingredients to the wet ingredients. Mix just until the flour streaks disappear and a soft dough forms. Be careful not to overmix here, as that can lead to tough cookies.
Step 5: Now for the fun part! Using a cookie scoop or a tablespoon, portion out the dough into roughly 1.5-tablespoon-sized balls. Roll each ball between your palms until smooth, then roll it generously in the cinnamon-coconut sugar mixture until it’s completely coated. Place the dough balls about 2 inches apart on your prepared baking sheets.
Step 6: Time to bake! Place one sheet at a time in the center of your preheated oven. Bake for 9-11 minutes. The trick is to pull them out when the edges look set and the centers still appear slightly soft and puffy. They will not look fully done, and that’s exactly what you want for that soft, chewy texture.
Step 7: As soon as you take the baking sheet out of the oven, give it a firm tap on the countertop. This little “tap” helps deflate the cookies just enough to create those lovely crinkles and a more even surface. Let the cookies cool on the baking sheet for a full 5 minutes before transferring them to a wire rack to cool completely. They’ll be very fragile when hot, so patience is key!
Serving Suggestions
Complementary Dishes
- A scoop of vanilla bean ice cream — The cool, creamy vanilla is a perfect contrast to the warm, spiced cookie, making for an incredible ice cream sandwich or à la mode situation.
- A warm mug of chai tea — The spices in a good chai latte mirror the cinnamon in the cookies, creating a wonderfully cozy and harmonious flavor experience.
- A sharp, tangy fruit compote — Something like a roasted apple or pear compote can cut through the sweetness and add a lovely, fruity dimension.
Drinks
- Cold glass of milk — It’s a classic for a reason. The creaminess of the milk balances the warm spices and makes the whole experience feel nostalgic and complete.
- Black coffee or espresso — The bitterness of a strong coffee provides a fantastic counterpoint to the caramel sweetness of the coconut sugar, making each bite of cookie taste even richer.
- Oat milk latte — For a dairy-free option, the nutty, creamy flavor of oat milk complements the deep notes of the coconut sugar beautifully.
Something Sweet
- A small square of dark chocolate — A piece of high-quality, 70% dark chocolate alongside a cookie offers a bitter, sophisticated contrast that elevates the entire treat.
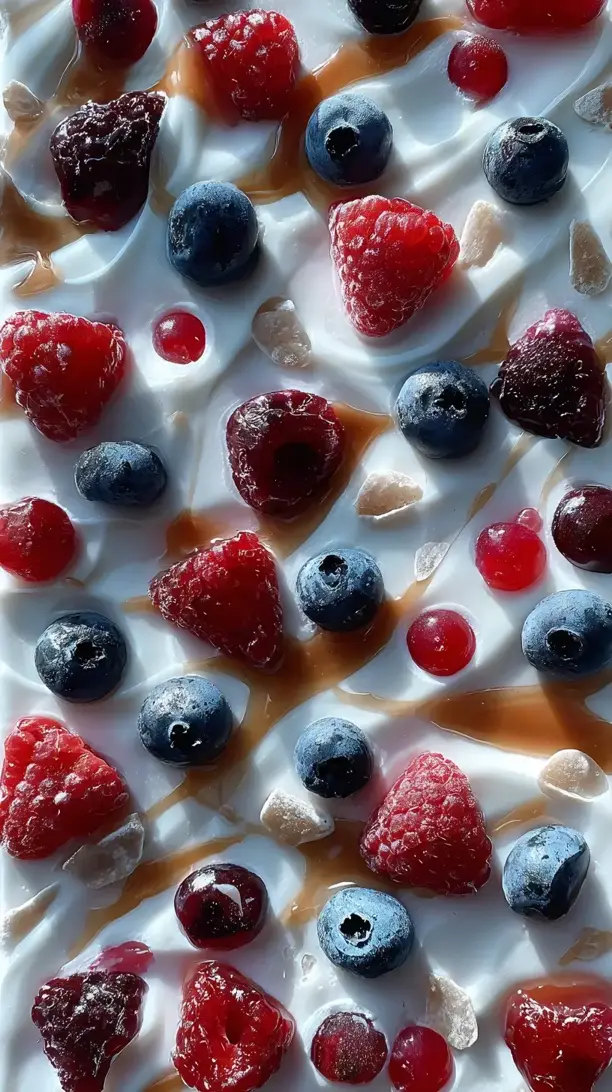
- A simple berry salad — Toss some fresh raspberries and blackberries with a hint of lemon zest. The bright, tart berries cleanse the palate between bites of the spiced cookie.
- A dollop of whipped coconut cream — Light, airy, and slightly sweet, it’s like a cloud that makes the soft cookie texture even more delightful.
Top Mistakes to Avoid
- Using melted or oily butter. This is the number one reason cookies spread too much. Your butter must be softened but still cool to create the right structure during creaming.
- Over-baking the cookies. They continue to cook on the hot baking sheet after you take them out. If you wait for them to look “done” in the oven, they’ll be dry and crisp once cooled. Trust the soft, puffy center!
- Skipping the “tap”. That firm tap on the counter right after baking is a pro-move. It settles the cookie and creates those beautiful crinkles and a more even texture. I’ve forgotten this step before and ended up with overly puffy, less attractive cookies.
- Not spacing the dough balls enough. These cookies spread! Giving them a full 2 inches of space prevents them from baking into one giant cookie sheet. A little room goes a long way for the perfect shape.
Expert Tips
- Tip: Chill the dough if your kitchen is warm. If your butter is softening a bit too much, pop the shaped dough balls in the fridge for 15 minutes before baking. This prevents excessive spreading and helps the cookies keep their lovely round shape.
- Tip: Use a cookie scoop for uniformity. This isn’t just for neatness; it ensures all your cookies bake at the same rate. No more burnt small ones and underbaked large ones on the same tray!
- Tip: Rotate your baking sheet halfway through. Ovens often have hot spots. Giving the sheet a 180-degree turn at the 5-minute mark promotes even browning and perfect cooking for every single cookie.
- Tip: Make the dough ahead. You can portion and roll the dough balls, then freeze them on a parchment-lined sheet. Once solid, transfer to a zip-top bag. Bake straight from frozen, adding 1-2 minutes to the bake time for fresh cookies anytime.
FAQs
Can I use a different type of sugar?
You can, but it will change the character of the cookie. Regular granulated sugar will make a crisper, sweeter cookie without the caramel depth. Light brown sugar is the closest substitute, as it has a similar moisture content, but you’ll lose the unique flavor profile that coconut sugar provides. Honestly, it’s worth seeking out coconut sugar for this recipe to get the full experience.
Why are my cookies flat and spread out?
This almost always comes down to butter that was too warm or melted. If your dough feels greasy or looks shiny before baking, that’s a red flag. Another culprit could be an old or inaccurate baking soda. To rescue warm dough, just chill the shaped balls on the baking sheet for 15 minutes before putting them in the oven to firm up the butter.
Can I make these cookies gluten-free?
Absolutely! A 1:1 gluten-free all-purpose flour blend works wonderfully here. Just make sure it contains a binder like xanthan gum. The texture might be a tad more delicate and crumbly, but you’ll still get a delicious, soft-baked cookie with all the same spiced flavor.
How do I store them to keep them soft?
The key is an airtight container. Once completely cooled, layer the cookies in a container with a piece of bread tucked in. The cookies will draw moisture from the bread, staying soft for days. It’s a little old-school trick that really works. You can also freeze the baked cookies for up to 3 months.
My coconut sugar is lumpy. What should I do?
Coconut sugar is notorious for clumping due to its moisture. No worries! Just push it through a fine-mesh sieve before you measure it. This breaks up any lumps and ensures you get an accurate measurement and a smooth, lump-free dough. It takes an extra minute but makes a big difference.

Coconut Sugar Snickerdoodle Cookies
Make soft, chewy Coconut Sugar Snickerdoodle Cookies with a warm caramel twist. This easy recipe delivers perfect texture & flavor. Bake a batch today!
Ingredients
For the dough:
-
225 g unsalted butter (softened at room temperature)
-
200 g coconut sugar
-
1 large egg (at room temperature)
-
2 tsp pure vanilla extract
-
280 g all-purpose flour
-
1 tsp cream of tartar
-
0.5 tsp baking soda
-
0.25 tsp fine sea salt
For the coating:
-
2 tbsp coconut sugar
-
1 tbsp ground cinnamon
Instructions
-
First, preheat your oven to 350°F (175°C) and line your baking sheets with parchment paper. In that small bowl, whisk together the 2 tablespoons of coconut sugar and 1 tablespoon of cinnamon for the coating. Set this aside — you’ll be glad it’s ready to go later.01
-
In the bowl of your stand mixer fitted with the paddle attachment (or using a hand mixer), cream together the softened butter and 200g of coconut sugar. You’ll want to beat it on medium-high speed for a good 2-3 minutes, until it becomes noticeably lighter in color and fluffy. This step is crucial for incorporating air, so don’t rush it!02
-
Scrape down the sides of the bowl with a spatula. Add the room-temperature egg and vanilla extract. Mix on medium speed just until everything is fully combined and the mixture looks smooth. It might look a little curdled at first, but it will come together — just keep mixing for another 30 seconds or so.03
-
In a separate medium bowl, whisk together the flour, cream of tartar, baking soda, and salt. With your mixer on low speed, gradually add the dry ingredients to the wet ingredients. Mix just until the flour streaks disappear and a soft dough forms. Be careful not to overmix here, as that can lead to tough cookies.04
-
Now for the fun part! Using a cookie scoop or a tablespoon, portion out the dough into roughly 1.5-tablespoon-sized balls. Roll each ball between your palms until smooth, then roll it generously in the cinnamon-coconut sugar mixture until it’s completely coated. Place the dough balls about 2 inches apart on your prepared baking sheets.05
-
Time to bake! Place one sheet at a time in the center of your preheated oven. Bake for 9-11 minutes. The trick is to pull them out when the edges look set and the centers still appear slightly soft and puffy. They will not look fully done, and that’s exactly what you want for that soft, chewy texture.06
-
As soon as you take the baking sheet out of the oven, give it a firm tap on the countertop. This little “tap” helps deflate the cookies just enough to create those lovely crinkles and a more even surface. Let the cookies cool on the baking sheet for a full 5 minutes before transferring them to a wire rack to cool completely. They’ll be very fragile when hot, so patience is key!07