Why You’ll Love This Coconut Oil Chocolate Crinkle Cookies
- An unforgettable texture. The coconut oil creates a cookie that’s incredibly fudgy and soft on the inside, with just the right amount of delicate crispness around the edges. It’s a melt-away quality that butter just can’t quite replicate.
- A more complex chocolate flavor. The subtle, fragrant notes from the virgin coconut oil don’t scream “coconut”—instead, they elevate the deep, dark cocoa, making the chocolate taste richer and more nuanced. It’s a beautiful partnership.
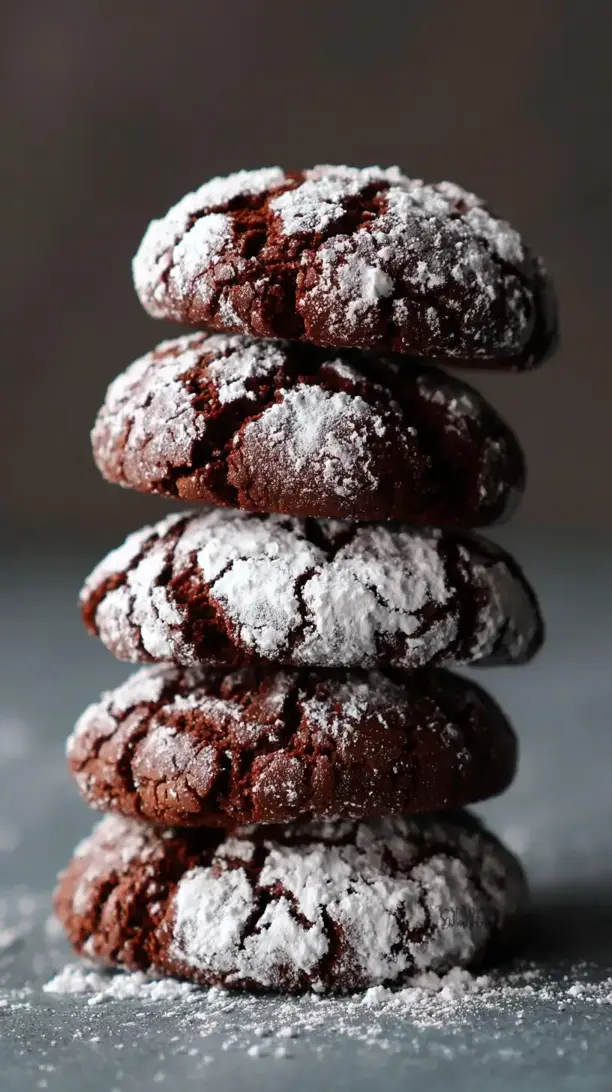
- They’re downright gorgeous. Let’s be honest, a big part of the crinkle cookie’s charm is its looks. The stark white powdered sugar against the dark, craggy chocolate surface is a total feast for the eyes. They look professionally made, even when they’re effortlessly homemade.
- Surprisingly simple to make. You don’t need any fancy equipment or techniques. The most complicated part is chilling the dough, which is really just an exercise in patience. The rolling and baking process is genuinely fun and deeply satisfying.
Ingredients & Tools
- 160 g solid virgin coconut oil
- 200 g granulated sugar
- 2 large eggs, at room temperature
- 1 tsp vanilla extract
- 125 g all-purpose flour
- 65 g unsweetened cocoa powder (natural, not Dutch-processed)
- 1 tsp baking powder
- 1/4 tsp salt
- 100 g powdered sugar, for rolling
Tools: Two baking sheets, parchment paper, a medium bowl, a hand mixer or stand mixer, a sifter or fine-mesh sieve for the powdered sugar.
Using virgin coconut oil is key here—it has that lovely aroma. And don’t skip on sifting your cocoa powder and flour; it makes for a much smoother, more luxurious dough without any lumps.
Nutrition (per serving)
- Calories: 145 kcal
- Protein: 2 g
- Fat: 7 g
- Carbohydrates: 21 g
- Fiber: 1 g
Serves: 24 | Prep Time: 15 min | Cook Time: 10 min | Total Time: 1 hr 25 min (includes chilling)
Before You Start: Tips & Ingredient Notes
- Is your coconut oil the right texture? You want it solid, but soft and scoopable—like the consistency of softened butter. If it’s melted, pop it in the fridge for a bit. If it’s rock hard, let it sit on the counter for 20 minutes.
- Why room-temperature eggs matter. Cold eggs can cause the melted coconut oil to seize up and become grainy. Taking your eggs out about 30 minutes before you start ensures a smooth, emulsified, and beautifully creamy cookie dough.
- The chilling step is non-negotiable. I know, I know—waiting is the hardest part. But this dough is quite soft, and chilling it firms it up so you can roll perfect balls. It also prevents the cookies from spreading too much into flat puddles in the oven.
- Don’t use Dutch-processed cocoa. This recipe relies on the acidity of natural cocoa powder to react with the baking powder for the perfect rise and crackle. Dutch-processed cocoa is neutralized and will result in a denser, flatter cookie.
How to Make Coconut Oil Chocolate Crinkle Cookies
Step 1: In a medium bowl, whisk together the flour, cocoa powder, baking powder, and salt. You’ll want to sift the cocoa powder if it’s at all lumpy—this guarantees a super smooth batter. Set this dry mixture aside for now.
Step 2: In a larger bowl, use a hand mixer or stand mixer with the paddle attachment to beat the solid coconut oil and granulated sugar together. You’re aiming for a light and fluffy texture, which should take about 2-3 minutes. The mixture will look a little like wet sand at first, but keep going—it will come together.
Step 3: Beat in the room-temperature eggs, one at a time, making sure each is fully incorporated before adding the next. Then mix in the vanilla extract. Scrape down the sides of the bowl to ensure everything is evenly mixed. The batter should be smooth and glossy now.
Step 4: Gradually add the dry ingredients to the wet ingredients, mixing on low speed just until the flour disappears. You’ll notice the dough is quite soft and sticky—that’s perfectly normal! Don’t be tempted to add more flour; the chilling will fix everything.
Step 5: Cover the bowl with plastic wrap and chill the dough in the refrigerator for at least 1 hour, or until it’s firm enough to handle. You can even chill it overnight if you want to bake them the next day. This step is crucial for that perfect, puffy cookie shape.
Step 6: When you’re ready to bake, preheat your oven to 175°C (350°F) and line two baking sheets with parchment paper. Place the powdered sugar in a shallow bowl. Using a tablespoon or a small cookie scoop, portion the chilled dough and roll it into 1-inch balls.
Step 7: Roll each dough ball generously in the powdered sugar until it’s completely coated and very white. You want a thick, snowy layer—this is what creates that iconic crinkle look. Place the balls about 2 inches apart on the prepared baking sheets.
Step 8: Bake for 10-12 minutes. The cookies will have puffed up and the surfaces will have cracked beautifully. They should still look a little soft in the centers—that’s what gives you that fudgy interior. Let them cool on the baking sheet for 5 minutes before transferring them to a wire rack to cool completely.
Serving Suggestions
Complementary Dishes
- A scoop of vanilla bean ice cream — The classic, creamy cold of the ice cream against the rich, room-temperature cookie is a textural dream. It turns the cookie into a decadent, instant dessert.
- A small cup of fresh berries — The bright, tart pop of a raspberry or strawberry cuts through the deep chocolate intensity beautifully, cleansing the palate between bites.
- A sharp, aged cheddar cheese board — Trust me on this one. The salty, crystalline crunch of a good cheddar creates an unexpectedly fantastic sweet-and-salty contrast with the fudgy cookie.
Drinks
- Cold whole milk — It’s the timeless pairing for a reason. The cold, creamy milk is the perfect companion to the rich, chocolatey cookie, creating that nostalgic, comforting feeling.
- A bold black coffee — The bitterness of a strong brew highlights the deep cocoa notes and the subtle coconut aroma, making for a very sophisticated coffee break.
- A glass of Cabernet Sauvignon — The dark fruit notes and tannic structure in the wine stand up beautifully to the intense chocolate, making this a perfect dessert for a dinner party.
Something Sweet
- Orange-scented dark chocolate truffles — The bright citrus note is a fantastic flavor bridge, enhancing the chocolate in the cookies while offering a different, silky texture to enjoy alongside.
- Simple coconut macaroons — Doubling down on the coconut theme in a different form creates a playful, tropical-themed dessert platter that’s sure to impress.
- A dollop of lightly sweetened whipped cream — Sometimes, simplicity is best. The airy, barely-sweet cream adds a cloud-like texture that makes the cookie feel even more indulgent.
Top Mistakes to Avoid
- Mistake: Skipping the chill time. I’ve messed this up before too, in a rush to get cookies in my mouth. The dough will be too soft, the cookies will spread excessively, and you’ll lose that beautiful, tall, crinkled shape. Patience is a virtue here.
- Mistake: Using melted coconut oil. If your oil is liquid, it won’t cream properly with the sugar. This affects the cookie’s ability to trap air, leading to a denser, greasier texture and a cookie that spreads too thin.
- Mistake: Under-coating with powdered sugar. Be generous! A thin layer will just melt into the dough and disappear during baking. You need a thick, snowy coat to get that dramatic white-and-black contrast.
- Mistake: Overbaking. The cookies continue to cook on the hot baking sheet after you take them out. If the edges look fully set and dry in the oven, they’re already overdone. You want them to look soft in the middle for that fudgy center.
Expert Tips
- Tip: Use a cookie scoop for uniformity. This isn’t just about looks—it ensures all your cookies bake at the same rate. A small (1-tablespoon) scoop gives you the perfect, classic crinkle cookie size.
- Tip: Re-roll in powdered sugar for extra drama. For an even more intense white finish, you can give the dough balls a second roll in the powdered sugar right before they go in the oven. It creates an almost icing-like top layer.
- Tip: Don’t overcrowd the baking sheet. These cookies need space for hot air to circulate so they can puff up and crinkle evenly. Baking in batches is always better than cramming them all onto one sheet.
- Tip: Freeze the dough balls for future cookies. After rolling the chilled dough into balls, you can freeze them solid on a tray, then transfer to a zip-top bag. Bake from frozen, adding 1-2 minutes to the bake time, for fresh cookies anytime.
FAQs
Can I use refined coconut oil instead of virgin?
You absolutely can. The main difference is that refined coconut oil has been processed to remove the distinct coconut flavor and aroma. Your cookies will still have the wonderful texture benefits, but they’ll taste more like a classic, pure chocolate crinkle cookie. It’s a great option if you’re serving someone who is sensitive to or doesn’t enjoy the taste of coconut.
Why didn’t my cookies crinkle?
This usually comes down to one of two things. First, the dough might not have been chilled enough, causing it to spread too quickly and flatten out before the top could set and crack. Second, the oven temperature could be off—an oven that’s too cool won’t create the necessary rapid rise. An oven thermometer is a baker’s best friend for troubleshooting this!
My powdered sugar melted away. What happened?
This is almost always because the layer of sugar wasn’t thick enough. When you roll the dough balls, really press them into the sugar and get a good, generous coating. You want them to look like little snowballs. A thin dusting will simply be absorbed by the oily dough as it heats up.
How should I store these cookies?
Once completely cool, store them in an airtight container at room temperature. They’ll stay soft and fudgy for about 4-5 days. You can place a piece of bread in the container with them—the cookies will draw moisture from the bread, helping them stay soft (just replace the bread if it gets hard).
Can I make the dough ahead of time?
Yes, and it’s a fantastic timesaver! The dough can be kept, well-wrapped, in the refrigerator for up to 3 days before baking. You can also freeze the shaped dough balls for up to 3 months. This means you’re never more than 15 minutes away from a warm, freshly baked cookie.
Coconut Oil Chocolate Crinkle Cookies
Make the best Coconut Oil Chocolate Crinkle Cookies! This easy recipe yields fudgy, crackled cookies with a tender texture. Get the simple, step-by-step guide now.
Ingredients
For the Cookies
-
160 g solid virgin coconut oil
-
200 g granulated sugar
-
2 large eggs (at room temperature)
-
1 tsp vanilla extract
-
125 g all-purpose flour
-
65 g unsweetened cocoa powder (natural, not Dutch-processed)
-
1 tsp baking powder
-
0.25 tsp salt
-
100 g powdered sugar (for rolling)
Instructions
-
In a medium bowl, whisk together the flour, cocoa powder, baking powder, and salt. You’ll want to sift the cocoa powder if it’s at all lumpy—this guarantees a super smooth batter. Set this dry mixture aside for now.01
-
In a larger bowl, use a hand mixer or stand mixer with the paddle attachment to beat the solid coconut oil and granulated sugar together. You’re aiming for a light and fluffy texture, which should take about 2-3 minutes. The mixture will look a little like wet sand at first, but keep going—it will come together.02
-
Beat in the room-temperature eggs, one at a time, making sure each is fully incorporated before adding the next. Then mix in the vanilla extract. Scrape down the sides of the bowl to ensure everything is evenly mixed. The batter should be smooth and glossy now.03
-
Gradually add the dry ingredients to the wet ingredients, mixing on low speed just until the flour disappears. You’ll notice the dough is quite soft and sticky—that’s perfectly normal! Don’t be tempted to add more flour; the chilling will fix everything.04
-
Cover the bowl with plastic wrap and chill the dough in the refrigerator for at least 1 hour, or until it’s firm enough to handle. You can even chill it overnight if you want to bake them the next day. This step is crucial for that perfect, puffy cookie shape.05
-
When you’re ready to bake, preheat your oven to 175°C (350°F) and line two baking sheets with parchment paper. Place the powdered sugar in a shallow bowl. Using a tablespoon or a small cookie scoop, portion the chilled dough and roll it into 1-inch balls.06
-
Roll each dough ball generously in the powdered sugar until it’s completely coated and very white. You want a thick, snowy layer—this is what creates that iconic crinkle look. Place the balls about 2 inches apart on the prepared baking sheets.07
-
Bake for 10-12 minutes. The cookies will have puffed up and the surfaces will have cracked beautifully. They should still look a little soft in the centers—that’s what gives you that fudgy interior. Let them cool on the baking sheet for 5 minutes before transferring them to a wire rack to cool completely.08