
Why You’ll Love This Coconut Flour Chocolate Cake
- Incredibly Moist & Fudgy. Thanks to the unique properties of coconut flour and the perfect balance of wet ingredients, this cake bakes up with a dense, tender crumb that’s far from dry. It’s the kind of moist that makes you close your eyes for a second with the first bite.
- Naturally Gluten-Free. Coconut flour is a fantastic gluten-free alternative, and this recipe is built specifically for it. You don’t need any complicated flour blends—just simple, wholesome coconut flour does the trick beautifully.
- Deep, Rich Chocolate Flavor. We’re using a generous amount of good-quality cocoa powder to ensure every forkful is packed with real chocolate intensity. It’s not overly sweet, letting the true cocoa notes shine through.
- Surprisingly Simple to Make. You honestly don’t need any fancy techniques here. It’s essentially a one-bowl situation—just mix the wet ingredients, whisk in the dry, and you’re minutes away from having batter ready for the oven.
Ingredients & Tools
- 6 large eggs, at room temperature
- 1/2 cup (120 ml) melted coconut oil or unsalted butter, slightly cooled
- 1/2 cup (120 ml) pure maple syrup or honey
- 1 tsp pure vanilla extract
- 1/2 cup (60 g) unsweetened cocoa powder
- 1/2 cup (56 g) coconut flour
- 1/2 tsp baking soda
- 1/4 tsp fine sea salt
- 1/2 cup (120 ml) strong brewed coffee or hot water (this enhances the chocolate flavor!)
Tools: One 8-inch round cake pan, parchment paper, a large mixing bowl, a whisk, a sifter or fine-mesh sieve, and a cooling rack.
A quick note on the ingredients—using room temperature eggs is really key here, as they incorporate much more smoothly into the batter. And don’t skip the hot coffee; even if you don’t like drinking it, I promise you won’t taste it. It just makes the chocolate flavor sing.
Serves: 8 | Prep Time: 15 minutes | Cook Time: 30-35 minutes | Total Time: 50 minutes (plus cooling)
Before You Start: Tips & Ingredient Notes
- Why room temperature eggs? Cold eggs can cause the melted coconut oil to solidify on contact, creating little lumps in your batter. Room temp eggs blend in seamlessly for a smooth, homogenous mixture. If you forgot to take them out, just place the whole eggs in a bowl of warm water for 5-10 minutes.
- Don’t skip sifting the coconut flour! Coconut flour is notoriously clumpy. If you don’t sift it, you’ll likely end up with little dry pockets in your finished cake, and nobody wants that. Taking this one extra minute makes a world of difference.
- The power of hot liquid. Adding hot coffee or water to the cocoa powder does two things: it “blooms” the cocoa, releasing its deepest flavors, and it helps to slightly cook the coconut flour, making it easier to digest and improving the final texture of the cake.
- Measuring coconut flour correctly. The best way is to use a kitchen scale. If you don’t have one, spoon the flour into your measuring cup and level it off with a knife. Do not pack it down! Packing it will give you way too much flour and a dry cake.
How to Make Coconut Flour Chocolate Cake
Step 1: Prep and Preheat. Start by preheating your oven to 350°F (175°C). This is important because coconut flour batters can sometimes settle if they sit too long. Then, line the bottom of your 8-inch cake pan with a circle of parchment paper and lightly grease the sides. This guarantees a clean release every single time.
Step 2: Combine the Wet Ingredients. In your large mixing bowl, whisk together the room-temperature eggs until they’re just frothy. Then, while whisking continuously, slowly stream in the slightly cooled, melted coconut oil (or butter). Follow this with the maple syrup and vanilla extract. Whisk until the mixture is completely smooth and emulsified—you shouldn’t see any separation.
Step 3: Sift and Incorporate the Dry Ingredients. Now, place your sifter over the bowl and add the cocoa powder, coconut flour, baking soda, and salt. Sift everything directly into the wet ingredients. This is our crucial anti-clump step! Use your whisk to gently combine everything. The batter will be very thick at this stage, almost like a brownie batter—that’s perfectly normal.
Step 4: Bloom the Cocoa and Thin the Batter. Heat your coffee or water until it’s hot (just boiled is fine). Pour it into the thick batter. You’ll notice an immediate change: the batter will loosen up significantly and become glossy and pourable. Whisk until the batter is completely smooth and no streaks remain. The aroma of the chocolate will really intensify now.
Step 5: Bake to Perfection. Pour the batter into your prepared cake pan and smooth the top with a spatula. Bake for 30-35 minutes. You’ll know it’s done when the top is set and a toothpick inserted into the center comes out with just a few moist crumbs attached. Be careful not to overbake, as coconut flour desserts can dry out quickly.
Step 6: The All-Important Cool Down. This is the hardest part—waiting! Let the cake cool in the pan on a wire rack for at least 15-20 minutes. Then, run a knife around the edge to loosen it, and carefully invert it onto the rack to cool completely. This cake is very tender when warm, so patience here ensures you get clean slices.
Serving Suggestions
Complementary Dishes
- Fresh Berries — A handful of raspberries or strawberries on the side provides a lovely tart contrast that cuts through the richness of the chocolate. Their juiciness is a perfect textural companion.
- Whipped Coconut Cream — For a dairy-free option, a dollop of lightly sweetened coconut whipped cream adds a cloud-like, luxurious element. It’s light enough not to overpower the cake.
- A Scoop of Vanilla Bean Ice Cream — Honestly, is there anything better than warm cake and cold ice cream? The classic combo is a winner for a reason, creating a fantastic hot-and-cold sensation.
Drinks
- Cold Brew Coffee — The deep, smooth notes of cold brew complement the chocolate intensity without adding bitterness. It’s a sophisticated pairing that feels like a treat.
- A Glass of Oat Milk — Something about the creamy, slightly sweet nature of oat milk just goes so well with this cake. It’s a simple, comforting combination.
- Peppermint Tea — The cool, refreshing flavor of peppermint tea is a surprisingly brilliant match for rich chocolate, creating a sort of dessert-inspired after-dinner moment.
Something Sweet
- Dark Chocolate Shavings — For the true chocoholic, a few curls of dark chocolate on top of each slice elevates it from everyday cake to dinner-party dessert. A little goes a long way for visual appeal and extra flavor.
- A Drizzle of Salted Caramel — If you’re feeling indulgent, a zigzag of salted caramel sauce over the top introduces a wonderful sweet-and-salty dimension that is absolutely irresistible.
- Candied Orange Peel — The bright, citrusy bitterness of candied orange peel is a classic partner for dark chocolate, adding a sophisticated and aromatic finish.
Top Mistakes to Avoid
- Mistake: Packing the coconut flour into the measuring cup. This is the number one reason for a dry, dense cake. Coconut flour is highly absorbent, and using too much will suck all the moisture right out of your batter. Always spoon and level!
- Mistake: Not sifting the dry ingredients. I’ve messed this up before too, thinking I could just whisk it in. You’ll end up with little pockets of dry coconut flour in your finished cake, and it’s just not a pleasant texture. The sieve is your friend.
- Mistake: Overbaking the cake. Because it’s so moist, the line between perfectly baked and overbaked is thin. Start checking at the 28-minute mark. Remember, a few moist crumbs on the toothpick are what you want—a clean toothpick means it’s overdone.
- Mistake: Trying to frost the cake while it’s warm. This tender cake needs to be completely cool to handle frosting or even a dusting of powdered sugar. If it’s warm, the frosting will melt and slide right off, and the cake might break apart.
Expert Tips
- Tip: Use a kitchen scale for accuracy. This is my biggest pro-tip for baking, especially with finicky ingredients like coconut flour. Measuring by weight (grams) is infinitely more precise than using cups and ensures perfect results every single time.
- Tip: Let the batter rest for 5 minutes. After you’ve mixed in the hot liquid, let the batter sit for about 5 minutes before pouring it into the pan. This gives the coconut flour time to fully absorb the liquid, which results in a more consistent texture.
- Tip: For an extra-moist cake, try a simple syrup soak. If you want to guarantee extreme moistness, brush the top of the warm cake with a thin layer of simple syrup (equal parts sugar and water, heated until dissolved). It adds a subtle sweetness and incredible moisture.
- Tip: Double the recipe for a layer cake. This recipe works beautifully doubled and baked in two 8-inch pans. Just be sure to rotate the pans halfway through baking for even cooking. You’ll have a stunning gluten-free layer cake ready for frosting.
FAQs
Can I make this cake dairy-free?
Absolutely! This recipe is naturally dairy-free if you use coconut oil instead of butter. Just double-check that your chocolate (if using chips or a glaze) and other add-ins are certified dairy-free. It’s an incredibly easy recipe to adapt for those with dairy sensitivities, and the result is just as rich and delicious.
Why is my batter so thick before adding the hot liquid?
Don’t panic! This is completely normal and exactly what you want to see. Coconut flour absorbs liquid incredibly quickly, so the initial mix of eggs, oil, and dry ingredients will be very thick and pasty. The hot liquid is specifically added to thin it out to a proper cake batter consistency and to bloom the cocoa.
Can I substitute another flour for the coconut flour?
I really don’t recommend it. Coconut flour is unique in its high fiber and absorbency. Substituting it with almond flour, oat flour, or a gluten-free blend will not work without completely reformulating the entire recipe, including the quantity of eggs and liquid. They are not a 1:1 swap.
How should I store leftovers?
Because it’s so moist, this cake stores beautifully. Keep it in an airtight container at room temperature for up to 2 days, or in the refrigerator for up to 5 days. You can also freeze it, well-wrapped, for up to 3 months. Let it thaw in the refrigerator overnight.
My cake sunk in the middle a little. What happened?
A slight sink is common with gluten-free cakes, as they lack the structure of gluten. The most likely causes are underbaking or opening the oven door too early in the baking process, which causes a temperature drop. As long as it’s cooked through (check with a toothpick!), it will still taste amazing—just cover the dip with some whipped cream or berries!
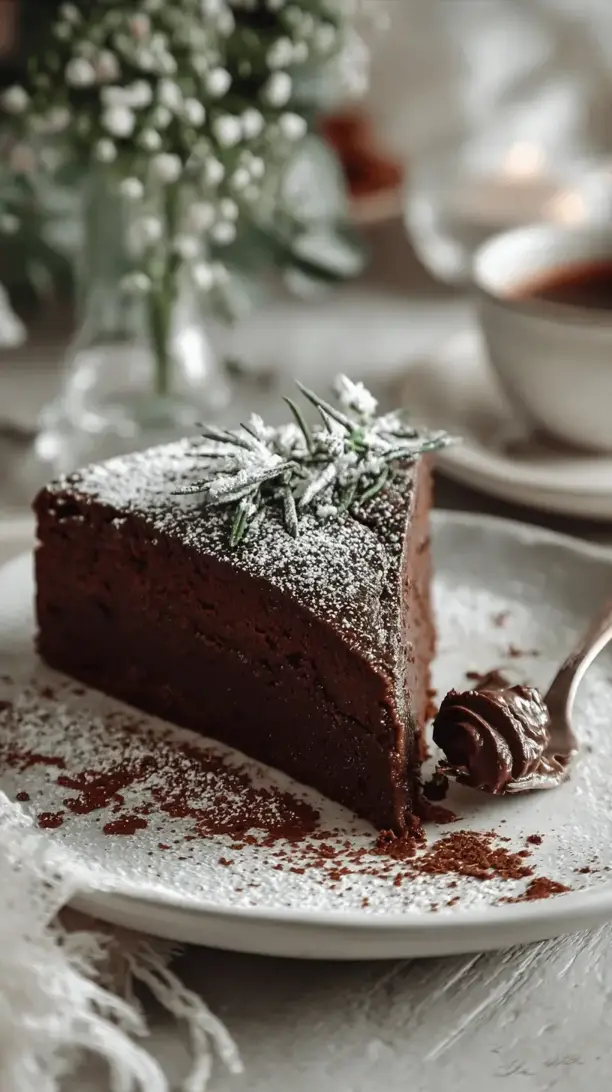
Coconut Flour Chocolate Cake
My foolproof Coconut Flour Chocolate Cake recipe! Incredibly moist, gluten-free, and packed with rich chocolate flavor. Simple, one-bowl method for a decadent yet wholesome dessert everyone will love.
Ingredients
Ingredients
-
6 large eggs (at room temperature)
-
1/2 cup melted coconut oil or unsalted butter (slightly cooled)
-
1/2 cup pure maple syrup or honey
-
1 tsp pure vanilla extract
-
1/2 cup unsweetened cocoa powder
-
1/2 cup coconut flour
-
1/2 tsp baking soda
-
1/4 tsp fine sea salt
-
1/2 cup strong brewed coffee or hot water (this enhances the chocolate flavor!)
Instructions
-
Prep and Preheat. Start by preheating your oven to 350°F (175°C). This is important because coconut flour batters can sometimes settle if they sit too long. Then, line the bottom of your 8-inch cake pan with a circle of parchment paper and lightly grease the sides. This guarantees a clean release every single time.01
-
Combine the Wet Ingredients. In your large mixing bowl, whisk together the room-temperature eggs until they're just frothy. Then, while whisking continuously, slowly stream in the slightly cooled, melted coconut oil (or butter). Follow this with the maple syrup and vanilla extract. Whisk until the mixture is completely smooth and emulsified—you shouldn't see any separation.02
-
Sift and Incorporate the Dry Ingredients. Now, place your sifter over the bowl and add the cocoa powder, coconut flour, baking soda, and salt. Sift everything directly into the wet ingredients. This is our crucial anti-clump step! Use your whisk to gently combine everything. The batter will be very thick at this stage, almost like a brownie batter—that's perfectly normal.03
-
Bloom the Cocoa and Thin the Batter. Heat your coffee or water until it's hot (just boiled is fine). Pour it into the thick batter. You'll notice an immediate change: the batter will loosen up significantly and become glossy and pourable. Whisk until the batter is completely smooth and no streaks remain. The aroma of the chocolate will really intensify now.04
-
Bake to Perfection. Pour the batter into your prepared cake pan and smooth the top with a spatula. Bake for 30-35 minutes. You'll know it's done when the top is set and a toothpick inserted into the center comes out with just a few moist crumbs attached. Be careful not to overbake, as coconut flour desserts can dry out quickly.05
-
The All-Important Cool Down. This is the hardest part—waiting! Let the cake cool in the pan on a wire rack for at least 15-20 minutes. Then, run a knife around the edge to loosen it, and carefully invert it onto the rack to cool completely. This cake is very tender when warm, so patience here ensures you get clean slices.06


