
Why You’ll Love This Coconut Chocolate Pudding
- It’s unbelievably creamy without any dairy. The magic here is in the coconut milk. Using full-fat coconut milk gives this pudding an incredibly rich and silky texture that rivals any traditional dairy-based version. It’s a fantastic option if you’re catering to vegan friends or are just looking for a different kind of indulgence.
- The flavor combination is pure bliss. Chocolate and coconut are a match made in heaven—think of your favorite candy bar, but in a sophisticated, spoonable form. The chocolate is deep and robust, while the coconut provides a subtle sweetness and fragrance that lingers beautifully on the palate. It’s a truly grown-up dessert.
- It comes together in under 15 minutes. Seriously, the active cooking time is minimal. You’re basically just whisking a few simple ingredients together on the stove until they thicken. The hardest part is waiting for it to chill and set in the fridge, which is the perfect time to clean up and dream about that first spoonful.
- It’s incredibly versatile. This pudding is a perfect blank canvas. Enjoy it plain, or dress it up with a mountain of whipped coconut cream, a sprinkle of toasted coconut flakes, or some fresh berries. You can even layer it in a glass with some crumbled cookies for an easy parfait.
Ingredients & Tools
- 1 can (400 ml / 13.5 fl oz) full-fat coconut milk
- 1/3 cup (65 g) granulated sugar
- 2 tablespoons (15 g) unsweetened cocoa powder
- 3 tablespoons (25 g) cornstarch
- 1/4 teaspoon fine sea salt
- 100 g (3.5 oz) high-quality dark chocolate (around 70%), finely chopped
- 1 teaspoon pure vanilla extract
Tools: A medium saucepan, a whisk, a fine-mesh sieve (optional but helpful), and 4 small serving bowls or ramekins.
A little note on the ingredients: using full-fat coconut milk is non-negotiable for that creamy result—light coconut milk will make the pudding thin and watery. And for the chocolate, honestly, splurge a little on a bar you love eating on its own. Since it’s a primary flavor, the quality really shines through.
Serves: 4 | Prep Time: 5 minutes | Cook Time: 10 minutes | Total Time: 4+ hours (including chilling)
Before You Start: Tips & Ingredient Notes
- Shake that can of coconut milk! Before you open it, give it a really good shake. This helps to emulsify the creamy solid part with the thinner liquid, giving you a more consistent base to work with from the start.
- Why chop the chocolate so finely? The smaller the chocolate pieces, the faster and more evenly they will melt into the hot pudding base. You can even use a serrated knife to “grate” the chocolate bar—it creates perfect little shavings that disappear almost instantly.
- Don’t skip the salt. I know it seems like a small amount, but that quarter teaspoon of salt is crucial. It doesn’t make the pudding salty; it enhances the chocolate flavor and balances the sweetness, making everything taste more rounded and complex.
- Embrace the cornstarch. Cornstarch is our thickening agent here, and it’s important to whisk it thoroughly with the other dry ingredients before adding the liquid. This prevents it from forming stubborn little lumps that can ruin the silky texture we’re after.
How to Make Coconut Chocolate Pudding
Step 1: The Dry Mix. In your medium saucepan, whisk together the sugar, cocoa powder, cornstarch, and salt. Whisk them really well until everything is evenly distributed and you don’t see any clumps of cocoa or cornstarch. This initial step is key for a smooth pudding later on—it ensures our thickeners are evenly dispersed.
Step 2: Create the Slurry. Slowly, and I mean slowly, pour about half of the coconut milk into the dry ingredients while whisking constantly. You’ll start with a very thick paste. Keep whisking until it’s completely smooth, then whisk in the remaining coconut milk. The mixture will be quite thin at this stage, which is exactly what we want. This technique of starting with a paste prevents lumps from ever forming.
Step 3: Cook to Thicken. Place the saucepan over medium heat. Cook, whisking constantly—and make sure to get into the corners of the pan—until the mixture begins to thicken and bubble. This should take about 5-7 minutes. You’ll notice the whisk will start to leave trails in the pudding, and the bubbles will be thick and lazy. Once it reaches a full boil, let it cook for one more minute, still whisking. This cooks out the starchy taste from the cornstarch.
Step 4: The Chocolate Magic. Remove the pan from the heat. Immediately add the finely chopped dark chocolate and the vanilla extract. Whisk continuously until the chocolate is completely melted and the pudding is glossy and uniform. The residual heat from the pudding is more than enough to melt the chocolate beautifully.
Step 5: Strain for Silkiness (Optional but Recommended). For an absolutely flawless, restaurant-quality texture, pour the pudding through a fine-mesh sieve into a bowl. This will catch any potential tiny lumps of cornstarch or unmelted chocolate bits. If you’re confident your mixture is perfectly smooth, you can skip this, but it’s a great insurance policy.
Step 6: Chill Out. Divide the warm pudding evenly among your four serving dishes. To prevent a skin from forming, press a piece of plastic wrap directly onto the surface of each pudding. Refrigerate for at least 4 hours, or ideally overnight. The pudding needs this time to set fully and develop its flavors.
Serving Suggestions
Complementary Dishes
- A simple fruit salad with mango and pineapple — The bright, acidic sweetness of tropical fruit cuts through the richness of the chocolate and echoes the coconut theme beautifully.
- Buttery shortbread cookies — The crumbly, sandy texture of a good shortbread provides a wonderful contrast to the smooth, creamy pudding. It’s perfect for dipping or crumbling on top.
Drinks
- A glass of cold-brew coffee — The deep, slightly bitter notes of coffee are a classic partner for dark chocolate. It turns your dessert into a sophisticated coffee-house experience.
- A rich, spicy red wine like a Zinfandel — If you’re serving this after a dinner party, a wine with berry and spice notes can stand up to the intensity of the chocolate.
Something Sweet
- Toasted coconut flakes — Simply toast some unsweetened coconut flakes in a dry pan until golden brown. Sprinkling these on top adds a fantastic nutty flavor and a delightful crunch.
- Fresh raspberries or strawberries — A few bright red berries on top not only look stunning but their tartness provides a refreshing counterpoint to each rich spoonful of pudding.
Top Mistakes to Avoid
- Mistake: Using light coconut milk. This is the number one reason a pudding might not set properly. The high fat content in full-fat coconut milk is essential for the final creamy texture and mouthfeel. Light coconut milk will result in a thin, almost watery pudding.
- Mistake: Not whisking constantly during cooking. Cornstarch has a tendency to sink to the bottom and burn if left unattended. Constant whisking ensures even cooking and prevents scorching, which would give your pudding a bitter, burnt flavor.
- Mistake: Not cooking long enough. The pudding needs to come to a full, thick boil and bubble for about a minute to activate the cornstarch’s full thickening power. If you take it off the heat too soon, it may never set firmly in the fridge.
- Mistake: Skipping the plastic wrap on the surface. I know it seems fussy, but pressing the plastic wrap directly onto the pudding’s surface is the only surefire way to prevent a rubbery skin from forming. It keeps the top just as silky as the center.
Expert Tips
- Tip: Infuse the coconut milk. For an even more pronounced coconut flavor, you can gently heat the coconut milk with a strip of lime zest or a split vanilla bean pod before you begin. Let it steep for 15 minutes, then strain and proceed with the recipe.
- Tip: Make it ahead. This pudding is a fantastic make-ahead dessert. It keeps beautifully in the fridge, covered, for up to 3 days. The flavors actually meld and improve over time, making it even better the next day.
- Tip: Create stunning layers. For a dinner party showstopper, try layering the chocolate pudding with a vanilla or coconut-flavored pudding. Simply make a batch of each and spoon them alternately into glasses for a beautiful striped effect.
- Tip: Adjust the sweetness. Taste the pudding base after you’ve added the chocolate. If you find you’d like it a touch sweeter, you can whisk in an extra tablespoon of sugar off the heat until it dissolves.
FAQs
Can I use coconut cream instead of coconut milk?
You absolutely can, and it will result in an even richer, denser pudding—almost like a pot de crème. Coconut cream has a higher fat content and less water. If you go this route, you might need to add a tablespoon or two of water or another plant-based milk to get the right consistency before cooking, as it can be very thick straight from the can.
My pudding is lumpy! Can I fix it?
Don’t worry, it happens to the best of us! If you catch lumps while the pudding is still warm, the best fix is to blend it. An immersion blender works wonders right in the pot, or you can carefully transfer it to a stand blender. Blend until perfectly smooth, then strain it to be safe. If it’s already chilled, it’s trickier, but blending can still help improve the texture significantly.
Is there a substitute for cornstarch?
Yes, you can use an equal amount of arrowroot powder or tapioca starch. Both will work as thickeners. Be aware that arrowroot can make the pudding a little glossier and slightly more translucent, and it’s best not to boil it for as long. Avoid using flour, as it will make the pudding cloudy and give it a pasty taste.
Can I make this sugar-free?
You can experiment with sugar substitutes, but the results can vary. A granulated erythritol-based sweetener that measures 1:1 like sugar is your best bet. Liquid stevia might work, but you’d have to add it drop by drop at the end, after the chocolate, and it can sometimes introduce a slight bitter aftertaste.
Why did my pudding “weep” or release water in the fridge?
This usually happens if the pudding was either undercooked or overcooked. Undercooking means the starch molecules didn’t fully swell and trap the water. Overcooking can cause those same molecules to break down and release the water they were holding. Aim for that sweet spot of a full boil for just one minute while whisking constantly.
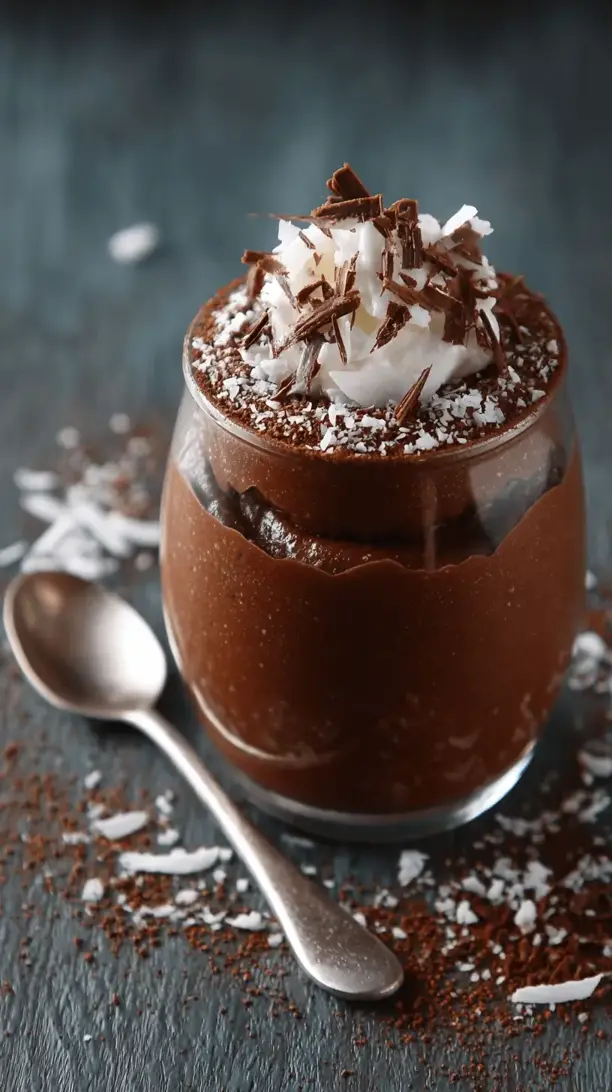
Coconut Chocolate Pudding
Creamy, dreamy Coconut Chocolate Pudding! This easy dairy-free dessert is luxuriously smooth & ready in 15 mins. A tropical twist on a classic that's vegan-friendly & pure bliss.
Ingredients
Ingredients
-
1 can full-fat coconut milk (400 ml / 13.5 fl oz)
-
1/3 cup granulated sugar (65 g)
-
2 tablespoons unsweetened cocoa powder (15 g)
-
3 tablespoons cornstarch (25 g)
-
1/4 teaspoon fine sea salt
-
100 g high-quality dark chocolate (3.5 oz, around 70%, finely chopped)
-
1 teaspoon pure vanilla extract
Instructions
-
The Dry Mix. In your medium saucepan, whisk together the sugar, cocoa powder, cornstarch, and salt. Whisk them really well until everything is evenly distributed and you don’t see any clumps of cocoa or cornstarch. This initial step is key for a smooth pudding later on—it ensures our thickeners are evenly dispersed.01
-
Create the Slurry. Slowly, and I mean slowly, pour about half of the coconut milk into the dry ingredients while whisking constantly. You’ll start with a very thick paste. Keep whisking until it’s completely smooth, then whisk in the remaining coconut milk. The mixture will be quite thin at this stage, which is exactly what we want. This technique of starting with a paste prevents lumps from ever forming.02
-
Cook to Thicken. Place the saucepan over medium heat. Cook, whisking constantly—and make sure to get into the corners of the pan—until the mixture begins to thicken and bubble. This should take about 5-7 minutes. You’ll notice the whisk will start to leave trails in the pudding, and the bubbles will be thick and lazy. Once it reaches a full boil, let it cook for one more minute, still whisking. This cooks out the starchy taste from the cornstarch.03
-
The Chocolate Magic. Remove the pan from the heat. Immediately add the finely chopped dark chocolate and the vanilla extract. Whisk continuously until the chocolate is completely melted and the pudding is glossy and uniform. The residual heat from the pudding is more than enough to melt the chocolate beautifully.04
-
Strain for Silkiness (Optional but Recommended). For an absolutely flawless, restaurant-quality texture, pour the pudding through a fine-mesh sieve into a bowl. This will catch any potential tiny lumps of cornstarch or unmelted chocolate bits. If you’re confident your mixture is perfectly smooth, you can skip this, but it’s a great insurance policy.05
-
Chill Out. Divide the warm pudding evenly among your four serving dishes. To prevent a skin from forming, press a piece of plastic wrap directly onto the surface of each pudding. Refrigerate for at least 4 hours, or ideally overnight. The pudding needs this time to set fully and develop its flavors.06


