
Why You’ll Love This Chia Seed Jam Thumbprint Cookies
- You control the sweetness. By making the jam from scratch, you get to decide exactly how much sugar goes in. It’s a game-changer if you, like me, prefer your treats a little less cloying.
- The texture is next-level. The chia seeds create this fantastic, naturally thickened jam with a slight pop, while the oat-based cookie has a delightful, tender crumble that’s just so satisfying to bite into.
- They’re surprisingly flexible. Got frozen berries? Perfect. Prefer apricots? Go for it. This recipe is a wonderful canvas for whatever fruit you have on hand or are craving.
- They feel like a homemade gift. These cookies look beautiful and taste like pure love. Packing them into a little box for a friend is honestly one of the most rewarding parts of baking them.
Ingredients & Tools
- For the Chia Seed Jam:
- 300 g mixed berries (fresh or frozen)
- 2 tbsp maple syrup or honey
- 1 tbsp fresh lemon juice
- 2 tbsp chia seeds
- For the Cookie Dough:
- 150 g unsalted butter, softened
- 80 g coconut sugar or light brown sugar
- 1 large egg yolk
- 1 tsp vanilla extract
- 150 g plain flour
- 50 g rolled oats
- 1/4 tsp salt
Tools: Medium saucepan, mixing bowls, electric hand mixer or stand mixer, baking sheet, parchment paper, a teaspoon or your thumb!
The ingredients here are pretty straightforward, but a few things really make a difference. Using rolled oats instead of just more flour gives the cookie a heartier, more interesting texture. And that egg yolk? It’s the secret to a super tender, rich crumb. Don’t skip it!
Serves: 18-20 cookies | Prep Time: 25 minutes (plus jam cooling) | Cook Time: 12-14 minutes | Total Time: about 1 hour (with cooling)
Before You Start: Tips & Ingredient Notes
- Softened butter is non-negotiable. Seriously, it makes creaming the butter and sugar so much easier and leads to a lighter cookie. Take it out of the fridge at least an hour ahead. It should be cool to the touch but yield easily when you press it.
- Let the jam cool completely. I know, the waiting is the hardest part. But if you spoon warm jam into the cookie dough thumbprints, it will seep into the dough and make the cookies soggy. Patience is key here for that perfect, distinct jam layer.
- Your thumb is the best tool. You can use the back of a teaspoon, but honestly, your thumb creates the perfect, rustic little well. Just dip it in a bit of flour first to prevent sticking.
- Frozen berries work brilliantly. Don’t feel you need fresh ones! Frozen berries are often picked at their peak and are perfect for jam-making. No need to thaw them first, just add a minute or two to the cooking time.
How to Make Chia Seed Jam Thumbprint Cookies
Step 1: Make the Chia Seed Jam. First things first, let’s get the jam going so it has time to cool. In your medium saucepan, combine the berries, maple syrup, and lemon juice. Cook over medium heat, stirring occasionally, until the berries break down and release their juices. This will take about 5-7 minutes for fresh berries, or 8-10 for frozen. You’ll notice the mixture becoming saucy and bubbling gently. Use a wooden spoon or potato masher to help break up any larger berry pieces.
Step 2: Thicken the Jam. Once the berries are soft and the liquid is simmering, remove the pan from the heat. Stir in the chia seeds immediately—they need the heat to activate their thickening power. Keep stirring for a minute or so to make sure everything is well combined. Then, just let it sit. The jam will thicken significantly as it cools. You can transfer it to a bowl to speed up the cooling process. It should look glossy and have a spoonable, jam-like consistency.
Step 3: Cream the Butter and Sugar. While the jam is cooling, preheat your oven to 180°C (160°C fan) / 350°F and line a baking sheet with parchment paper. In your mixing bowl, beat the softened butter and coconut sugar together with your electric mixer on medium speed. The trick is to beat it for a good 2-3 minutes, until the mixture is pale, fluffy, and well combined. You’ll really notice the change in color and texture—this step incorporates air, which gives the cookies a lovely lightness.
Step 4: Add the Wet Ingredients. Beat in the egg yolk and vanilla extract until everything is smoothly incorporated. Scrape down the sides of the bowl with a spatula to make sure there are no hidden pockets of butter. The vanilla aroma at this point is just wonderful.
Step 5: Combine the Dry Ingredients. In a separate bowl, whisk together the plain flour, rolled oats, and salt. This ensures the salt is evenly distributed so you don’t get a salty bite. The oats add a lovely, rustic texture that I absolutely adore.
Step 6: Bring the Dough Together. With your mixer on low speed, gradually add the dry ingredients to the wet ingredients. Mix just until a soft dough forms and no streaks of flour remain. Be careful not to overmix here, as that can lead to tough cookies. The dough will be soft but should hold its shape when rolled.
Step 7: Shape the Cookies. Roll tablespoon-sized portions of dough into smooth balls. Place them on your prepared baking sheet, leaving about 5 cm (2 inches) between each one as they will spread a little. Now, using your floured thumb (or the back of a teaspoon), make a deep indent in the center of each ball. Don’t be shy—press down firmly, but try not to go all the way through the bottom.
Step 8: Fill and Bake. Once your jam is completely cool, spoon about half a teaspoon into each thumbprint. You want to fill the well nicely but not overfill it, or it might bubble over. Bake for 12-14 minutes, or until the edges of the cookies are just starting to turn a light golden brown. The centers will still look soft, which is perfect—they’ll firm up as they cool.
Step 9: Cool Completely. Let the cookies cool on the baking sheet for at least 10 minutes before transferring them to a wire rack to cool completely. This is crucial for them to set properly. I know it’s tempting, but try to wait… the jam will be molten lava hot!
Serving Suggestions
Complementary Dishes
- A simple fruit platter — The bright, fresh fruit provides a lovely contrast to the rich, buttery cookies and makes the whole spread feel a bit more balanced.
- A sharp cheese board — A few slices of aged cheddar or a crumbly goat’s cheese alongside these cookies is a surprisingly fantastic sweet-and-savory combination.
Drinks
- A pot of Earl Grey tea — The bergamot in the tea complements the berry jam beautifully, creating a really elegant afternoon treat.
- A glass of cold milk — It’s a classic for a reason. The creaminess is the perfect partner for these tender, homestyle cookies.
Something Sweet
- Lemon sorbet — The zingy, clean flavor of the sorbet cuts through the sweetness and leaves your palate feeling refreshed.
- Dark chocolate-covered almonds — A little extra crunch and a hint of bitterness from the dark chocolate rounds out the cookie experience perfectly.
Top Mistakes to Avoid
- Mistake: Using hot jam. This is the number one error! It melts the butter in the surrounding dough, causing the thumbprint to lose its shape and the cookie to spread too much. Always, always wait for the jam to cool to room temperature.
- Mistake: Overmixing the dough. Once the flour is incorporated, stop mixing. Overworking the dough develops the gluten in the flour, leading to cookies that are tough and dense instead of tender and crumbly.
- Mistake: Not making the thumbprint deep enough. If the well is too shallow, the jam can bubble over the edges during baking. Press down confidently to create a good-sized reservoir for all that fruity goodness.
- Mistake: Baking until the cookies look fully done. They continue to cook on the hot baking sheet after you take them out of the oven. Pull them when the edges are just golden for a perfectly soft center.
Expert Tips
- Tip: Toast your oats. For an even deeper, nuttier flavor, spread the rolled oats on a baking sheet and toast them in the oven at 180°C for 5-7 minutes before adding them to the flour. Let them cool completely first. It’s a small step with a big flavor payoff.
- Tip: Chill the dough if it’s too soft. If your kitchen is warm and the dough feels sticky, wrap it in cling film and pop it in the fridge for 20-30 minutes. This makes it much easier to roll into neat balls.
- Tip: Experiment with jam flavors. Try a mango and lime chia jam, or a peach and ginger version. The cookie base is a neutral canvas that works with so many different fruit combinations.
- Tip: Use a small cookie scoop. For perfectly uniform cookies that all bake at the same rate, a small spring-loaded cookie scoop is your best friend. It also keeps your hands much cleaner!
FAQs
Can I make these cookies gluten-free?
Absolutely! You can easily substitute the plain flour with a 1:1 gluten-free flour blend. Just make sure the blend contains a binder like xanthan gum. The oats should be certified gluten-free as well, as oats are often processed in facilities that also handle wheat.
How should I store these cookies, and how long will they keep?
Store the completely cooled cookies in an airtight container at room temperature. They’ll be at their best for about 3-4 days. The jam can make the cookies soften a bit over time, but they’re still delicious. I don’t recommend refrigerating them, as it can dry out the cookie.
Can I freeze the cookie dough or the baked cookies?
Yes to both! You can freeze the shaped dough balls on a tray before transferring them to a freezer bag. Bake from frozen, adding 1-2 minutes to the baking time. You can also freeze the fully baked and cooled cookies in a single layer; just thaw at room temperature when you’re ready to enjoy them.
My jam didn’t thicken enough. What happened?
This usually means the mixture wasn’t hot enough when you added the chia seeds, or it needed a bit more time. If it’s still runny after cooling, you can gently reheat it and stir in another half tablespoon of chia seeds, then let it cool again. The chia seeds need the heat to release their gelatinous coating.
Can I use a different sweetener in the jam?
Of course. Maple syrup and honey are my favorites for flavor, but you can use agave nectar or even granulated sugar. If using sugar, you might need to simmer the berry mixture a minute or two longer to ensure the sugar fully dissolves.
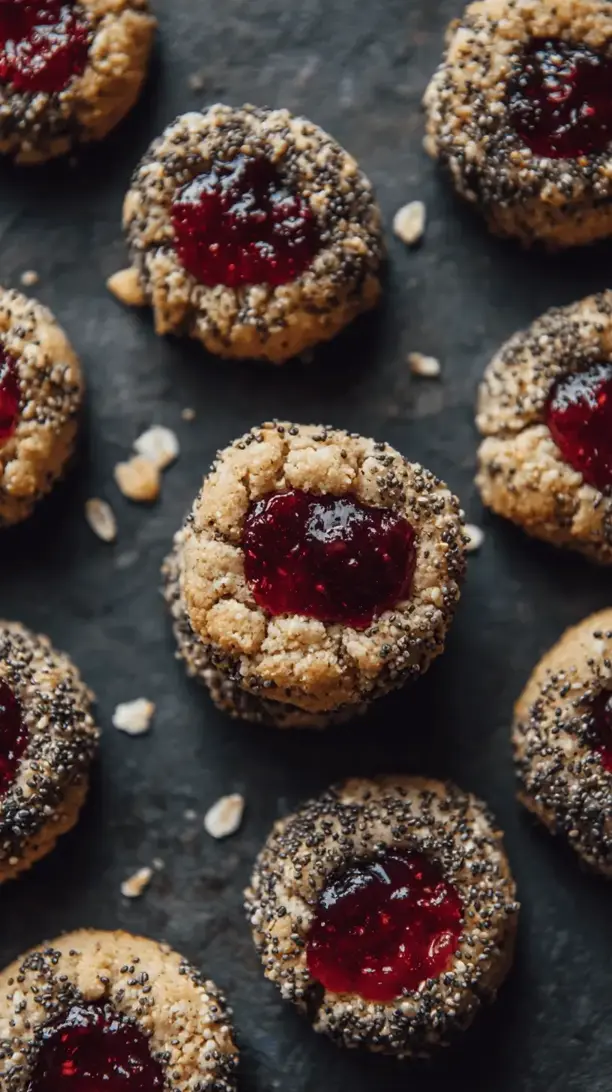
Chia Seed Jam Thumbprint Cookies
Whip up these wholesome Chia Seed Jam Thumbprint Cookies! A from-scratch recipe with less sugar & a tender oat cookie base. Perfect for gifting or a cozy bake.
Ingredients
Ingredients
-
300 g mixed berries (fresh or frozen)
-
2 tbsp maple syrup or honey
-
1 tbsp fresh lemon juice
-
2 tbsp chia seeds
-
150 g unsalted butter (softened)
-
80 g coconut sugar or light brown sugar
-
1 large egg yolk
-
1 tsp vanilla extract
-
150 g plain flour
-
50 g rolled oats
-
1/4 tsp salt
Instructions
-
Make the Chia Seed Jam. First things first, let's get the jam going so it has time to cool. In your medium saucepan, combine the berries, maple syrup, and lemon juice. Cook over medium heat, stirring occasionally, until the berries break down and release their juices. This will take about 5-7 minutes for fresh berries, or 8-10 for frozen. You'll notice the mixture becoming saucy and bubbling gently. Use a wooden spoon or potato masher to help break up any larger berry pieces.01
-
Thicken the Jam. Once the berries are soft and the liquid is simmering, remove the pan from the heat. Stir in the chia seeds immediately—they need the heat to activate their thickening power. Keep stirring for a minute or so to make sure everything is well combined. Then, just let it sit. The jam will thicken significantly as it cools. You can transfer it to a bowl to speed up the cooling process. It should look glossy and have a spoonable, jam-like consistency.02
-
Cream the Butter and Sugar. While the jam is cooling, preheat your oven to 180°C (160°C fan) / 350°F and line a baking sheet with parchment paper. In your mixing bowl, beat the softened butter and coconut sugar together with your electric mixer on medium speed. The trick is to beat it for a good 2-3 minutes, until the mixture is pale, fluffy, and well combined. You'll really notice the change in color and texture—this step incorporates air, which gives the cookies a lovely lightness.03
-
Add the Wet Ingredients. Beat in the egg yolk and vanilla extract until everything is smoothly incorporated. Scrape down the sides of the bowl with a spatula to make sure there are no hidden pockets of butter. The vanilla aroma at this point is just wonderful.04
-
Combine the Dry Ingredients. In a separate bowl, whisk together the plain flour, rolled oats, and salt. This ensures the salt is evenly distributed so you don't get a salty bite. The oats add a lovely, rustic texture that I absolutely adore.05
-
Bring the Dough Together. With your mixer on low speed, gradually add the dry ingredients to the wet ingredients. Mix just until a soft dough forms and no streaks of flour remain. Be careful not to overmix here, as that can lead to tough cookies. The dough will be soft but should hold its shape when rolled.06
-
Shape the Cookies. Roll tablespoon-sized portions of dough into smooth balls. Place them on your prepared baking sheet, leaving about 5 cm (2 inches) between each one as they will spread a little. Now, using your floured thumb (or the back of a teaspoon), make a deep indent in the center of each ball. Don't be shy—press down firmly, but try not to go all the way through the bottom.07
-
Fill and Bake. Once your jam is completely cool, spoon about half a teaspoon into each thumbprint. You want to fill the well nicely but not overfill it, or it might bubble over. Bake for 12-14 minutes, or until the edges of the cookies are just starting to turn a light golden brown. The centers will still look soft, which is perfect—they'll firm up as they cool.08
-
Cool Completely. Let the cookies cool on the baking sheet for at least 10 minutes before transferring them to a wire rack to cool completely. This is crucial for them to set properly. I know it's tempting, but try to wait… the jam will be molten lava hot!09


