
Why You’ll Love This Cacao Peanut Butter Smoothie
- It tastes like a milkshake, but it’s actually good for you. Seriously, the blend of cacao and peanut butter is so rich and decadent, you’ll have a hard time believing it’s made from such simple, whole ingredients. It satisfies those chocolate cravings without the sugar crash.
- It’s incredibly fast and forgiving. This is a five-minute recipe from start to finish, with zero cooking involved. You really can’t mess it up, and it’s easily adaptable based on what you have in your pantry.
- It keeps you full and satisfied. Thanks to the healthy fats from the peanut butter and the protein from the yogurt, this smoothie has serious staying power. It’s a complete meal in a glass that will power you through your morning.
- It’s a fantastic energy booster. Unlike sugary drinks that lead to a quick high and a faster crash, the natural energy from the banana and the sustained release from the other ingredients provide a clean, steady lift. It’s my secret weapon before a long day.
Ingredients & Tools
- 1 large ripe banana (preferably frozen)
- 2 tbsp natural, unsweetened peanut butter
- 1 tbsp raw cacao powder (or unsweetened cocoa powder)
- 1 cup unsweetened almond milk (or milk of choice)
- 1/2 cup plain Greek yogurt (or a dairy-free alternative)
- 1 tbsp chia seeds (optional, for extra thickness and nutrients)
- 1 tsp vanilla extract
- A pinch of sea salt
- Ice cubes (if your banana isn’t frozen)
Tools: A high-speed blender.
The quality of your peanut butter and cacao powder really makes a difference here. Using a natural peanut butter (just peanuts and salt) ensures you get that pure, nutty flavour without added oils or sugars. And raw cacao powder has a deeper, more complex chocolate flavour compared to standard cocoa—though both work perfectly well!
Serves: 1 | Prep Time: 5 mins | Cook Time: 0 mins | Total Time: 5 mins
Before You Start: Tips & Ingredient Notes
- Freeze your banana! This is the single best trick for a creamy, milkshake-like texture. Peel a ripe banana, break it into chunks, and freeze it on a tray before transferring to a bag. It eliminates the need for as much ice, which can water things down.
- Why natural peanut butter? The oils in natural peanut butter can separate, but that’s a good thing! It means it’s less processed. Just give it a really good stir before you use it. The creaminess it adds is unmatched.
- Cacao vs. Cocoa — what’s the difference? Raw cacao is less processed and has a slightly more bitter, intense chocolate flavour. Dutch-process cocoa is milder. Honestly, both are great here, so use what you have and love.
- Don’t skip the salt. I know it seems odd, but a tiny pinch of sea salt is the magic ingredient that makes the chocolate and peanut butter flavours truly pop. It balances the sweetness and enhances everything.
How to Make Cacao Peanut Butter Smoothie
Step 1: Get your blender ready. I like to add the liquid ingredients first to help everything blend more smoothly. So, pour your cup of almond milk directly into the blender pitcher. This creates a base that allows the blades to move freely from the start.
Step 2: Add the soft ingredients. Spoon in the Greek yogurt, the peanut butter, and the vanilla extract. If your peanut butter is particularly stubborn, a quick spray of cooking oil on the spoon can help it slide right off. You’ll notice the peanut butter might sink to the bottom—that’s perfectly fine.
Step 3: Incorporate the dry ingredients and flavour boosters. Now, add the cacao powder, chia seeds (if using), and that all-important pinch of sea salt. The trick here is to try and place the powdery ingredients away from the blender blades initially to prevent them from just flying up and sticking to the sides.
Step 4: The star of the show: the banana. Break your frozen banana chunk(s) into the blender. If you’re using a fresh banana, you’ll need to add a handful of ice cubes now to get that thick, cold texture. The frozen banana is our natural sweetener and thickener all in one.
Step 5: Blend to creamy perfection! Start your blender on low speed for a few seconds to combine the ingredients, then quickly ramp it up to high. Let it run for about 45-60 seconds. You’re looking for a completely smooth, homogenous mixture with no chunks of banana or streaks of peanut butter. If it seems too thick and isn’t blending well, stop the blender, add another tablespoon or two of milk, and blend again.
Step 6: Taste and adjust. This is the best part. Pour a little into a glass and taste it. Does it need a touch more sweetness? You could blend in half a pitted medjool date or a tiny drizzle of maple syrup. More chocolatey? Add another half teaspoon of cacao. Make it yours!
Step 7: Serve immediately. Smoothies are best enjoyed right away while they’re frosty cold and the texture is perfect. Pour it into your favourite glass, maybe add a straw, and enjoy every last sip of your homemade, healthy milkshake.
Serving Suggestions
Complementary Dishes
- A slice of whole-wheat toast with avocado — For a truly balanced breakfast, the creamy, savoury avocado complements the sweet, rich smoothie beautifully, giving you a mix of carbs, fats, and protein.
- A small side of scrambled eggs — If you’re having this post-workout, a bit of extra protein from some softly scrambled eggs makes for a fantastic, muscle-repairing meal.
- A handful of fresh berries on the side — The bright, tart pop of a raspberry or strawberry in between sips of the smoothie creates a lovely contrast and adds some fresh fruit to your meal.
Drinks
- A tall glass of cold water with lemon — It might sound simple, but staying hydrated is key. The crisp, clean lemon water is a perfect palate cleanser that highlights the smoothie’s richness.
- A hot cup of black coffee — The bitter notes of a good coffee are a classic pairing with chocolate and can cut through the creaminess of the smoothie for a more complete breakfast experience.
- Sparkling water — The effervescence of sparkling water feels like a treat and helps to cleanse the palate, making each sip of the smoothie taste as vibrant as the first.
Something Sweet
- A small, chewy oatmeal raisin cookie — The spices in the cookie and the chewiness provide a lovely textural contrast, and it feels like a little dessert extension without being overwhelming.
- A few squares of dark chocolate — For the ultimate chocolate lover, enjoying a piece of high-quality dark chocolate (70% or higher) after the smoothie extends the chocolate bliss in a more intense, sophisticated way.
- A medjool date stuffed with a almond — This is a naturally sweet, almost caramel-like bite that aligns perfectly with the healthy, whole-food vibe of the smoothie itself.
Top Mistakes to Avoid
- Mistake: Using a non-ripe banana. A green or just-yellow banana lacks the natural sweetness and creamy texture of a ripe, spotty banana. Using an unripe banana will result in a less sweet, slightly starchy-tasting smoothie.
- Mistake: Adding too much liquid at once. It’s easier to thin a thick smoothie than to thicken a watery one. Start with the recommended amount of milk, and only add more after blending if it’s too thick to pour.
- Mistake: Not blending long enough. I’ve messed this up before too—impatience leads to a chunky smoothie. Give your blender a solid minute on high to ensure everything is silky smooth, especially if you’re using frozen fruit.
- Mistake: Using sweetened peanut butter or yogurt. This can quickly make your smoothie cloyingly sweet, as the banana already provides plenty of sweetness. You want control over the sugar, so stick to unsweetened versions.
Expert Tips
- Tip: Make smoothie packs for the freezer. For the ultimate morning hack, pre-portion all your dry and frozen ingredients (banana chunks, cacao powder, chia seeds) into freezer bags. In the morning, just dump the bag into the blender, add the fresh ingredients, and go.
- Tip: Boost the nutrition seamlessly. A handful of spinach will blend in without affecting the flavour but adds a nutrient punch. A scoop of unflavoured collagen peptides or protein powder can also be added for an extra protein boost.
- Tip: Clean your blender instantly. The best way to clean a blender after a smoothie is to fill it halfway with warm water and a drop of dish soap, then blend for 30 seconds. It rinses completely clean—no scrubbing required.
- Tip: Layer your ingredients strategically. For blenders that aren’t super high-powered, put the liquid in first, then the soft ingredients, and the frozen items on top. This helps the blades grab everything more effectively.
FAQs
Can I make this smoothie ahead of time?
You can, but the texture is best immediately after blending. If you must prep ahead, make it and store it in a sealed jar in the fridge for up to 24 hours. It will separate and thin out a bit—this is normal! Just give it a really good shake or a quick re-blend before drinking. I wouldn’t recommend freezing the fully made smoothie, as the texture can become icy and grainy when thawed.
I don’t have a high-speed blender. Will it still work?
Absolutely! A standard blender will work just fine; it might just take a little longer and require a bit more patience. Start on low and gradually increase the speed. You may need to stop and scrape down the sides a couple of times to ensure everything gets incorporated. Using a slightly less frozen banana (or adding the ice cubes after the other ingredients are partially blended) can also help a less powerful motor.
What can I use instead of peanut butter?
Any nut or seed butter makes a great substitute! Almond butter is a classic alternative. For a nut-free version, sunflower seed butter is fantastic—just be aware it can turn your smoothie a slightly greenish colour when mixed with the banana (it’s a harmless chemical reaction!). Tahini (sesame seed paste) would add a more earthy, savoury twist that’s surprisingly delicious with chocolate.
My smoothie is too thick! How can I thin it out?
No problem at all—this happens to the best of us. The easiest fix is to simply add more of your liquid (almond milk), a tablespoon or two at a time, blending briefly after each addition until it reaches your desired consistency. You could also use water, or even a splash of cold brew coffee for a mocha twist!
Is raw cacao powder better than cocoa powder?
“Better” is subjective—it depends on what you’re looking for. Raw cacao is less processed, so it retains more antioxidants and minerals, and it has a more intense, slightly fruity-bitter chocolate flavour. Cocoa powder (especially Dutch-processed) is milder and often easier to find. For this recipe, both work wonderfully, so choose based on your flavour preference and what’s in your cupboard. The difference, while noticeable to a trained palate, won’t make or break your smoothie.
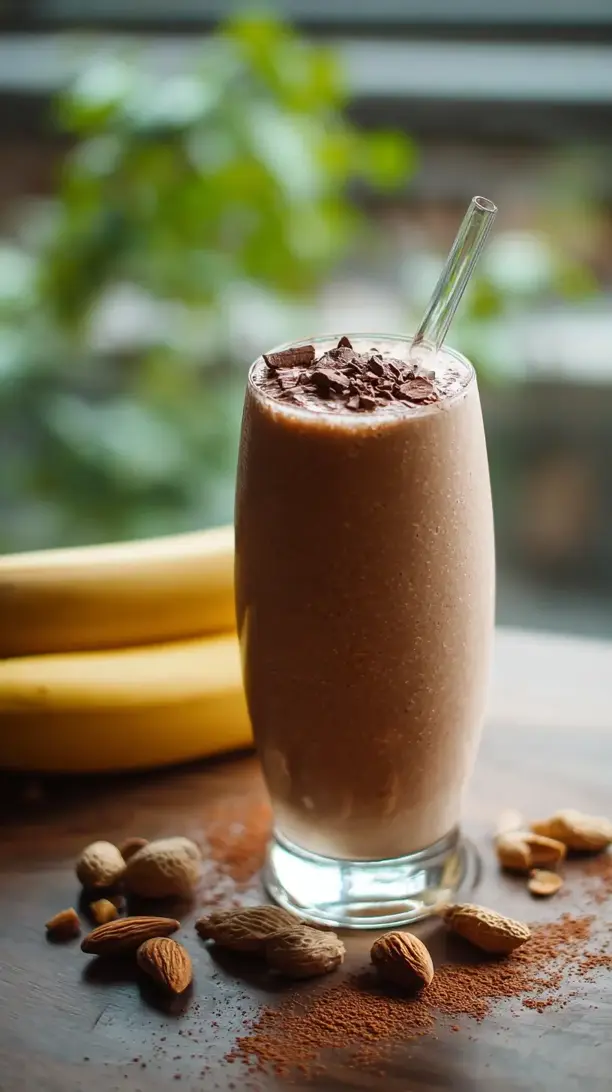
Cacao Peanut Butter Smoothie
Whip up a decadent Cacao Peanut Butter Smoothie in 5 minutes! This healthy recipe tastes like a dessert milkshake but is packed with protein & energy. Your new go-to breakfast or snack!
Ingredients
Ingredients
-
1 large ripe banana (preferably frozen)
-
2 tbsp natural, unsweetened peanut butter
-
1 tbsp raw cacao powder (or unsweetened cocoa powder)
-
1 cup unsweetened almond milk (or milk of choice)
-
1/2 cup plain Greek yogurt (or a dairy-free alternative)
-
1 tbsp chia seeds (optional, for extra thickness and nutrients)
-
1 tsp vanilla extract
-
A pinch sea salt
-
Ice cubes (if your banana isn't frozen)
Instructions
-
Get your blender ready. I like to add the liquid ingredients first to help everything blend more smoothly. So, pour your cup of almond milk directly into the blender pitcher. This creates a base that allows the blades to move freely from the start.01
-
Add the soft ingredients. Spoon in the Greek yogurt, the peanut butter, and the vanilla extract. If your peanut butter is particularly stubborn, a quick spray of cooking oil on the spoon can help it slide right off. You'll notice the peanut butter might sink to the bottom—that's perfectly fine.02
-
Incorporate the dry ingredients and flavour boosters. Now, add the cacao powder, chia seeds (if using), and that all-important pinch of sea salt. The trick here is to try and place the powdery ingredients away from the blender blades initially to prevent them from just flying up and sticking to the sides.03
-
The star of the show: the banana. Break your frozen banana chunk(s) into the blender. If you're using a fresh banana, you'll need to add a handful of ice cubes now to get that thick, cold texture. The frozen banana is our natural sweetener and thickener all in one.04
-
Blend to creamy perfection! Start your blender on low speed for a few seconds to combine the ingredients, then quickly ramp it up to high. Let it run for about 45-60 seconds. You're looking for a completely smooth, homogenous mixture with no chunks of banana or streaks of peanut butter. If it seems too thick and isn't blending well, stop the blender, add another tablespoon or two of milk, and blend again.05
-
Taste and adjust. This is the best part. Pour a little into a glass and taste it. Does it need a touch more sweetness? You could blend in half a pitted medjool date or a tiny drizzle of maple syrup. More chocolatey? Add another half teaspoon of cacao. Make it yours!06
-
Serve immediately. Smoothies are best enjoyed right away while they're frosty cold and the texture is perfect. Pour it into your favourite glass, maybe add a straw, and enjoy every last sip of your homemade, healthy milkshake.07