
Why You’ll Love This Baked Pumpkin Oat Squares
- They’re the ultimate multitasker. Seriously, these squares seamlessly bridge the gap between breakfast, snack, and dessert. They’re substantial enough to keep you full but light enough that you don’t feel weighed down.
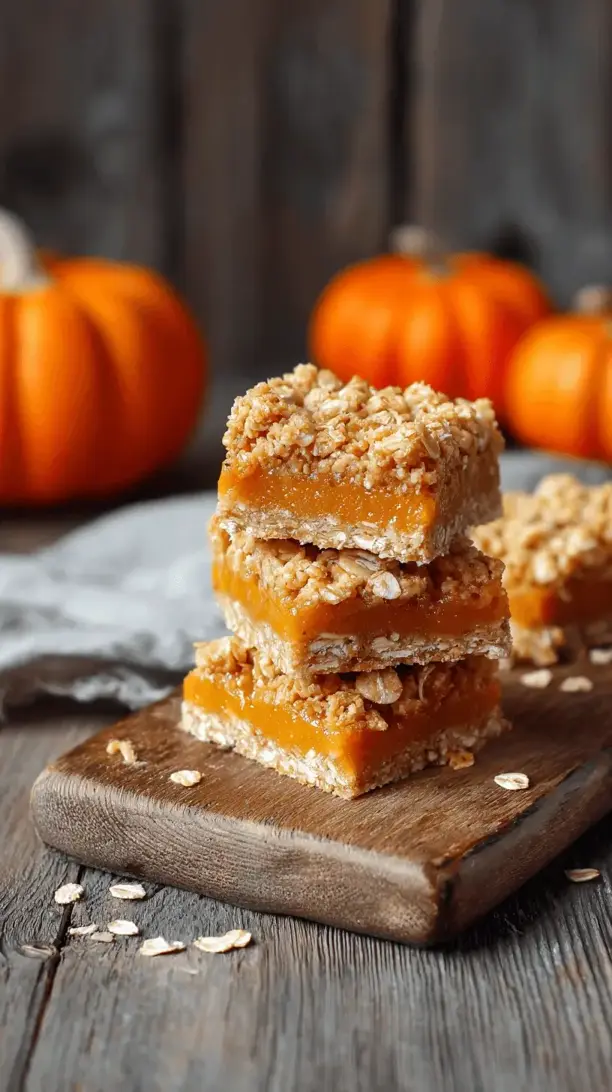
- The texture is a dream. We’re talking a wonderfully moist and tender crumb from the pumpkin, with a satisfying, slightly chewy bite thanks to the old-fashioned oats. It’s a combination that’s really hard to beat.
- They fill your home with the best aroma. The moment that warm, spiced scent of cinnamon, nutmeg, and pumpkin hits the air, your whole house will feel instantly more inviting. It’s aromatherapy, but you can eat the results.
- They’re incredibly freezer-friendly. Bake a batch on the weekend, and you’ve got a ready-to-go treat for weeks. Just pop a square in the microwave for 30 seconds, and it’s like it just came out of the oven.
Ingredients & Tools
- 1 ½ cups (150 g) old-fashioned rolled oats
- 1 cup (125 g) whole wheat flour or all-purpose flour
- 1 tsp baking powder
- ½ tsp baking soda
- 1 ½ tsp ground cinnamon
- ½ tsp ground nutmeg
- ¼ tsp ground ginger
- ¼ tsp salt
- 1 cup (245 g) pure pumpkin puree (not pumpkin pie filling)
- 2 large eggs
- ½ cup (120 ml) pure maple syrup or honey
- ¼ cup (60 ml) melted coconut oil or olive oil
- 1 tsp vanilla extract
- ½ cup (75 g) dark chocolate chips or chopped walnuts (optional, but highly recommended)
Tools: 8×8 inch baking pan, parchment paper, a large mixing bowl, a whisk, and a spatula.
The quality of your pumpkin puree really makes a difference here—look for 100% pure pumpkin with no added sugars or spices. And those old-fashioned oats? They give a much better texture than quick oats, providing that lovely, substantial chew.
Serves: 9 squares | Prep Time: 10 minutes | Cook Time: 25-30 minutes | Total Time: 40 minutes
Before You Start: Tips & Ingredient Notes
- Pumpkin Puree Check. This is the star of the show, so let’s get it right. Make sure your can says “100% pure pumpkin puree” and not “pumpkin pie filling.” The pie filling has sugar and spices already added, which will throw off the balance of our recipe.
- To Squeeze or Not to Squeeze? If your pumpkin puree looks particularly watery, you can place it in a fine-mesh strainer for a few minutes and gently press out a bit of excess liquid. This isn’t always necessary, but it helps ensure a perfectly cakey, not gummy, texture.
- Oat Integrity. Stick with old-fashioned rolled oats for this one. They hold their shape beautifully during baking, giving you those fantastic textural pockets. Quick oats will absorb too much moisture and can make the squares a bit mushy.
- The Oil Swap. I love the subtle flavor coconut oil adds, but a light-tasting olive oil works wonderfully too. If your coconut oil is solid, just melt it gently and let it cool slightly before adding it to the wet ingredients so it doesn’t cook the eggs.
How to Make Baked Pumpkin Oat Squares
Step 1: First, preheat your oven to 350°F (175°C). This is crucial for even baking from the get-go. Then, grab your 8×8 inch baking pan and line it with parchment paper, leaving a little overhang on two opposite sides. This little trick is a lifesaver—it creates a sling that makes lifting the entire batch of squares out of the pan effortlessly clean. Lightly grease any exposed parts of the pan.
Step 2: Now, let’s mix the dry ingredients. In your large bowl, whisk together the rolled oats, flour, baking powder, baking soda, cinnamon, nutmeg, ginger, and salt. You’ll want to whisk this for a good 30 seconds to make sure the leavening agents and spices are evenly distributed throughout the flour and oats. This ensures every single bite is perfectly spiced and rises evenly.
Step 3: In a separate medium bowl—or honestly, right in the measuring cups you used—combine your wet ingredients. Whisk the pumpkin puree, eggs, maple syrup, melted (and slightly cooled) oil, and vanilla extract until you have a smooth, homogenous, beautifully orange mixture. It should be thick but pourable.
Step 4: Here’s where the magic happens. Pour the wet pumpkin mixture into the bowl with the dry ingredients. Use a spatula to gently fold everything together. The trick is to mix just until the last traces of flour disappear. Overmixing is the enemy of tender squares! Once it’s almost combined, fold in your chocolate chips or nuts if you’re using them.
Step 5: Transfer the batter to your prepared pan. It will be quite thick, so use the spatula to spread it into an even layer, making sure to push it into all the corners. A little patting motion helps to get it perfectly level, which promotes even baking.
Step 6: Pop the pan into the preheated oven and bake for 25-30 minutes. You’re looking for the edges to be lightly golden brown and pulling away from the sides of the pan, and a toothpick inserted into the center should come out clean or with a few moist crumbs attached. The top will feel firm to the touch.
Step 7: This is the hardest part—waiting! Let the squares cool completely in the pan set on a wire rack. I know it’s tempting to cut into them right away, but allowing them to cool fully is what gives them their perfect, sliceable texture. Once cool, use the parchment paper sling to lift the whole block out onto a cutting board before slicing into 9 squares.
Serving Suggestions
Complementary Dishes
- A dollop of Greek yogurt — The cool, tangy creaminess is a fantastic contrast to the warm, spiced squares, especially if you’re enjoying them for breakfast.
- A side of fresh fruit salad — The brightness of berries or orange segments cuts through the richness and adds a refreshing element to your snack or dessert plate.
Drinks
- A hot cup of chai tea — The spices in the chai echo the warm flavors in the squares, creating a deeply cozy and harmonious pairing that feels like autumn in a mug.
- A glass of cold milk — Sometimes, the classic is best. The simplicity of milk is the perfect companion to these wholesome, not-too-sweet treats.
Something Sweet
- A small scoop of vanilla bean ice cream — For a true dessert transformation, serve a warm square à la mode. The melting ice cream seeping into the tender crumb is absolutely divine.
- A drizzle of salted caramel sauce — If you’re feeling indulgent, a little caramel adds a lovely buttery, salty-sweet note that takes these squares to the next level.
Top Mistakes to Avoid
- Mistake: Using pumpkin pie filling instead of pure pumpkin puree. This is the number one error! The pie filling is pre-sweetened and spiced, which will make your squares far too sweet and throw the spice balance completely off.
- Mistake: Overmixing the batter. Once you combine the wet and dry ingredients, mix just until they’re incorporated. Overworking the batter develops the gluten in the flour, leading to tough, dense squares instead of light and tender ones.
- Mistake: Not letting them cool completely before cutting. I’ve messed this up before too, because the smell is just so inviting. But if you cut them while warm, they’ll be crumbly and messy. Patience rewards you with perfect, neat squares.
- Mistake: Baking in a different sized pan. An 8×8 inch pan is ideal for the thickness we want. Using a larger pan will result in thin, dry squares, while a smaller pan will yield an undercooked center.
Expert Tips
- Tip: Toast your oats for a deeper flavor. Before you start, spread the rolled oats on a baking sheet and toast them in a 350°F oven for 5-7 minutes, until fragrant. Let them cool before using. This simple step adds a wonderful nutty dimension to the squares.
- Tip: Add a streusel topping for extra crunch. Whisk together 2 tbsp each of oats, flour, and brown sugar with 1 tbsp of melted butter until crumbly. Sprinkle it over the batter before baking for a delightful crunchy contrast.
- Tip: Make them gluten-free with one simple swap. Use a certified gluten-free oat brand and swap the whole wheat flour for a 1:1 gluten-free baking blend. The texture will be just as fantastic.
- Tip: Grate a little fresh nutmeg. If you have a whole nutmeg and a microplane, grate a tiny bit over the batter before baking alongside the ground spice. The flavor of fresh nutmeg is brighter and more complex.
FAQs
Can I make these Baked Pumpkin Oat Squares vegan?
Absolutely! The eggs are the only hurdle. For each egg, you can use a “flax egg.” Simply mix 1 tablespoon of ground flaxseed with 2.5 tablespoons of water for each egg needed, let it sit for 5 minutes to gel up, and then add it to the wet ingredients as you would the eggs. The texture will be slightly denser but still delicious. Just make sure your chocolate chips are dairy-free if you’re using them.
How should I store these, and how long do they last?
Once completely cool, store the squares in an airtight container at room temperature for up to 3 days. For longer storage, I highly recommend the freezer. They freeze beautifully for up to 3 months. Wrap individual squares tightly in plastic wrap and then place them in a freezer bag. Thaw at room temperature or pop them in the microwave for a quick warm-up.
Can I use quick oats instead of old-fashioned rolled oats?
I really don’t recommend it for this recipe. Quick oats are cut smaller and absorb liquid much more readily, which can lead to a gummier, less structured texture. The old-fashioned oats provide that essential hearty, chewy bite that makes these squares so satisfying. If it’s all you have, the recipe will still work, but the texture will be noticeably different.
My squares turned out a bit gummy in the middle. What happened?
This usually points to one of two things: either the squares needed a few more minutes in the oven (the toothpick test is your best friend!), or the pumpkin puree had a high water content. Next time, try straining the pumpkin puree for a few minutes before using it to remove excess moisture. Also, ensure you’re baking until the center is fully set.
Can I reduce the amount of maple syrup?
You can, but keep in mind the maple syrup isn’t just a sweetener; it’s also a liquid ingredient. Reducing it significantly (by more than a couple of tablespoons) could make the batter too dry. If you want them less sweet, I’d suggest reducing it to ⅓ cup and perhaps adding a tablespoon of milk or apple sauce to maintain the moisture balance. The squares will be less sweet and more breakfast-oriented.
Baked Pumpkin Oat Squares
Whip up cozy Baked Pumpkin Oat Squares in one bowl! Perfect for breakfast or snacks, these easy, wholesome treats are packed with autumn spices. Simple ingredients, big flavor.
Ingredients
Ingredients
-
1 ½ cups old-fashioned rolled oats ((150 g))
-
1 cup whole wheat flour or all-purpose flour ((125 g))
-
1 tsp baking powder
-
½ tsp baking soda
-
1 ½ tsp ground cinnamon
-
½ tsp ground nutmeg
-
¼ tsp ground ginger
-
¼ tsp salt
-
1 cup pure pumpkin puree ((245 g) (not pumpkin pie filling))
-
2 large eggs
-
½ cup pure maple syrup or honey ((120 ml))
-
¼ cup melted coconut oil or olive oil ((60 ml))
-
1 tsp vanilla extract
-
½ cup dark chocolate chips or chopped walnuts ((75 g) (optional, but highly recommended))
Instructions
-
First, preheat your oven to 350°F (175°C). This is crucial for even baking from the get-go. Then, grab your 8x8 inch baking pan and line it with parchment paper, leaving a little overhang on two opposite sides. This little trick is a lifesaver—it creates a sling that makes lifting the entire batch of squares out of the pan effortlessly clean. Lightly grease any exposed parts of the pan.01
-
Now, let's mix the dry ingredients. In your large bowl, whisk together the rolled oats, flour, baking powder, baking soda, cinnamon, nutmeg, ginger, and salt. You'll want to whisk this for a good 30 seconds to make sure the leavening agents and spices are evenly distributed throughout the flour and oats. This ensures every single bite is perfectly spiced and rises evenly.02
-
In a separate medium bowl—or honestly, right in the measuring cups you used—combine your wet ingredients. Whisk the pumpkin puree, eggs, maple syrup, melted (and slightly cooled) oil, and vanilla extract until you have a smooth, homogenous, beautifully orange mixture. It should be thick but pourable.03
-
Here's where the magic happens. Pour the wet pumpkin mixture into the bowl with the dry ingredients. Use a spatula to gently fold everything together. The trick is to mix just until the last traces of flour disappear. Overmixing is the enemy of tender squares! Once it's almost combined, fold in your chocolate chips or nuts if you're using them.04
-
Transfer the batter to your prepared pan. It will be quite thick, so use the spatula to spread it into an even layer, making sure to push it into all the corners. A little patting motion helps to get it perfectly level, which promotes even baking.05
-
Pop the pan into the preheated oven and bake for 25-30 minutes. You're looking for the edges to be lightly golden brown and pulling away from the sides of the pan, and a toothpick inserted into the center should come out clean or with a few moist crumbs attached. The top will feel firm to the touch.06
-
This is the hardest part—waiting! Let the squares cool completely in the pan set on a wire rack. I know it's tempting to cut into them right away, but allowing them to cool fully is what gives them their perfect, sliceable texture. Once cool, use the parchment paper sling to lift the whole block out onto a cutting board before slicing into 9 squares.07


