
Why You’ll Love This Apple Pie Oatmeal Cookies
- All the cozy flavor, none of the pie fuss. We’re capturing the soul-warming essence of a freshly baked apple pie but in a convenient, handheld form. No pie plates, no lattice work—just straightforward, delicious cookie-making.
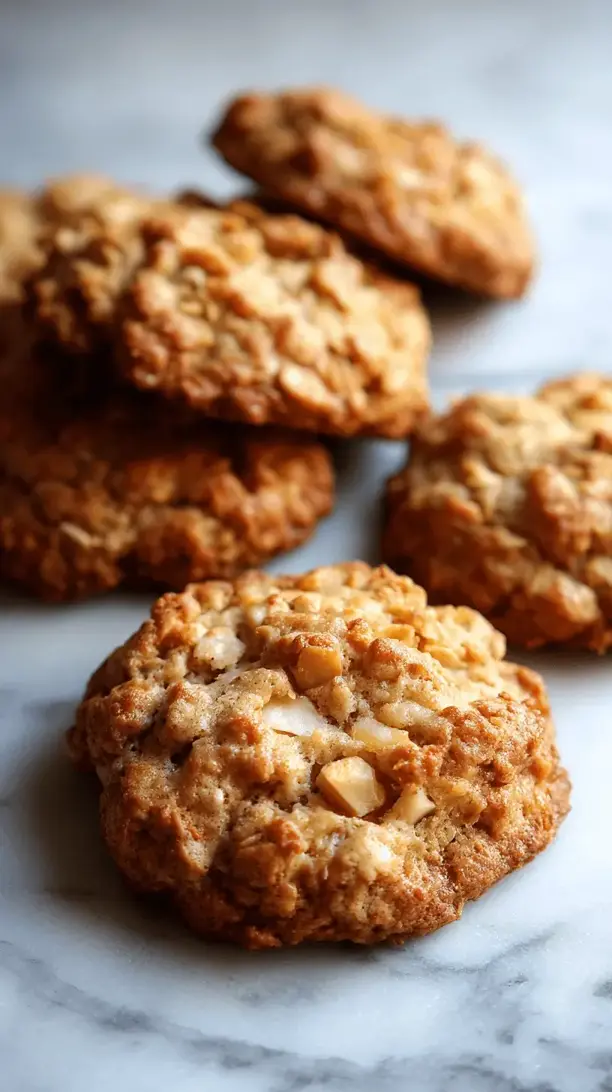
- The texture is absolutely dreamy. These cookies strike the perfect balance. They’re soft and slightly cakey from the apples, with a wonderful chew from the oats, and just a hint of crispness around the edges. It’s a textural symphony in every bite.
- Your kitchen will smell incredible. Seriously, the combination of baking apples, cinnamon, and a touch of nutmeg is aromatherapy. It’s the kind of scent that draws everyone into the kitchen, wondering what magic you’re working on.
- They’re surprisingly versatile. Enjoy one with your morning coffee, pack a couple for an afternoon pick-me-up, or serve them warm with a scoop of vanilla ice cream for a quick and impressive dessert. They happily fit into any part of your day.
Ingredients & Tools
- 1 ½ cups old-fashioned rolled oats
- 1 cup all-purpose flour
- 1 tsp baking powder
- ½ tsp baking soda
- ½ tsp fine sea salt
- 1 ½ tsp ground cinnamon
- ¼ tsp ground nutmeg
- ½ cup unsalted butter, softened to room temperature
- ½ cup light brown sugar, packed
- ¼ cup granulated sugar
- 1 large egg, at room temperature
- 1 tsp pure vanilla extract
- 1 cup finely chopped apple (about 1 medium apple, peeled)
Tools: Mixing bowls, whisk, electric hand mixer or stand mixer, spatula, baking sheets, parchment paper or silicone baking mats, cooling rack.
A quick note on the apples—using a firmer variety like Granny Smith or Honeycrisp is key. They hold their shape and provide little bursts of tart-sweet flavor. And that room temperature butter? It’s not just a suggestion. It creams with the sugar to create a light, airy base that gives the cookie its perfect structure.
Serves: Makes about 18 cookies | Prep Time: 20 minutes | Cook Time: 12-14 minutes | Total Time: About 40 minutes
Before You Start: Tips & Ingredient Notes
- Why room temperature ingredients matter. When your egg and butter are at room temperature, they emulsify much more easily with the sugar, creating a smooth, homogenous batter. This prevents overmixing when you add the dry ingredients, which is the secret to a tender cookie.
- Don’t skip peeling the apple. I know, it’s an extra step, but apple peels can become a bit tough and chewy during baking. Peeling ensures every piece of apple in your cookie is soft and melty.
- Chop that apple nice and small. Aim for a small, uniform dice—about the size of a pea. This distributes the apple flavor evenly and prevents large, wet chunks from making your cookies soggy.
- The power of a silicone mat or parchment. These cookies have a good amount of sugar, which means they can stick. Lining your baking sheets is non-negotiable for easy removal and perfectly golden bottoms.
How to Make Apple Pie Oatmeal Cookies
Step 1: First, get your oven preheating to 350°F (175°C). This gives it plenty of time to reach the perfect, steady temperature. Then, line your baking sheets with parchment paper or silicone mats. Now, let’s mix the dry ingredients. In a medium bowl, whisk together the rolled oats, flour, baking powder, baking soda, salt, cinnamon, and nutmeg. Whisking it well now ensures the leavening agents and spices are evenly distributed, so you don’t get a bite with all the baking soda in one spot! Set this bowl aside.
Step 2: In a larger bowl, combine the softened butter, brown sugar, and granulated sugar. Using an electric mixer on medium speed, beat them together for a good 2-3 minutes. You’re looking for the mixture to become light, pale, and fluffy. This step is crucial—it incorporates air into the dough, which helps the cookies rise. Scrape down the sides of the bowl with a spatula to make sure everything is well combined.
Step 3: Beat in the room-temperature egg and the vanilla extract. Mix just until they’re fully incorporated. The mixture might look a little curdled at first, but it will come together smoothly. Now, with your mixer on low speed, gradually add the dry oat and flour mixture. Mix only until the flour streaks have just disappeared. A few dry spots are okay—you’ll finish mixing by hand. Overmixing at this stage is the enemy of a soft cookie!
Step 4: This is where the magic happens. Switch to a sturdy spatula and gently fold in the finely chopped apple. You want to make sure those apple pieces are evenly distributed throughout the dough without overworking it. The dough will be quite thick and sticky, which is exactly what you want.
Step 5: Using a cookie scoop or two spoons, drop rounded tablespoons of dough onto your prepared baking sheets, spacing them about 2 inches apart. They don’t need to be perfectly round balls; a rustic look is part of their charm. You can gently flatten the tops just a tiny bit with your fingers if you like.
Step 6: Bake for 12 to 14 minutes, or until the edges are set and golden brown. The centers will still look a little soft and underdone—that’s perfect! They will continue to set as they cool on the hot baking sheet. This is the secret to a chewy center. Let the cookies cool on the baking sheet for at least 5 minutes before transferring them to a wire rack to cool completely. The wait is the hardest part, but it’s worth it.
Serving Suggestions
Complementary Dishes
- A sharp cheddar cheese plate — The classic “apple pie with cheese” pairing works wonderfully here. The salty, tangy cheese contrasts beautifully with the sweet, spiced cookie.
- A warm mug of butternut squash soup — For a lovely autumn lunch, the sweet, creamy soup and the spiced cookie are a match made in cozy heaven.
Drinks
- Hot chai tea latte — The spices in the chai—cardamom, cloves, ginger—echo the warm spices in the cookie, creating a deeply comforting experience.
- A cold glass of whole milk — Sometimes, the simple, classic pairing is the best. The creaminess of the milk is the perfect counterpart to the oat-y, spiced cookie.
Something Sweet
- A scoop of vanilla bean ice cream — Turn a cookie into an incredible dessert by sandwiching a small scoop of ice cream between two slightly warm cookies. It’s an instant apple pie à la mode.
- A drizzle of salted caramel sauce — For the ultimate indulgence, warm a cookie and drizzle it with a little salted caramel. It amplifies the buttery, sweet notes perfectly.
Top Mistakes to Avoid
- Mistake: Using melted butter. This is a big one. Melted butter will cause your cookies to spread too much and become greasy and flat. We want soft, pillowy cookies, which requires creaming softened butter with sugar.
- Mistake: Overmixing the dough after adding the flour. Once the flour is in, mix with a light hand. Overmixing develops the gluten in the flour, leading to a tough, dense cookie instead of a tender, soft one.
- Mistake: Overbaking. It’s so tempting to leave them in until they look completely firm. Resist! They should look slightly underdone in the center when you take them out. They’ll set up as they cool, giving you that perfect chewy texture.
- Mistake: Not letting the baking sheet cool between batches. If you put dough onto a hot baking sheet, the butter will start melting before the cookies even go in the oven, causing them to spread excessively. Always use a cool sheet for each new batch.
Expert Tips
- Tip: Brown your butter for a nutty depth. Take your butter a step further by browning it. Melt it in a saucepan over medium heat until it foams and little brown specks appear at the bottom. Let it cool and solidify slightly before using. It adds an incredible, nutty complexity that pairs amazingly with the apple.
- Tip: Add a handful of toasted walnuts or pecans. For a bit of crunch and earthy flavor, fold in ½ cup of chopped, toasted nuts along with the apples. It adds another wonderful textural element.
- Tip: Chill the dough for thicker cookies. If you prefer a slightly thicker, cakier cookie, cover the bowl of dough and chill it for 30-60 minutes before scooping and baking. This firms up the butter, reducing spread.
- Tip: Make an apple pie spice blend. If you have it, substitute the cinnamon and nutmeg with 2 teaspoons of apple pie spice. It often includes allspice and ginger, which adds even more warmth.
FAQs
Can I use quick oats instead of old-fashioned rolled oats?
You can, but the texture will be different. Quick oats are cut smaller and absorb more moisture, resulting in a denser, less chewy cookie with less distinct oat texture. Old-fashioned rolled oats give the best structure and chew. If you must use quick oats, the cookies will still be tasty, just expect a softer, more uniform crumb.
How should I store these cookies, and how long do they keep?
Once completely cool, store them in an airtight container at room temperature. They’ll stay soft and delicious for about 4-5 days. The moisture from the apples keeps them from drying out too quickly. You can also freeze the baked cookies for up to 3 months. Just thaw at room temperature when you’re ready for one.
Can I freeze the cookie dough to bake later?
Absolutely! This is a fantastic time-saver. Scoop the dough into balls and freeze them solid on a baking sheet. Then, transfer the frozen dough balls to a freezer bag. You can bake them directly from frozen—just add 1-2 minutes to the baking time. It’s like having fresh-baked cookies on demand.
My cookies came out flat. What happened?
Flat cookies are usually caused by butter that was too warm. If your butter was melted or very soft, the cookies will spread too much. Another culprit could be an old or expired leavening agent (baking powder/soda). Always check the dates! Finally, make sure your oven is fully preheated—a cold oven can cause spreading.
Can I make these gluten-free or vegan?
For gluten-free, use a 1:1 gluten-free flour blend and certified gluten-free oats. For vegan, use a vegan butter stick (not margarine from a tub) and a flax egg (1 tbsp ground flaxseed mixed with 3 tbsp water, let sit for 5 minutes). The texture might be slightly different, but it should work well! The apples help keep everything moist.
Apple Pie Oatmeal Cookies
Craving apple pie but short on time? These soft, chewy Apple Pie Oatmeal Cookies deliver all the cozy flavor in a simple, portable treat. Easy recipe with pantry staples!
Ingredients
Ingredients
-
1 ½ cups old-fashioned rolled oats
-
1 cup all-purpose flour
-
1 tsp baking powder
-
½ tsp baking soda
-
½ tsp fine sea salt
-
1 ½ tsp ground cinnamon
-
¼ tsp ground nutmeg
-
½ cup unsalted butter (softened to room temperature)
-
½ cup light brown sugar (packed)
-
¼ cup granulated sugar
-
1 large egg (at room temperature)
-
1 tsp pure vanilla extract
-
1 cup finely chopped apple (about 1 medium apple, peeled)
Instructions
-
First, get your oven preheating to 350°F (175°C). This gives it plenty of time to reach the perfect, steady temperature. Then, line your baking sheets with parchment paper or silicone mats. Now, let's mix the dry ingredients. In a medium bowl, whisk together the rolled oats, flour, baking powder, baking soda, salt, cinnamon, and nutmeg. Whisking it well now ensures the leavening agents and spices are evenly distributed, so you don't get a bite with all the baking soda in one spot! Set this bowl aside.01
-
In a larger bowl, combine the softened butter, brown sugar, and granulated sugar. Using an electric mixer on medium speed, beat them together for a good 2-3 minutes. You're looking for the mixture to become light, pale, and fluffy. This step is crucial—it incorporates air into the dough, which helps the cookies rise. Scrape down the sides of the bowl with a spatula to make sure everything is well combined.02
-
Beat in the room-temperature egg and the vanilla extract. Mix just until they're fully incorporated. The mixture might look a little curdled at first, but it will come together smoothly. Now, with your mixer on low speed, gradually add the dry oat and flour mixture. Mix only until the flour streaks have just disappeared. A few dry spots are okay—you'll finish mixing by hand. Overmixing at this stage is the enemy of a soft cookie!03
-
This is where the magic happens. Switch to a sturdy spatula and gently fold in the finely chopped apple. You want to make sure those apple pieces are evenly distributed throughout the dough without overworking it. The dough will be quite thick and sticky, which is exactly what you want.04
-
Using a cookie scoop or two spoons, drop rounded tablespoons of dough onto your prepared baking sheets, spacing them about 2 inches apart. They don't need to be perfectly round balls; a rustic look is part of their charm. You can gently flatten the tops just a tiny bit with your fingers if you like.05
-
Bake for 12 to 14 minutes, or until the edges are set and golden brown. The centers will still look a little soft and underdone—that's perfect! They will continue to set as they cool on the hot baking sheet. This is the secret to a chewy center. Let the cookies cool on the baking sheet for at least 5 minutes before transferring them to a wire rack to cool completely. The wait is the hardest part, but it's worth it.06


