
Why You’ll Love This Apple Cranberry Crisp
- The Perfect Sweet-Tart Balance. The cranberries are the real star here, cutting through the sweetness of the apples and sugar with their bright, zingy flavor. It keeps every single bite interesting and prevents the dessert from feeling too heavy or one-note.
- Incredibly Easy, No-Fuss Assembly. Forget about rolling out pie crust or worrying if your lattice is perfect. This is a crisp, which means the topping is simply mixed with your fingers and sprinkled over the fruit. It’s genuinely hard to mess up, making it a fantastic recipe for bakers of all levels.
- That Irresistible Texture Contrast. You get the soft, jammy fruit filling bubbling away underneath, and then that crisp, crunchy, nutty topping. The contrast is just… everything. A little goes a long way in making each spoonful a delightful experience.
- It’s as Versatile as It Is Delicious. You can serve it straight from the oven with a melting scoop of vanilla ice cream, or enjoy it cold for breakfast the next day (no judgment here!). It’s a dessert that adapts to your mood and occasion perfectly.
Ingredients & Tools
- For the Filling:
- 6-7 medium apples (a mix like Granny Smith and Honeycrisp is ideal)
- 1 ½ cups fresh or frozen cranberries
- ⅓ cup granulated sugar
- 2 tbsp all-purpose flour
- 1 tbsp fresh lemon juice
- 1 tsp ground cinnamon
- ¼ tsp ground nutmeg
- Pinch of salt
- For the Topping:
- 1 cup old-fashioned rolled oats
- ¾ cup all-purpose flour
- ¾ cup packed light brown sugar
- ½ tsp ground cinnamon
- ¼ tsp salt
- ½ cup (1 stick) cold unsalted butter, cubed
- ½ cup chopped pecans or walnuts (optional, but recommended)
Tools: A 9×9 inch or similar 2-quart baking dish, a large mixing bowl, a medium mixing bowl, a peeler/corer (if you have one), and a pastry cutter or your clean hands!
The trick is really in the apples—using a mix of tart and sweet varieties gives you a much more complex flavor. And don’t skip the lemon juice; it’s not just for flavor, it helps keep the apples from browning too much while you’re prepping everything else. Honestly, a little goes a long way.
Serves: 6-8 | Prep Time: 20 minutes | Cook Time: 45-50 minutes | Total Time: about 1 hour 10 minutes
Before You Start: Tips & Ingredient Notes
- Your Apple Choice Matters. I really recommend a combination. Granny Smith apples hold their shape and provide a tart backbone, while something like a Honeycrisp or Braeburn breaks down a bit more and adds natural sweetness. Using only one super-soft apple (like a Red Delicious) can lead to a mushy filling.
- Why Cold Butter is Non-Negotiable. For the crispiest, crumbliest topping, your butter must be cold. If it’s soft or melted, you’ll end up with a greasy, dense layer instead of those delightful little nuggets. I sometimes even pop the cubed butter in the freezer for 5-10 minutes before I start.
- Frozen Cranberries are A-OK. No need to thaw if you’re using frozen cranberries! They’ll work perfectly fine and will release their juices as they bake. This makes the recipe a fantastic year-round option, even when fresh cranberries are out of season.
- Don’t Be Shy with the Spices. The cinnamon and nutmeg are there to warm everything up. You’ll notice the aroma is just incredible. If you’re feeling adventurous, a tiny pinch of cardamom or cloves can add another lovely layer of warmth.
How to Make Apple Cranberry Crisp
Step 1: Prep the Fruit Filling. Start by preheating your oven to 375°F (190°C). Grab your apples—peel them if you prefer, though I often leave the skins on for extra fiber and texture. Core and slice them into roughly ¼-inch thick slices. Toss them immediately into your large mixing bowl and drizzle with the lemon juice, giving them a quick stir to coat. This little acid bath keeps them looking fresh. Add the cranberries, granulated sugar, 2 tablespoons of flour, 1 teaspoon of cinnamon, nutmeg, and that pinch of salt. Stir everything together until the fruit is evenly coated. The flour is key here—it will help thicken the juices that the fruit releases as it bakes.
Step 2: Make the Crisp Topping. In your medium bowl, combine the rolled oats, ¾ cup of flour, brown sugar, ½ teaspoon of cinnamon, and ¼ teaspoon of salt. Whisk it all together. Now, add the cold, cubed butter. Using a pastry cutter, two forks, or—my preferred method—your clean fingertips, work the butter into the dry ingredients. You’re aiming for a crumbly mixture where the butter is about the size of small peas. Some larger clumps are totally fine; they’ll bake into delicious buttery pockets. Stir in the chopped nuts now if you’re using them.
Step 3: Assemble and Bake. Pour the apple-cranberry mixture into your baking dish, spreading it into an even layer. Now, take handfuls of the oat topping and sprinkle it evenly over the fruit. Don’t press it down! You want it to stay loose and airy for maximum crispiness. Place the dish on a baking sheet (this catches any potential bubble-overs and makes cleanup easier) and slide it into the preheated oven.
Step 4: The Waiting Game (and How to Tell It’s Done). Bake for 45 to 50 minutes. You’ll know it’s ready when the topping is a deep golden brown and the fruit filling is visibly bubbling up around the edges. The aroma in your kitchen will be absolutely intoxicating. Honestly, the hardest part is resisting the urge to dig in immediately.
Step 5: The Crucial Resting Period. I know, I know—it’s tempting to serve it straight away. But trust me on this: let the crisp rest for at least 15-20 minutes after it comes out of the oven. This allows the fruit juices to thicken up slightly. If you cut into it too soon, the filling will be very runny. This patience pays off in a perfect, scoopable texture.
Serving Suggestions
Complementary Dishes
- A Simple Roasted Chicken — The savory, herby notes of a classic roast chicken are a wonderful, homey lead-in to the tart sweetness of the crisp. It makes for a complete and comforting meal.
- Butternut Squash Soup — A creamy, smooth soup pairs beautifully with the textured crunch of the dessert. The similar autumnal flavors create a really cohesive dining experience.
- A Sharp Cheddar Cheese Plate — Before dessert, a little cheese board with a strong cheddar is a fantastic palate primer. The sharpness of the cheese contrasts wonderfully with the fruit to come.
Drinks
- Hot Mulled Cider — Double down on the apple! A warm mug of spiced cider echoes the dessert’s flavors and makes the whole affair feel even more festive and cozy.
- A Sweet Riesling — A glass of slightly sweet white wine complements the tart cranberries without overpowering them. It’s a really elegant pairing.
- Vanilla Bourbon Cocktail — For a grown-up twist, a cocktail with bourbon, a touch of maple, and a vanilla bean garnish highlights the warm, spicy notes in the crisp topping.
Something Sweet
- Quality Vanilla Bean Ice Cream — This is the non-negotiable classic. The cold, creamy ice cream melting into the warm crisp is a textural and temperature dream come true.
- Freshly Whipped Cream — Sometimes you want something a little lighter than ice cream. A dollop of lightly sweetened whipped cream adds a cloud-like richness.
- A Drizzle of Salted Caramel Sauce — If you’re feeling decadent, a zigzag of salted caramel over the top takes it to another level, adding a buttery, salty-sweet complexity.
Top Mistakes to Avoid
- Mistake: Using warm butter for the topping. This is the number one reason for a soggy, disappointing crisp. Warm butter coats the flour and oats instead of creating separate, crispy pieces. Cold butter creates steam as it bakes, which is what gives you that lovely flaky texture.
- Mistake: Skipping the thickener in the filling. If you forget the flour (or cornstarch, if you’re making a substitution), you’ll end up with a soupy filling. The fruit releases a lot of liquid, and the thickener is essential for creating a luscious, sauce-like consistency instead of a puddle.
- Mistake: Pressing the topping down. When you sprinkle on the crumble, just let it be loose and craggy. If you press it into the fruit, it can steam and become dense instead of baking up nice and crisp.
- Mistake: Not letting it rest after baking. I’ve messed this up before too, because it smells so good! But cutting in too soon means all those beautiful juices haven’t had a chance to set, and you’ll lose that perfect scoop.
Expert Tips
- Tip: Grate your cold butter. For an even quicker and more uniform crumb, try grating your cold stick of butter on the large holes of a box grater right into the flour mixture. It incorporates effortlessly and guarantees perfect little butter bits.
- Tip: Add a tablespoon of maple syrup to the filling. Along with the sugar, a splash of maple syrup adds a deep, caramel-like sweetness that complements the apples beautifully. It’s a small addition with a big impact.
- Tip: Make it ahead for easy entertaining. You can assemble the entire crisp—filling in the dish, topping sprinkled over—cover it, and refrigerate it up to 24 hours in advance. Just add a few extra minutes to the baking time since it’s going into the oven cold.
- Tip: Re-crisp the leftovers. If you have leftovers (a big if!), reheat individual portions in a toaster oven or a conventional oven at 350°F for about 10 minutes. This will bring back the crunch of the topping far better than a microwave.
FAQs
Can I use frozen apples?
You can, but there are a couple of things to know. Frozen apples will release significantly more water as they thaw and bake, which can lead to a very watery filling. If you must use frozen, don’t thaw them first, and consider increasing the flour in the filling by an extra tablespoon to help absorb the extra liquid. Honestly, fresh apples are preferable for the best texture.
Can I make this gluten-free?
Absolutely! For the flour in both the filling and the topping, use a 1:1 gluten-free all-purpose flour blend. Just make sure your oats are certified gluten-free, as oats are often processed in facilities that also handle wheat. The method and results will be virtually identical.
My topping is browning too quickly! What do I do?
This can happen if your oven runs hot. If you notice the top getting dark brown before the filling is bubbling, simply lay a loose piece of aluminum foil over the top for the remainder of the baking time. This will shield it from direct heat and allow the fruit to continue cooking without burning the crumble.
Can I use dried cranberries instead of fresh?
You can, but the result will be different. Dried cranberries are much sweeter and won’t provide the same tart burst. If you use them, I’d recommend reducing the sugar in the filling by a couple of tablespoons and maybe adding a splash of orange juice to plump them up a bit and add some acidity.
How long will leftovers keep?
Covered tightly with plastic wrap or in an airtight container, the crisp will keep in the refrigerator for up to 4 days. The topping will soften in the fridge, but reheating it in the oven (as mentioned in the tips) will bring back its wonderful texture. I do not recommend freezing the assembled baked crisp, as the topping tends to get very soggy upon thawing.
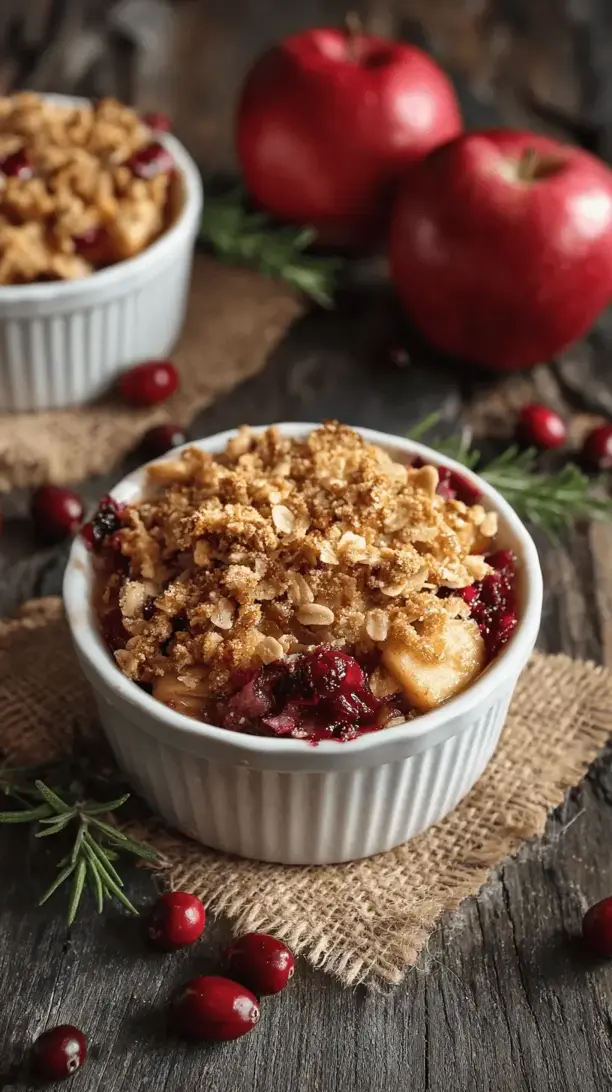
Apple Cranberry Crisp
Warm up your kitchen with Mike's easy Apple Cranberry Crisp! A perfect sweet-tart dessert with a buttery oat topping. Simple, comforting, and absolutely delicious.
Ingredients
Ingredients
-
6-7 medium apples (a mix like Granny Smith and Honeycrisp is ideal)
-
1 ½ cups cranberries (fresh or frozen)
-
⅓ cup granulated sugar
-
2 tbsp all-purpose flour
-
1 tbsp fresh lemon juice
-
1 tsp ground cinnamon
-
¼ tsp ground nutmeg
-
Pinch salt
-
1 cup old-fashioned rolled oats
-
¾ cup all-purpose flour
-
¾ cup light brown sugar (packed)
-
½ tsp ground cinnamon
-
¼ tsp salt
-
½ cup unsalted butter (cold, cubed (1 stick))
-
½ cup pecans or walnuts (chopped (optional, but recommended))
Instructions
-
Start by preheating your oven to 375°F (190°C). Grab your apples—peel them if you prefer, though I often leave the skins on for extra fiber and texture. Core and slice them into roughly ¼-inch thick slices. Toss them immediately into your large mixing bowl and drizzle with the lemon juice, giving them a quick stir to coat. This little acid bath keeps them looking fresh. Add the cranberries, granulated sugar, 2 tablespoons of flour, 1 teaspoon of cinnamon, nutmeg, and that pinch of salt. Stir everything together until the fruit is evenly coated. The flour is key here—it will help thicken the juices that the fruit releases as it bakes.01
-
In your medium bowl, combine the rolled oats, ¾ cup of flour, brown sugar, ½ teaspoon of cinnamon, and ¼ teaspoon of salt. Whisk it all together. Now, add the cold, cubed butter. Using a pastry cutter, two forks, or—my preferred method—your clean fingertips, work the butter into the dry ingredients. You're aiming for a crumbly mixture where the butter is about the size of small peas. Some larger clumps are totally fine; they'll bake into delicious buttery pockets. Stir in the chopped nuts now if you're using them.02
-
Pour the apple-cranberry mixture into your baking dish, spreading it into an even layer. Now, take handfuls of the oat topping and sprinkle it evenly over the fruit. Don't press it down! You want it to stay loose and airy for maximum crispiness. Place the dish on a baking sheet (this catches any potential bubble-overs and makes cleanup easier) and slide it into the preheated oven.03
-
Bake for 45 to 50 minutes. You'll know it's ready when the topping is a deep golden brown and the fruit filling is visibly bubbling up around the edges. The aroma in your kitchen will be absolutely intoxicating. Honestly, the hardest part is resisting the urge to dig in immediately.04
-
I know, I know—it's tempting to serve it straight away. But trust me on this: let the crisp rest for at least 15-20 minutes after it comes out of the oven. This allows the fruit juices to thicken up slightly. If you cut into it too soon, the filling will be very runny. This patience pays off in a perfect, scoopable texture.05


