
Why You’ll Love These Almond Butter Cookie Bars
- One-Bowl Wonder. Seriously, minimal cleanup is a huge win in my book. You can mix the entire batter in one single bowl with just a spatula or wooden spoon—no need to drag out the electric mixer unless you really want to.
- The Almond Butter Flavor Shines. Unlike some recipes where nut butter gets lost, this one really lets the almond butter be the star. You get that gorgeous, toasty, slightly savory note in every single bite, which makes these bars feel sophisticated and deeply satisfying.
- Perfectly Chewy Texture. The trick is in the bake time. We’re going for a golden-brown edge with a center that’s just set, resulting in a bar that’s fantastically chewy and soft, not cakey or dry. It’s a textural dream.
- Incredibly Adaptable. Feel like adding a handful of dark chocolate chips, a sprinkle of flaky sea salt on top, or even some chopped dried cherries? Go for it! This recipe is a fantastic base for your own creative twists.
Ingredients & Tools
- 1 cup (250 g) creamy, unsweetened almond butter
- ¾ cup (150 g) light brown sugar, packed
- 1 large egg, at room temperature
- 1 tsp vanilla extract
- ½ tsp baking soda
- ¼ tsp fine sea salt
- ⅓ cup (40 g) all-purpose flour
- ½ cup (85 g) dark chocolate chips (optional, but highly recommended)
Tools: 1 medium mixing bowl, 1 spatula, 1 8×8-inch baking pan, parchment paper
Using a good-quality almond butter is key here—look for one where the only ingredient is almonds (or almonds and salt). The brown sugar not only adds sweetness but also moisture, which is essential for that chewy texture. And don’t skip the room-temperature egg! It incorporates much more smoothly into the thick almond butter mixture.
Serves: 9 | Prep Time: 10 minutes | Cook Time: 20-22 minutes | Total Time: 35 minutes (plus cooling)
Before You Start: Tips & Ingredient Notes
- Check Your Almond Butter. Give the jar a really good stir before you measure. The natural oils tend to separate, and you want a uniform consistency for accurate measuring and the best texture in your bars.
- Why Room Temperature Egg? A cold egg can cause the almond butter to seize up and become clumpy, making it harder to mix into a smooth batter. Taking the egg out about 30 minutes beforehand makes a world of difference.
- Don’t Overmix the Batter. Once you add the flour, mix just until it disappears. Overmixing can develop the gluten in the flour and lead to tougher bars. We want tender and chewy, not tough!
- Parchment Paper is Non-Negotiable. Seriously, it’s the easiest way to get the bars out of the pan perfectly. Just let two sides hang over the edge so you can use them as handles to lift the whole slab out after cooling.
How to Make Almond Butter Cookie Bars
Step 1: First, preheat your oven to 350°F (175°C). Grab your 8×8-inch baking pan and line it with parchment paper, leaving some overhang on two opposite sides. This little trick is a lifesaver for clean removal later. Lightly grease the exposed parts of the pan if your parchment paper doesn’t cover it completely.
Step 2: In your medium mixing bowl, combine the almond butter and packed brown sugar. Stir them together with a spatula—it might take a minute of good stirring to get them fully incorporated. You’ll notice the mixture will become thick and paste-like, which is exactly what we want.
Step 3: Now, add in the room-temperature egg and the vanilla extract. Mix vigorously until the egg is completely blended in and the batter looks smooth and glossy. Don’t worry if it seems a bit loose at this point; it will thicken up again when we add the dry ingredients.
Step 4: Sprinkle the baking soda and salt over the wet mixture. Give it a quick stir to distribute them evenly. Then, add the all-purpose flour. Switch to a folding motion with your spatula, and mix just until no streaks of flour remain. A few lumps are totally fine—overmixing is the real enemy here.
Step 5: This is the time for your add-ins! If you’re using chocolate chips (and you really should), fold about three-quarters of them into the batter. The batter will be quite thick and sticky, which is perfect.
Step 6: Transfer the batter to your prepared pan. It will be thick, so use your spatula to spread it into an even layer, pushing it into the corners. For a nice finish, sprinkle the remaining chocolate chips evenly over the top and press them down gently.
Step 7: Bake for 20-22 minutes. You’re looking for the edges to be golden brown and pulling away from the sides of the pan, and the center should look set but still feel a little soft to the touch. A toothpick inserted near the center should come out with a few moist crumbs, but not wet batter.
Step 8: This is the hardest part… let the pan cool completely on a wire rack. I know it’s tempting, but cutting into them while they’re warm will result in a crumbly mess. They need time to set up properly to achieve that perfect, clean-cut chewy texture.
Serving Suggestions
Complementary Dishes
- A simple fruit platter — The fresh, bright acidity of berries or sliced apples provides a lovely contrast to the rich, nutty sweetness of the bars, making the whole spread feel balanced.
- A sharp cheese board — A few slices of aged cheddar or manchego alongside these bars is a surprisingly delicious combination. The salty, savory cheese really makes the almond flavor pop.
Drinks
- Cold glass of oat milk — There’s something so comforting about the classic combo of a cookie and milk. Oat milk’s creaminess pairs beautifully with the almond flavor.
- Strong black coffee — The bitterness of a good espresso or dark roast coffee cuts through the sweetness perfectly, making for an ideal afternoon pick-me-up.
Something Sweet
- Vanilla bean ice cream — For the ultimate indulgence, serve a warm bar (gently reheated) with a scoop of cold vanilla ice cream. The hot-and-cold, soft-and-chewy contrast is absolutely divine.
Top Mistakes to Avoid
- Mistake: Using an un-stirred almond butter. If you don’t mix the oil back in, your fat-to-dry-ingredient ratio will be off, potentially leading to greasy or dry bars. A good, thorough stir is non-negotiable.
- Mistake: Baking in a different sized pan. An 8×8-inch pan gives us the perfect thickness for a chewy bar. Using a 9×9 pan will result in thinner, potentially over-baked bars, while a loaf pan will be too thick and take much longer to cook through.
- Mistake: Over-baking. I’ve messed this up before too—it’s easy to think they need more time because the center looks soft. But trust the recipe! They continue to set as they cool. Over-baking is the primary cause of dry, crumbly bars.
- Mistake: Cutting while warm. I know, the wait is agony. But if you cut them before they’ve fully cooled and set, they’ll fall apart. Patience is truly a virtue here for perfect, neat squares.
Expert Tips
- Tip: Brown your butter (well, almond butter). For an even deeper, nuttier flavor, gently heat the almond butter in a saucepan over medium-low heat for 3-5 minutes, stirring constantly, until it darkens a shade and becomes fragrant. Let it cool for 10 minutes before proceeding with the recipe.
- Tip: Add a sprinkle of flaky salt. Right when the bars come out of the oven, sprinkle the top with a little flaky sea salt. It enhances every single flavor and takes these from great to absolutely unforgettable.
- Tip: For super clean cuts, chill them. If you want absolutely perfect, photogenic squares, pop the entire cooled slab (once removed from the pan) into the refrigerator for 20-30 minutes before cutting. This firms them up just enough for a clean slice.
- Tip: Make them gluten-free. This recipe is very forgiving. You can easily substitute the all-purpose flour with a 1:1 gluten-free baking blend. The texture might be a tad more crumbly, but just as delicious.
FAQs
Can I use a different nut butter?
Absolutely! This recipe works wonderfully with peanut butter, cashew butter, or even sunflower seed butter for a nut-free version. Just make sure it’s a natural, drippy style butter, not the kind with added stabilizers and hydrogenated oils, as that can affect the texture. The flavor will change, of course, but the method remains exactly the same.
How should I store these cookie bars?
Once completely cool, store them in an airtight container at room temperature for up to 4 days. They also freeze beautifully! Just wrap individual bars or the whole slab tightly in plastic wrap and then in foil. They’ll keep in the freezer for up to 3 months. Thaw at room temperature whenever a craving strikes.
My batter was really oily. What happened?
This almost always points to the almond butter not being stirred well enough before measuring. If the oil wasn’t fully incorporated, you’ll end up with too much fat in the batter. Next time, be sure to stir that jar until it’s completely homogenous from top to bottom.
Can I reduce the sugar?
You can try, but it will affect the texture. The sugar doesn’t just add sweetness; it also contributes to moisture and chewiness. Reducing it by a couple of tablespoons should be fine, but cutting it in half will likely result in a drier, denser, and less chewy bar.
Why did my bars turn out cakey instead of chewy?
A cakey texture usually comes from over-mixing the batter after adding the flour, which develops the gluten. Remember to fold gently and just until combined. Using a larger egg than called for can also add extra liquid, leading to a more cake-like crumb. Stick to a large egg for the best results.
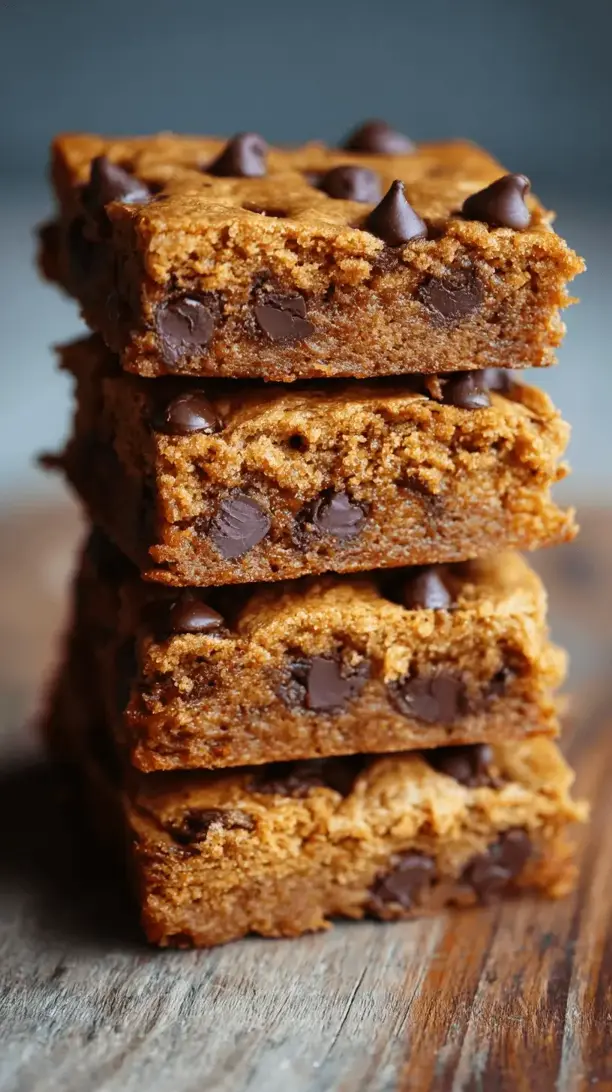
Almond Butter Cookie Bars
Whip up incredibly chewy Almond Butter Cookie Bars in one bowl! This easy recipe delivers rich, nutty flavor with minimal cleanup. Perfect for picnics, coffee breaks, or anytime you need a wholesome treat.
Ingredients
Ingredients
-
1 cup creamy, unsweetened almond butter ((250 g))
-
¾ cup light brown sugar ((150 g) packed)
-
1 large egg (at room temperature)
-
1 tsp vanilla extract
-
½ tsp baking soda
-
¼ tsp fine sea salt
-
⅓ cup all-purpose flour ((40 g))
-
½ cup dark chocolate chips ((85 g) optional, but highly recommended)
Instructions
-
First, preheat your oven to 350°F (175°C). Grab your 8x8-inch baking pan and line it with parchment paper, leaving some overhang on two opposite sides. This little trick is a lifesaver for clean removal later. Lightly grease the exposed parts of the pan if your parchment paper doesn't cover it completely.01
-
In your medium mixing bowl, combine the almond butter and packed brown sugar. Stir them together with a spatula—it might take a minute of good stirring to get them fully incorporated. You'll notice the mixture will become thick and paste-like, which is exactly what we want.02
-
Now, add in the room-temperature egg and the vanilla extract. Mix vigorously until the egg is completely blended in and the batter looks smooth and glossy. Don't worry if it seems a bit loose at this point; it will thicken up again when we add the dry ingredients.03
-
Sprinkle the baking soda and salt over the wet mixture. Give it a quick stir to distribute them evenly. Then, add the all-purpose flour. Switch to a folding motion with your spatula, and mix just until no streaks of flour remain. A few lumps are totally fine—overmixing is the real enemy here.04
-
This is the time for your add-ins! If you're using chocolate chips (and you really should), fold about three-quarters of them into the batter. The batter will be quite thick and sticky, which is perfect.05
-
Transfer the batter to your prepared pan. It will be thick, so use your spatula to spread it into an even layer, pushing it into the corners. For a nice finish, sprinkle the remaining chocolate chips evenly over the top and press them down gently.06
-
Bake for 20-22 minutes. You're looking for the edges to be golden brown and pulling away from the sides of the pan, and the center should look set but still feel a little soft to the touch. A toothpick inserted near the center should come out with a few moist crumbs, but not wet batter.07
-
This is the hardest part… let the pan cool completely on a wire rack. I know it's tempting, but cutting into them while they're warm will result in a crumbly mess. They need time to set up properly to achieve that perfect, clean-cut chewy texture.08


