
Why You’ll Love This Quinoa Flour Pancakes
- A Flavor That Actually Excites Your Palate. Forget bland, one-note health-food pancakes. Quinoa flour brings a delightful, nutty depth that pairs beautifully with maple syrup and berries. It’s a flavor profile that feels sophisticated, yet totally cozy.
- They’re Surprisingly Light and Tender. You might expect a gluten-free pancake to be dense or gummy, but the trick is in the batter consistency. When you get it right, these pancakes cook up with a lovely, airy crumb that’s just a joy to cut your fork into.
- They Keep You Full and Happy for Hours. Thanks to the complete protein and fiber in quinoa, these pancakes have serious staying power. It’s the difference between a sugar rush and sustained energy—meaning you can actually get on with your day without thinking about your next snack five minutes later.
- Incredibly Versatile for All Kinds of Eaters. Whether you’re cooking for someone gluten-free, or you’re just looking to mix up your breakfast routine, this recipe is a crowd-pleaser. You can easily make them dairy-free, and they’re a fantastic canvas for all your favorite mix-ins, from chocolate chips to blueberries.
Ingredients & Tools
- 240 g (2 cups) quinoa flour
- 2 tsp baking powder
- 1/2 tsp baking soda
- 1/2 tsp fine sea salt
- 2 large eggs
- 480 ml (2 cups) buttermilk (see tips for substitutes)
- 3 tbsp melted butter or coconut oil, plus more for cooking
- 2 tbsp maple syrup or honey
- 1 tsp pure vanilla extract
Tools: A large mixing bowl, whisk, measuring cups/spoons, a good non-stick skillet or griddle, and a spatula.
Using quinoa flour is key here—it’s not the same as cooked quinoa! You’ll find it in the gluten-free baking aisle. And that buttermilk isn’t just for flavor; its acidity reacts with the baking soda to give these pancakes their signature lift. A little goes a long way in creating that perfect, tender texture.
Serves: 4 (makes about 12 medium pancakes) | Prep Time: 10 minutes | Cook Time: 15 minutes | Total Time: 25 minutes
Before You Start: Tips & Ingredient Notes
- Don’t Skip the Buttermilk. Seriously, it’s the secret to tender pancakes. If you don’t have any, make a quick substitute by adding 2 tablespoons of lemon juice or white vinegar to your 2 cups of milk. Let it sit for 5 minutes until it curdles slightly. It works like a charm.
- Quinoa Flour Can Vary by Brand. You’ll notice that some brands are finer than others. If your flour seems particularly coarse, you can give it a quick whisk or even sift it before measuring to ensure a smoother batter. This helps avoid any grittiness.
- Let the Batter Rest? Yes, Please. Gluten-free flours often benefit from a short 5-10 minute rest after mixing. This allows the flour to fully hydrate, which results in a less gritty final product and a better overall texture. It’s a small step with a big payoff.
- Your Pan Temperature is Everything. Too hot, and the outside will burn before the inside is cooked. Too low, and you’ll get pale, greasy pancakes. The ideal temperature is when a drop of water sizzles and dances on the surface. Be patient and let your pan preheat properly.
How to Make Quinoa Flour Pancakes
Step 1: Combine the Dry Ingredients. In your large mixing bowl, whisk together the quinoa flour, baking powder, baking soda, and salt. You want to make sure the leavening agents are evenly distributed throughout the flour—this is what gives you those lovely, even bubbles as they cook. Take a moment to appreciate the warm, nutty aroma of the quinoa flour; it’s a good sign of things to come.
Step 2: Whisk the Wet Ingredients. In a separate bowl or a large measuring jug, whisk the eggs lightly. Then, add the buttermilk, melted butter (or oil), maple syrup, and vanilla. Whisk it all until it’s smooth and homogenous. The mixture might look a little curdled because of the buttermilk and fat, but that’s perfectly normal—it will all come together in the next step.
Step 3: Create the Batter. Now, pour the wet ingredients into the dry ingredients. Use your whisk to gently combine them. Here’s the crucial part: mix until the flour is *just* incorporated. A few small lumps are absolutely fine—in fact, they’re desirable! Overmixing is the enemy of tender pancakes, as it can make them tough. The batter will be thick but pourable.
Step 4: Let it Rest and Preheat the Pan. Set the batter aside for about 5-10 minutes. This is the perfect time to heat your skillet or griddle over medium heat. Add a small pat of butter or a drizzle of oil and let it melt, swirling to coat the surface. You’ll know it’s ready when the butter sizzles but doesn’t immediately brown.
Step 5: Cook to Golden-Brown Perfection. Using a 1/4 cup measure, pour batter onto the hot skillet. You’ll notice the batter is a beautiful pale yellow speckled with darker bits from the quinoa flour. Cook until bubbles form on the surface and the edges look set, about 2-3 minutes. The underside should be a deep golden brown. Then, slide your spatula underneath and flip! Cook for another 1-2 minutes on the second side until equally golden and cooked through.
Step 6: Keep Them Warm. As you cook the pancakes, transfer them to a wire rack set on a baking sheet in a low oven (about 95°C / 200°F). This keeps them warm and crisp for everyone without making them soggy, which can happen if you stack them on a plate. Trust me, it makes a world of difference for serving.
Serving Suggestions
Complementary Dishes
- Crispy Turkey Bacon or Sausage — The savory, salty crunch is a fantastic contrast to the sweet, nutty pancakes. It creates a perfectly balanced breakfast plate that feels both indulgent and wholesome.
- Fresh Berry Compote — Instead of just plain berries, gently warm some mixed berries with a touch of maple syrup until they burst and create a syrupy sauce. It adds a bright, fruity dimension that’s just lovely.
- Whipped Coconut Cream — For a dairy-free option that feels incredibly decadent, a dollop of lightly sweetened coconut cream on top of a warm pancake stack is pure heaven.
Drinks
- A Strong Cup of Coffee — The robust bitterness of a good dark roast coffee cuts through the richness of the pancakes and maple syrup beautifully. It’s a classic pairing for a reason.
- Spiced Chai Latte — The warm spices like cinnamon and cardamom in a chai latte echo the nutty notes in the quinoa flour, making for a wonderfully cozy and aromatic breakfast experience.
- Freshly Squeezed Orange Juice — The bright, citrusy acidity is a fantastic palate cleanser between bites, ensuring each mouthful tastes as delicious as the first.
Something Sweet
- Dark Chocolate Chunks — Stirring a handful of high-quality dark chocolate chunks into the batter right before cooking creates melty, rich pockets. The slight bitterness of the chocolate is a perfect match for the quinoa.
- Sliced Bananas and Toasted Walnuts — This is a textural dream. The soft, sweet bananas and the crunchy, earthy walnuts add layers of flavor and make the meal feel even more substantial.
- A Drizzle of Almond Butter — Before adding your maple syrup, try a drizzle of creamy almond butter. It amplifies the nutty flavor profile and adds a delicious, rich protein boost.
Top Mistakes to Avoid
- Mistake: Overmixing the batter. This is the number one pancake faux pas. Overmixing develops toughness, even in gluten-free batters. Stir until the ingredients are just combined, and walk away. Lumps are your friend.
- Mistake: Cooking on the wrong heat. I’ve messed this up before too—impatience leads to a too-hot pan. If your pancakes are burning on the outside before cooking through, your heat is too high. Adjust down and give the pan a minute to cool.
- Mistake: Pressing down on the pancakes with the spatula. You’re not making paninis! Pressing down squeezes out the precious air bubbles that make them light and fluffy. Just let them be.
- Mistake: Flipping too early. Wait for those bubbles to form on the surface and the edges to look matte and set. If you try to flip too soon, you’ll end up with a messy, undercooked pancake. Patience is key.
Expert Tips
- Tip: For extra-fluffy pancakes, separate the eggs. Whisk the egg yolks into the wet ingredients, but beat the whites separately until soft peaks form. Fold them in at the very end. It adds an incredible amount of air and lift.
- Tip: Make a big batch and freeze them. These pancakes freeze beautifully. Let them cool completely, then layer them between parchment paper in a freezer bag. Reheat in a toaster for a quick, healthy breakfast on busy mornings.
- Tip: Test your baking powder. If your pancakes aren’t rising well, your baking powder might be old. Test it by stirring half a teaspoon into a little hot water. If it doesn’t fizz vigorously, it’s time for a new can.
- Tip: Add a pinch of cinnamon or nutmeg. A warm spice can really enhance the nutty flavor of the quinoa flour. Just a quarter to a half teaspoon mixed into the dry ingredients adds a wonderful, subtle depth.
FAQs
Can I make the batter the night before?
Honestly, I wouldn’t recommend it for this particular recipe. Because the batter contains baking powder and baking soda, which start reacting as soon as they hit the liquid, the leavening power will diminish overnight. You’ll likely end up with much denser, flatter pancakes. The good news is, the dry mix can be pre-measured the night before! Just whisk together the flour, baking powder, soda, and salt in a bowl and cover it. In the morning, all you have to do is add the wet ingredients.
My batter is really thick. Should I add more liquid?
Quinoa flour absorbs liquid differently than wheat flour, and the batter should be on the thicker side—it helps create a fluffy texture. However, if it’s so thick that it’s not pourable at all, you can add a tablespoon or two of extra milk or buttermilk. Add it slowly, stirring gently, until it reaches a scoopable consistency. Remember, it’s always easier to thin a batter than to thicken it!
Why do my pancakes taste bitter?
This is a rare issue, but it can happen with some quinoa flour if it wasn’t rinsed sufficiently before milling. To avoid this, always try to buy a trusted brand. If you do detect a slight bitterness, it can often be balanced out by the sweetness of your toppings. A dash of extra vanilla extract or a pinch of sugar in the batter can also help counteract it.
Can I use this recipe for waffles?
You can certainly try! For waffles, you typically want a batter with a bit more fat to help them get crispy. I’d recommend increasing the melted butter or oil to 4 tablespoons. The cooking method is different, of course, but the flavor base would be delicious. Just be sure to grease your waffle iron well, as quinoa flour can sometimes be a bit sticky.
How do I store and reheat leftovers?
Let the pancakes cool completely on a wire rack, then store them in an airtight container in the refrigerator for up to 3 days. To reheat, the best method is in a toaster or a conventional oven at 175°C (350°F) for about 5-10 minutes. This will restore their crisp edges. Microwaving will make them soft and steamy, which isn’t ideal, but it works in a pinch if you’re short on time.
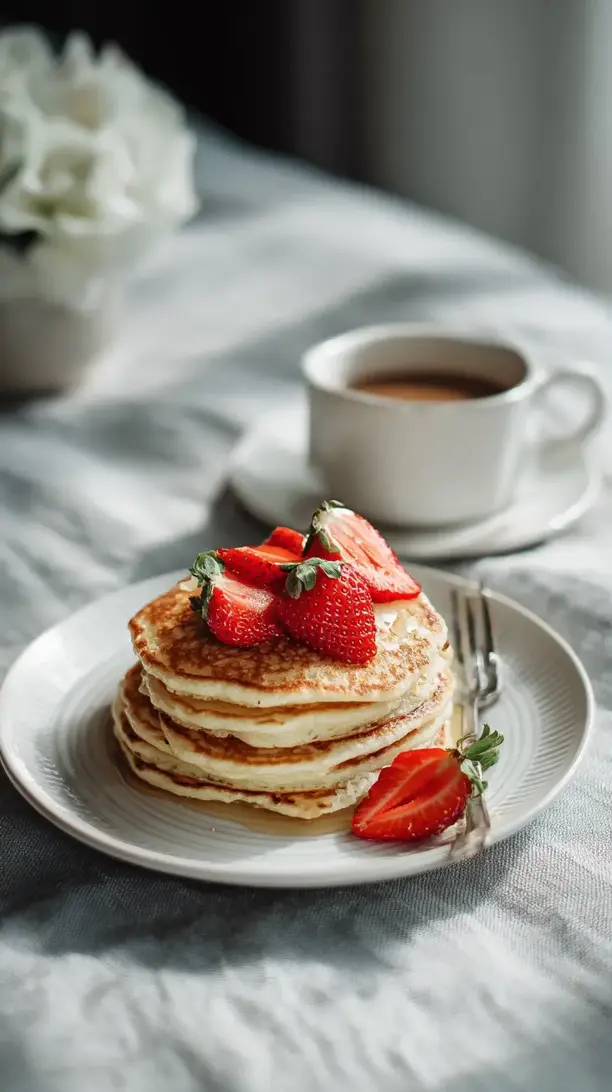
Quinoa Flour Pancakes
Discover light, nutty quinoa flour pancakes! This easy, gluten-free recipe delivers fluffy, protein-packed pancakes perfect for a satisfying weekend breakfast. Ready in 25 minutes!
Ingredients
Ingredients
-
240 g quinoa flour ((2 cups))
-
2 tsp baking powder
-
0.5 tsp baking soda
-
0.5 tsp fine sea salt
-
2 large eggs
-
480 ml buttermilk ((2 cups, see tips for substitutes))
-
3 tbsp melted butter or coconut oil (plus more for cooking)
-
2 tbsp maple syrup or honey
-
1 tsp pure vanilla extract
Instructions
-
Combine the Dry Ingredients. In your large mixing bowl, whisk together the quinoa flour, baking powder, baking soda, and salt. You want to make sure the leavening agents are evenly distributed throughout the flour—this is what gives you those lovely, even bubbles as they cook. Take a moment to appreciate the warm, nutty aroma of the quinoa flour; it's a good sign of things to come.01
-
Whisk the Wet Ingredients. In a separate bowl or a large measuring jug, whisk the eggs lightly. Then, add the buttermilk, melted butter (or oil), maple syrup, and vanilla. Whisk it all until it's smooth and homogenous. The mixture might look a little curdled because of the buttermilk and fat, but that's perfectly normal—it will all come together in the next step.02
-
Create the Batter. Now, pour the wet ingredients into the dry ingredients. Use your whisk to gently combine them. Here's the crucial part: mix until the flour is *just* incorporated. A few small lumps are absolutely fine—in fact, they're desirable! Overmixing is the enemy of tender pancakes, as it can make them tough. The batter will be thick but pourable.03
-
Let it Rest and Preheat the Pan. Set the batter aside for about 5-10 minutes. This is the perfect time to heat your skillet or griddle over medium heat. Add a small pat of butter or a drizzle of oil and let it melt, swirling to coat the surface. You'll know it's ready when the butter sizzles but doesn't immediately brown.04
-
Cook to Golden-Brown Perfection. Using a 1/4 cup measure, pour batter onto the hot skillet. You'll notice the batter is a beautiful pale yellow speckled with darker bits from the quinoa flour. Cook until bubbles form on the surface and the edges look set, about 2-3 minutes. The underside should be a deep golden brown. Then, slide your spatula underneath and flip! Cook for another 1-2 minutes on the second side until equally golden and cooked through.05
-
Keep Them Warm. As you cook the pancakes, transfer them to a wire rack set on a baking sheet in a low oven (about 95°C / 200°F). This keeps them warm and crisp for everyone without making them soggy, which can happen if you stack them on a plate. Trust me, it makes a world of difference for serving.06