
Why You’ll Love This Roasted Shallots with Thyme
- Effortless Elegance. This dish looks and tastes incredibly gourmet, but it’s truly one of the easiest things you’ll ever make. It’s the kind of recipe that makes people think you spent hours in the kitchen, when in reality, you just did a bit of chopping and let the oven do all the hard work.
- Transformative Flavors. The roasting process is pure alchemy. It tames the sharpness of the raw shallots and coaxes out an incredible natural sweetness, creating a complex, savory-sweet flavor profile that’s just irresistible. The thyme adds a lovely, fragrant earthiness that ties it all together.
- Unbelievably Versatile. Once you have a batch of these roasted shallots, you’ll find a million uses for them. Mash them into mashed potatoes, toss them with pasta, pile them onto a steak, or even spread them on crusty bread. They’re a flavor powerhouse waiting to be deployed.
- Meal Prep Hero. You can roast a big batch of these on a Sunday and have them ready to elevate your meals all week long. They store beautifully in the fridge and their flavor seems to deepen over a day or two, making your future self very, very happy.
Ingredients & Tools
- 1 lb shallots, peeled and halved (or quartered if large)
- 3 tablespoons extra virgin olive oil
- 1 tablespoon fresh thyme leaves, plus a few extra sprigs for garnish
- 1 teaspoon kosher salt
- 1/2 teaspoon freshly cracked black pepper
- 1 tablespoon balsamic vinegar (optional, but highly recommended for a flavor boost)
Tools: A rimmed baking sheet, parchment paper (for easy cleanup), a small bowl for mixing.
The ingredient list is short and sweet for a reason—we want the quality of each component to shine. Using good olive oil really makes a difference here, as it’s the base of the roasting process. And fresh thyme is non-negotiable; its delicate, lemony-woody flavor is far superior to dried in this application.
Serves: 4 as a side | Prep Time: 10 minutes | Cook Time: 35-40 minutes | Total Time: about 50 minutes
Before You Start: Tips & Ingredient Notes
- Choosing Your Shallots. Look for shallots that are firm and heavy for their size, with dry, papery skins. Avoid any that are soft, sprouting, or have dark spots. You’ll typically find them in a cluster of two or three bulbs.
- To Peel or Not to Peel? You must peel them! The papery skins become tough and unpleasant when roasted. A pro tip: after trimming the ends, you can sometimes crush the shallot lightly with the flat side of your knife to loosen the skin, making it easier to slip off.
- Why Halve or Quarter? Cutting the shallots ensures they cook evenly and get those beautiful, caramelized edges. If you leave them whole, the centers might steam instead of roast. Aim for pieces that are roughly the same size so they’re all done at the same time.
- The Power of Fresh Thyme. Honestly, dried thyme just won’t give you the same vibrant, aromatic result. To easily remove the leaves from the woody stems, just hold the top of the stem and run your fingers down it—the leaves will strip off cleanly.
How to Make Roasted Shallots with Thyme
Step 1: First, preheat your oven to 400°F (200°C). This is a nice, hot temperature that will give us great caramelization without burning the shallots too quickly. While the oven is heating up, line your rimmed baking sheet with parchment paper. This isn’t just for easy cleanup—it also prevents the shallots from sticking and burning on the pan, which can happen with all that natural sugar being released.
Step 2: Now, let’s prepare the shallots. Trim off the root end and the tip, then peel away the papery skin. If your shallots are on the larger side, go ahead and cut them into quarters instead of halves; you want all the pieces to be roughly the same size for even cooking. Place all your peeled and cut shallots into a large bowl.
Step 3: In a small bowl, whisk together the olive oil, fresh thyme leaves, salt, and pepper. You’ll notice the aroma is already fantastic. If you’re using the balsamic vinegar, wait to add it until after roasting—adding it now could cause it to burn and become bitter in the high heat. Pour this herby oil mixture over the shallots in the large bowl.
Step 4: Time to get your hands a little dirty! Toss the shallots in the oil and herb mixture, making sure every single piece is thoroughly and evenly coated. This coating is what will help them roast to golden perfection rather than just dry out. Spread the shallots out in a single layer on your prepared baking sheet. This is key—if they’re crowded, they’ll steam instead of roast.
Step 5: Carefully place the baking sheet in the preheated oven. Roast for 35 to 40 minutes. You’ll want to give the pan a gentle shake or stir the shallots with a spatula about halfway through the cooking time. This helps them caramelize evenly on all sides. You’ll know they’re done when the edges are deeply browned and crispy-looking, and the centers are tender when pierced with a fork.
Step 6: Once the shallots are out of the oven, this is the time to add that optional balsamic vinegar. Drizzle it over the hot shallots—it will sizzle and create an incredible, glossy glaze that adds a touch of acidity to balance the sweetness. Give everything a final toss right on the hot pan. Transfer to a serving dish, garnish with those extra thyme sprigs, and prepare for applause.
Serving Suggestions
Complementary Dishes
- Roasted Chicken or Turkey — The sweet, jammy shallots are a classic pairing with poultry, acting almost like a built-in gravy or chutney that cuts through the richness of the meat.
- Pan-Seared Steak or Pork Chops — Pile these right on top of a perfectly cooked steak or chop. The savory-sweet combination is absolutely divine and makes a simple dinner feel restaurant-worthy.
- Creamy Polenta or Mashed Potatoes — Stir a generous spoonful of roasted shallots into a bowl of creamy polenta or mash. They add incredible depth and texture, turning a simple side into the main event.
Drinks
- A Glass of Pinot Noir — The earthy, fruity notes of a good Pinot Noir mirror the sweet and savory flavors of the dish beautifully without overpowering it.
- Crisp Hard Cider — The apple-y sweetness and sharp carbonation of a dry cider provide a fantastic, refreshing contrast to the rich, caramelized notes of the shallots.
- Sparkling Water with Lemon — For a non-alcoholic option, the bright, clean fizz helps cleanse the palate between bites, making each mouthful taste just as good as the first.
Something Sweet
- Dark Chocolate Pots de Crème — The deep, bitter notes of dark chocolate are a sophisticated and surprisingly perfect follow-up to the savory-sweet shallots.
- Poached Pears with Vanilla Ice Cream — This continues the theme of gentle, warm spices and soft, sweet textures, creating a harmonious end to the meal.
- A Simple Shortbread Cookie — Sometimes, after a rich and savory meal, all you need is a little buttery, not-too-sweet something, and a good shortbread fits the bill perfectly.
Top Mistakes to Avoid
- Mistake: Crowding the Pan. If you pile all the shallots on top of each other, they’ll steam and become mushy instead of developing those beautiful, caramelized, crispy edges. They need space for the moisture to evaporate. Use a large enough baking sheet!
- Mistake: Skipping the Toss. Giving the shallots a good stir or shake about halfway through cooking is crucial. It ensures that all sides get exposed to the direct heat of the pan, leading to even browning and preventing any pieces from burning.
- Mistake: Adding Acid Too Early. If you add the balsamic vinegar before roasting, the sugars in it can burn in the high heat, creating a bitter, acrid flavor. Always add it at the end, while the shallots are still sizzling hot, to create a lovely glaze.
- Mistake: Underseasoning. Salt is essential for balancing the natural sweetness of the roasted shallots. Don’t be shy with it! Taste one at the end and add another pinch of salt if needed—it will make all the difference.
Expert Tips
- Tip: Make a Double Batch. I almost always do this. Leftover roasted shallots are a secret weapon. Chop them up and mix them into salad dressings, grain bowls, or even scrambled eggs for an instant flavor upgrade throughout the week.
- Tip: Add a Touch of Honey. For an extra layer of sweetness and gloss, drizzle a teaspoon of honey over the shallots along with the balsamic vinegar at the end. It creates an incredible sticky glaze that’s hard to resist.
- Tip: Use the Rendered Shallot Oil. After roasting, you’ll have some incredibly flavorful oil left on the parchment paper. Don’t throw it away! Use it to make a vinaigrette or drizzle it over roasted vegetables—it’s liquid gold.
- Tip: Try Different Herbs. While thyme is classic, this method works wonderfully with rosemary (use half the amount, as it’s stronger) or even a sprinkle of herbes de Provence for a more complex, floral note.
FAQs
Can I use dried thyme instead of fresh?
You can, but honestly, the flavor won’t be nearly as vibrant or aromatic. Fresh thyme has a delicate, almost lemony quality that dried thyme loses. If you absolutely must use dried, reduce the amount to about 1 teaspoon, as dried herbs are more concentrated. Crush it between your fingers before adding to the oil to help release its oils. But I really encourage you to seek out the fresh stuff—it makes a world of difference in such a simple dish.
How should I store leftovers, and how long do they keep?
Let the shallots cool completely to room temperature, then transfer them to an airtight container. They’ll keep in the refrigerator for up to 5 days. You’ll notice the flavor actually deepens and becomes even more delicious after a day. They can be reheated gently in a microwave or a skillet, but I often just eat them cold straight from the fridge—they’re that good!
My shallots are burning before they get tender. What went wrong?
This usually happens if your oven temperature is too high or your shallot pieces are too small. Oven thermostats can be notoriously inaccurate, so an oven thermometer is a great investment. If they are browning too quickly, simply lower the temperature to 375°F (190°C) and extend the cooking time. Also, make sure you’re cutting your shallots into halves or quarters, not tiny dice, so the inside has time to cook through before the outside chars.
Can I roast the shallots with other vegetables?
Absolutely! They are fantastic mixed with other root vegetables like carrots, parsnips, or chunks of potato. Just keep in mind that different veggies have different cooking times. You might need to cut harder vegetables (like carrots) into smaller pieces than the shallots, or add them to the pan first and then add the shallots partway through the roasting process so everything finishes at the same time.
Are these vegan/vegetarian/gluten-free?
Yes, yes, and yes! This recipe is naturally all of those things, making it a wonderfully inclusive side dish for almost any dietary need. Just double-check that your balsamic vinegar is gluten-free if that’s a strict requirement, as some cheaper brands might use a wheat-based thickener (though this is very rare).
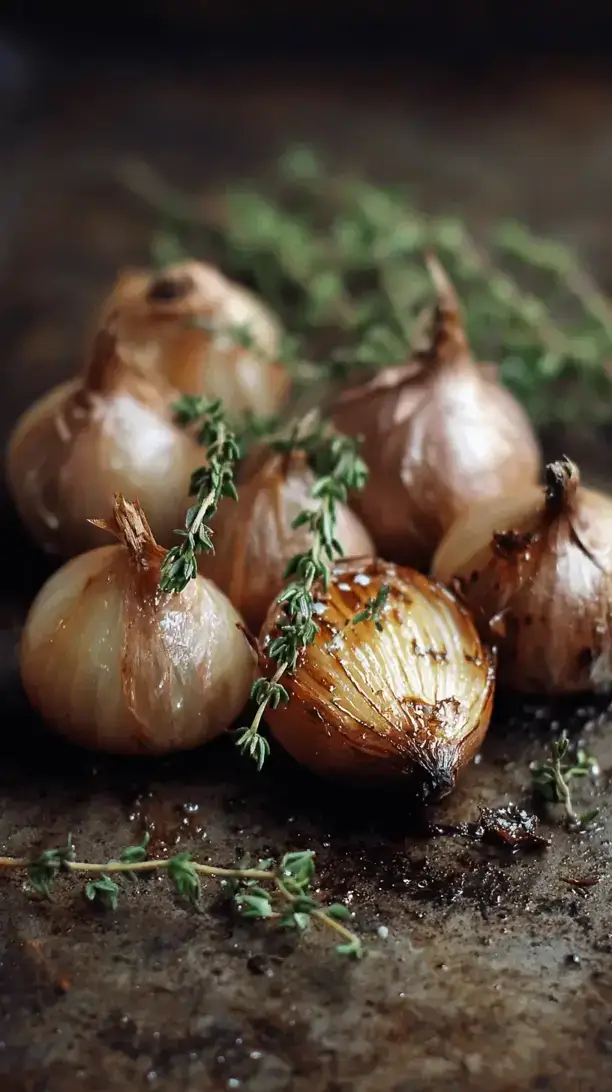
Roasted Shallots With Thyme
Unlock the magic of roasted shallots with thyme! This easy, elegant side dish transforms with caramelized sweetness. Perfect for chicken, steak, or mashed potatoes.
Ingredients
Ingredients
-
1 lb shallots (peeled and halved (or quartered if large))
-
3 tablespoons extra virgin olive oil
-
1 tablespoon fresh thyme leaves (plus a few extra sprigs for garnish)
-
1 teaspoon kosher salt
-
1/2 teaspoon freshly cracked black pepper
-
1 tablespoon balsamic vinegar (optional, but highly recommended for a flavor boost)
Instructions
-
First, preheat your oven to 400°F (200°C). This is a nice, hot temperature that will give us great caramelization without burning the shallots too quickly. While the oven is heating up, line your rimmed baking sheet with parchment paper. This isn't just for easy cleanup—it also prevents the shallots from sticking and burning on the pan, which can happen with all that natural sugar being released.01
-
Now, let's prepare the shallots. Trim off the root end and the tip, then peel away the papery skin. If your shallots are on the larger side, go ahead and cut them into quarters instead of halves; you want all the pieces to be roughly the same size for even cooking. Place all your peeled and cut shallots into a large bowl.02
-
In a small bowl, whisk together the olive oil, fresh thyme leaves, salt, and pepper. You'll notice the aroma is already fantastic. If you're using the balsamic vinegar, wait to add it until after roasting—adding it now could cause it to burn and become bitter in the high heat. Pour this herby oil mixture over the shallots in the large bowl.03
-
Time to get your hands a little dirty! Toss the shallots in the oil and herb mixture, making sure every single piece is thoroughly and evenly coated. This coating is what will help them roast to golden perfection rather than just dry out. Spread the shallots out in a single layer on your prepared baking sheet. This is key—if they're crowded, they'll steam instead of roast.04
-
Carefully place the baking sheet in the preheated oven. Roast for 35 to 40 minutes. You'll want to give the pan a gentle shake or stir the shallots with a spatula about halfway through the cooking time. This helps them caramelize evenly on all sides. You'll know they're done when the edges are deeply browned and crispy-looking, and the centers are tender when pierced with a fork.05
-
Once the shallots are out of the oven, this is the time to add that optional balsamic vinegar. Drizzle it over the hot shallots—it will sizzle and create an incredible, glossy glaze that adds a touch of acidity to balance the sweetness. Give everything a final toss right on the hot pan. Transfer to a serving dish, garnish with those extra thyme sprigs, and prepare for applause.06


